Complete Brew including set up, Brew Day and Packaging
- orlando
- So far gone I'm on the way back again!
- Posts: 7201
- Joined: Thu Nov 17, 2011 3:22 pm
- Location: North Norfolk: Nearest breweries All Day Brewery, Salle. Panther, Reepham. Yetman's, Holt
Complete Brew including set up, Brew Day and Packaging
Over on another thread there was a bit of lamentation over the "disappearance" of some of the well known names on the forum and a hope that their experience and wisdom is not lost for ever. It was pointed out that some people stop posting because they think that they may have said all they have to say and don't want to keep answering the same old questions. I must admit having posted a few brew days now I was beginning to think that no one was really interested to see another one from me, particularly as I didn't think I had much to add. But it was pointed out that people join all the time and it is useful as it may inspire someone to make a new step or investigate a technique, so here goes.
I decided I would try and document everything I have done for this brew day. Unfortunately the 4 month old yeast slant I chose for the brew was started a few days ago so I can't show that part but at least can start with how I prep for a brew. This first set of pictures then is what I do before a brew day 24 hours in advance.
Two reasons for the advance work are:
1) I treat the water and this gives the water a chance to rid itself of chloramines with the help of crushed campden tablet (1/2, split 1/3 mash water 2/3 sparge water). You should also add acids to cold water and I set up the HLT when I make the early morning coffee then go back to bed Sparge water is then up to temp and I can get the mash on and go and have breakfast-also washing the dog tomorrow-whilst the mash does its thing.
2) By preparing the water & the grains in advance it helps to reduce the length of the brewday.
OK so first things first, the recipe. I am making a Porter, this will have in it some 19c style "snapped" Amber malt made for me by Fuggledog, this is diffeernt to standard Amber as it is done so it still has some diastatic power, I am using MO so not relying on it to convert itself but nevertheless worth mentioning as I intend to brew an Amber with just this in the future as an experiment.
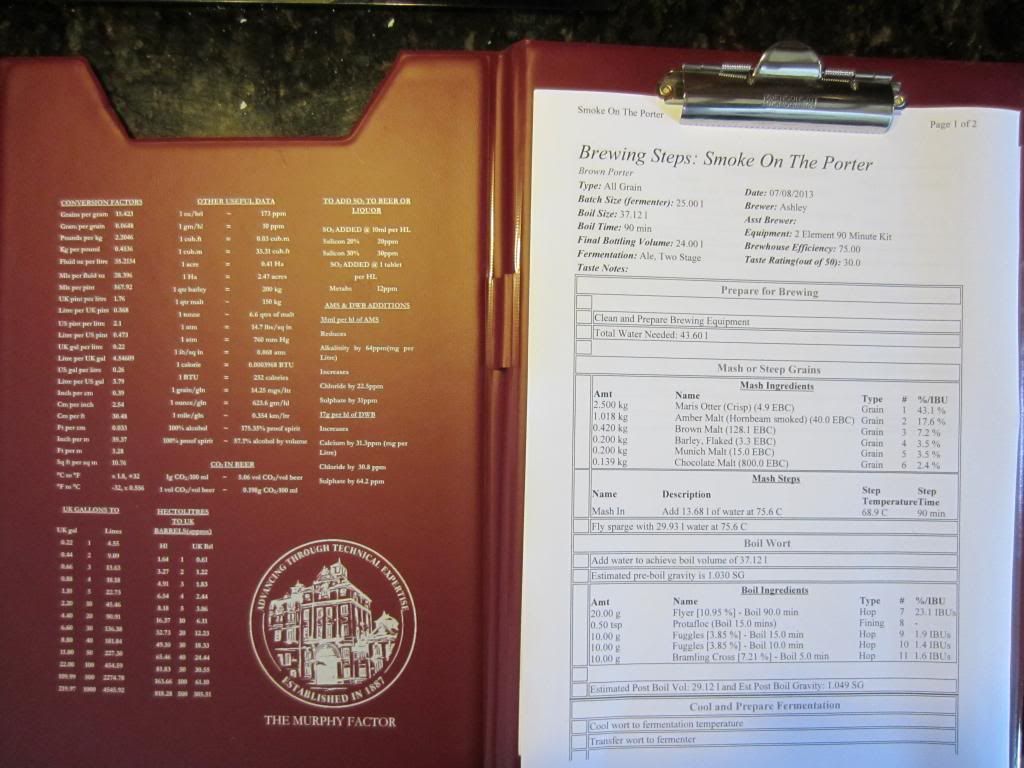
Here is the recipe: Because of the "Hornbeam smoked malt" and to fit the music theme of all my beers it inevitably had to be called "Smoke On The Porter"
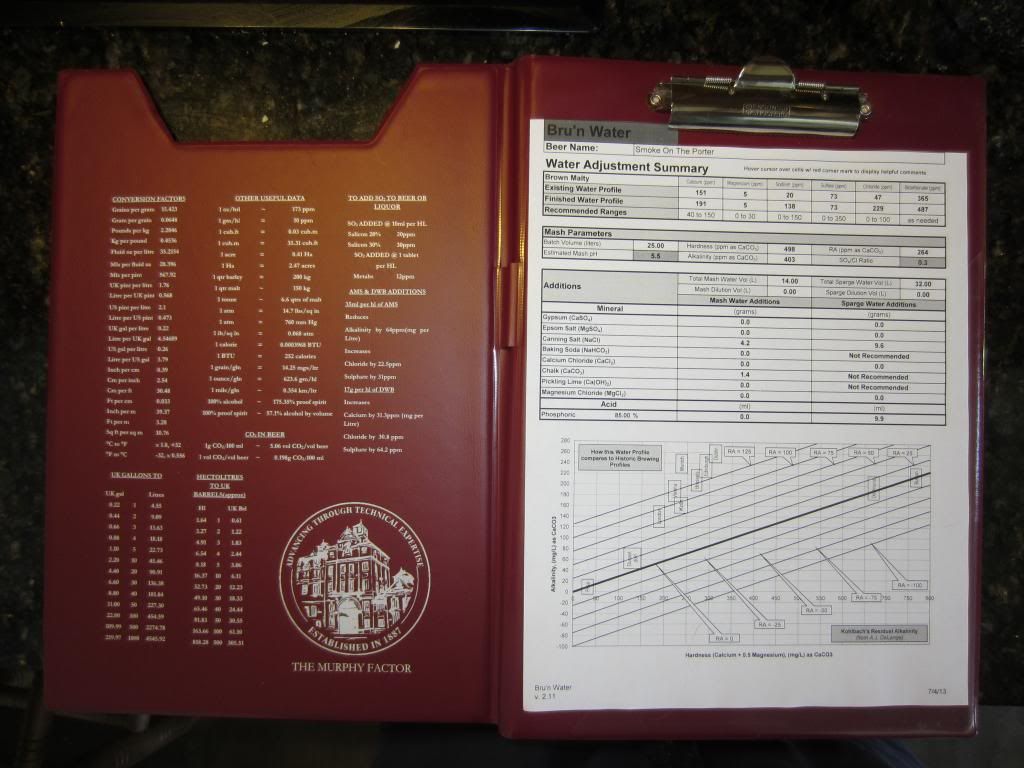
This next picture shows the water treatment schedule. Notice that there is no acidification of the mash water because my water is hard as fuke, but note that it is still not hard enough for all these dark grains, their acidification is such that I have had to actually add some chalk in order to get the pH in the range I want. Also of note is how the usual sulphate to chloride ratio (73:229) is almost opposite to a standard bitter.
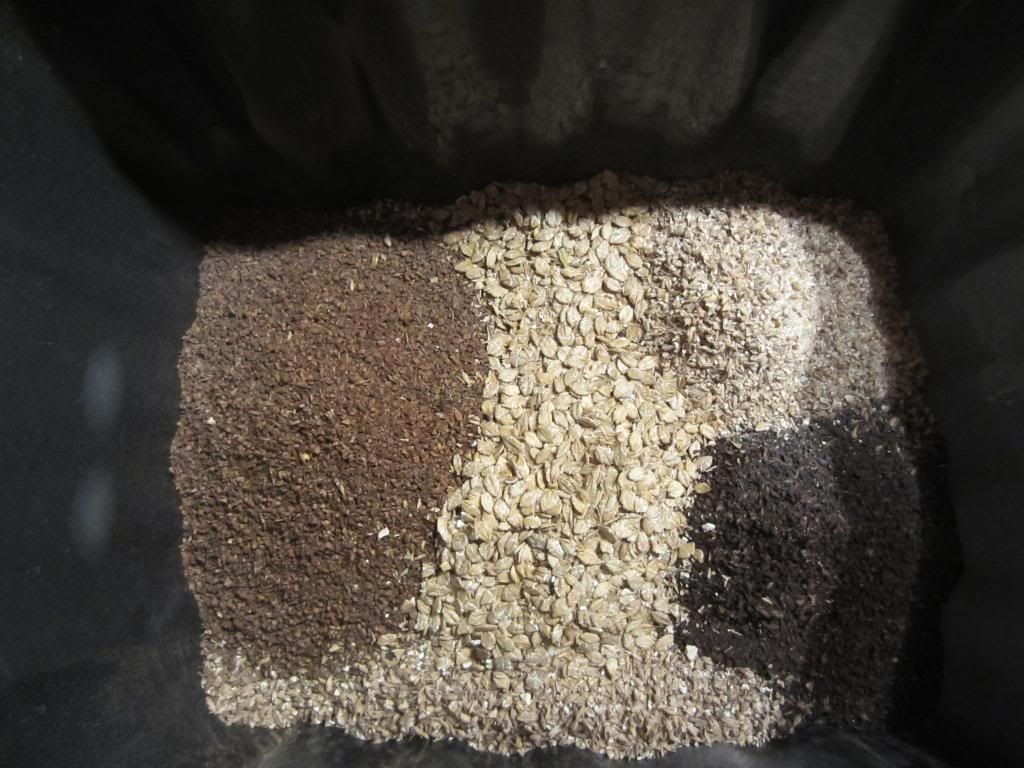
Grist shot with all those lovely dark grains.
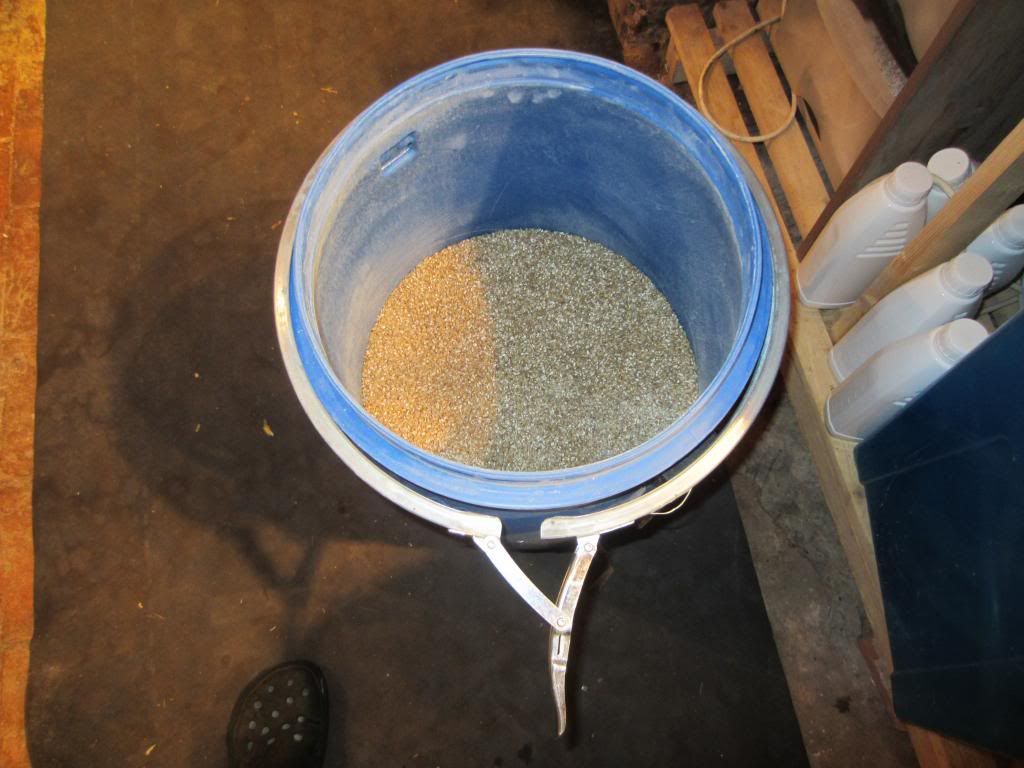
This is the storage bin I use for base malt, you can't smell this until the sealed lid is removed, will keep malt for a long time, not that mine lasts a long time .
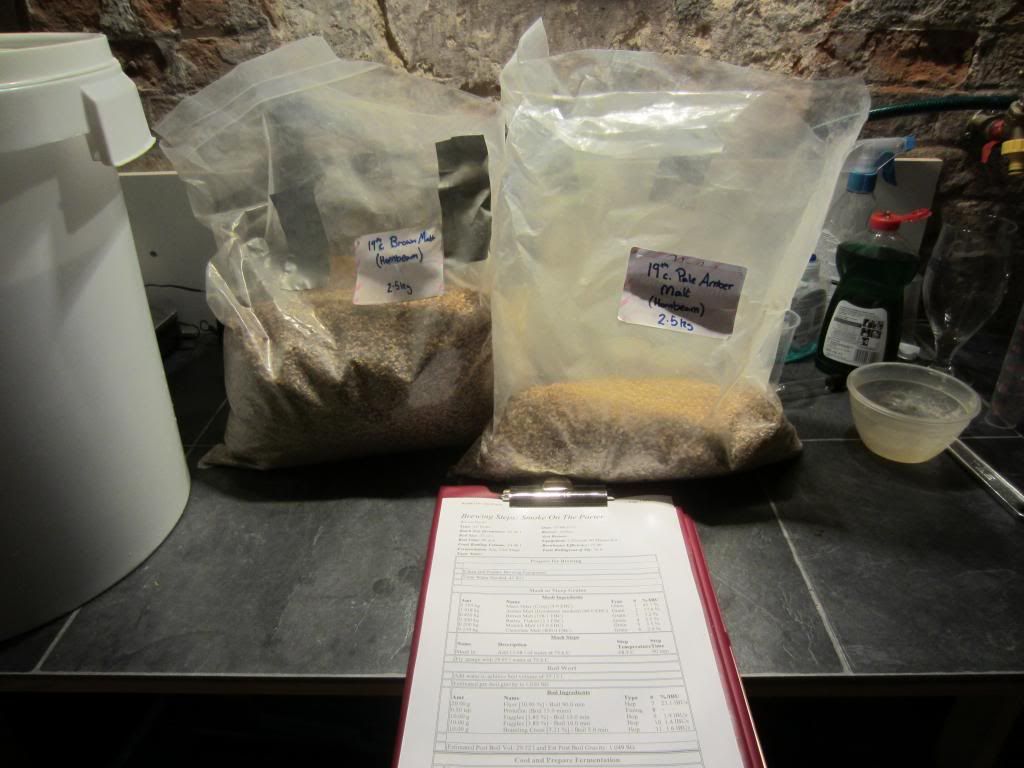
A shot of a couple of hornbeam smoked malts. Only using the Amber today.
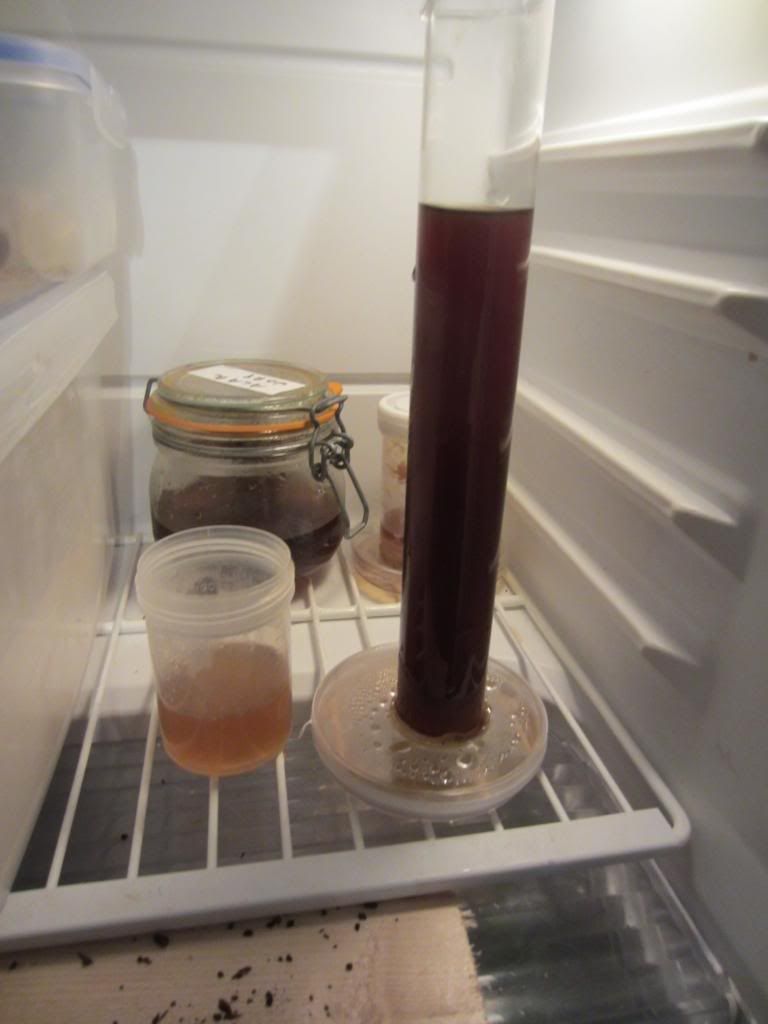
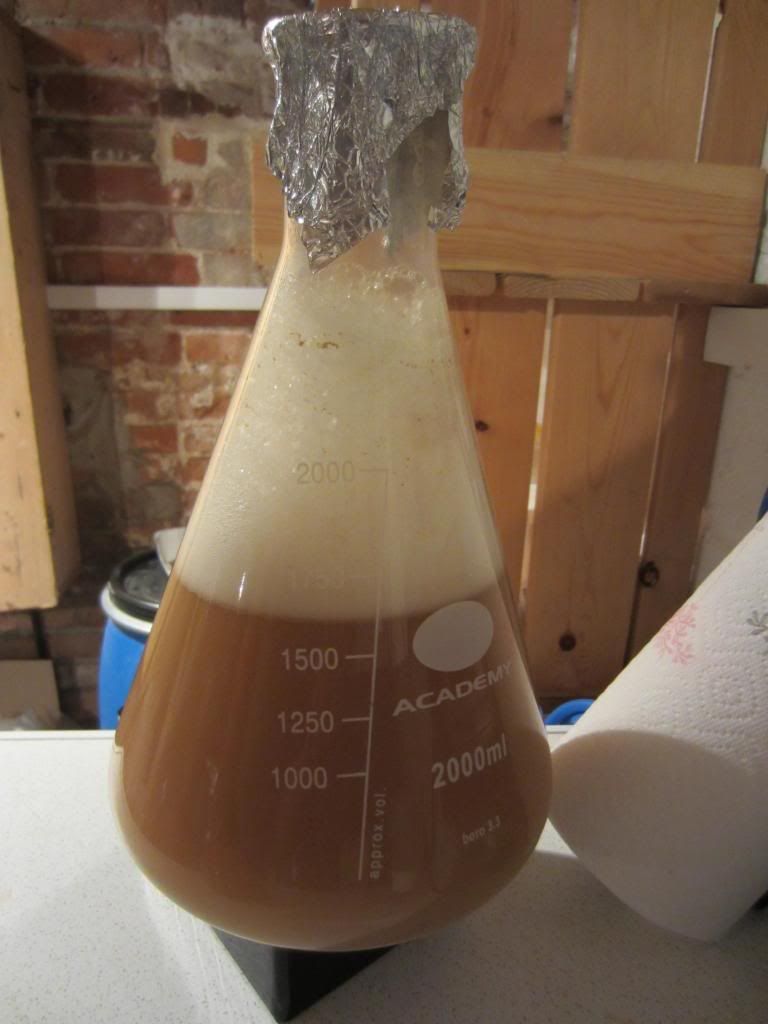
Starter on the stir plate, bit warm in the cellar so it is starting to ferment rather than replicate, taken it off and now chilling in the fridge, will decant off the DME wort before bringing back up to pitching temps.
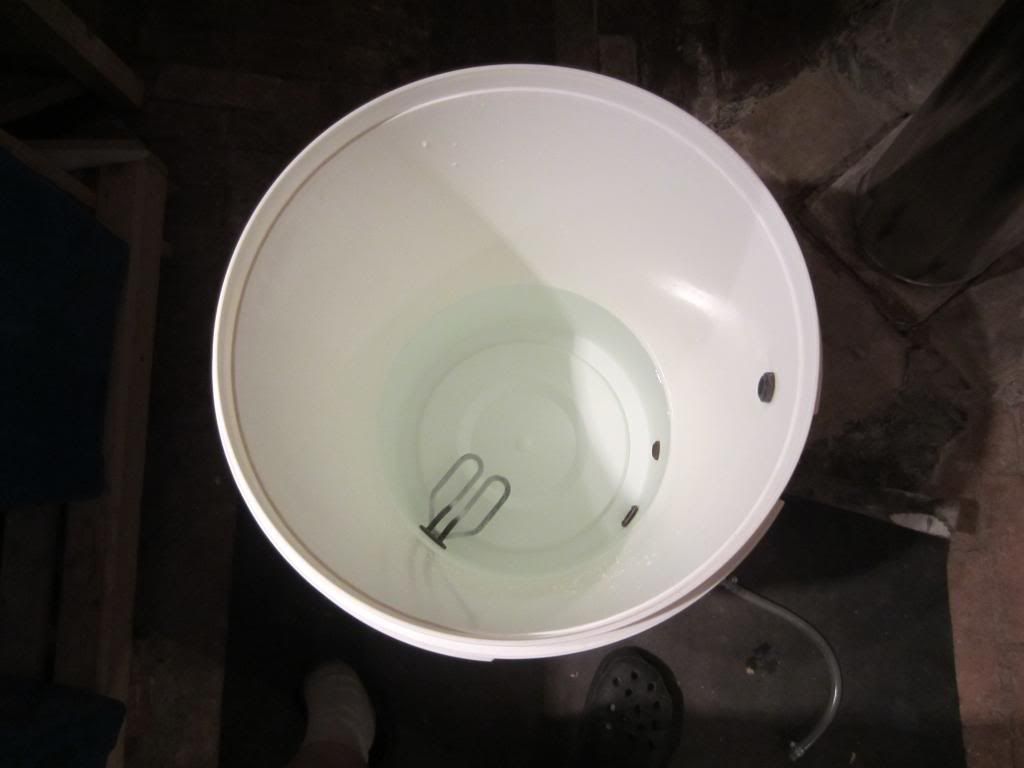
Just about the most tedious picture of an HLT with mash water in it and table salt (chloride). Note brew shoes and filthy wort stained brew mat .
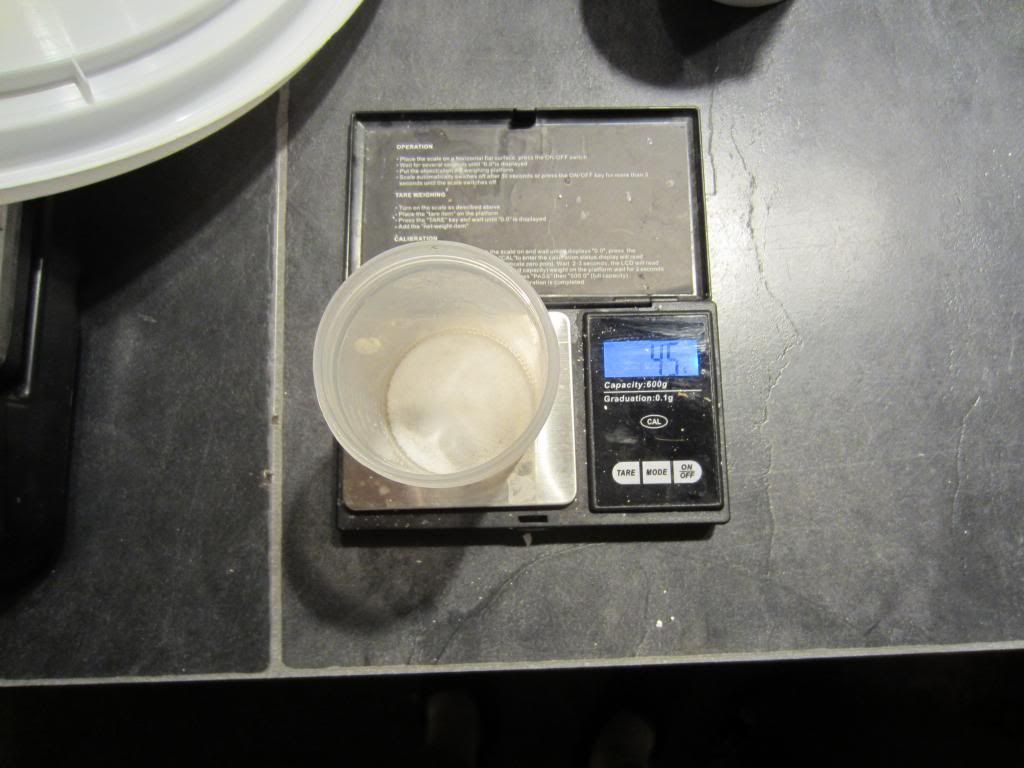
Use of the gram scales to measure the salt for the mash water.
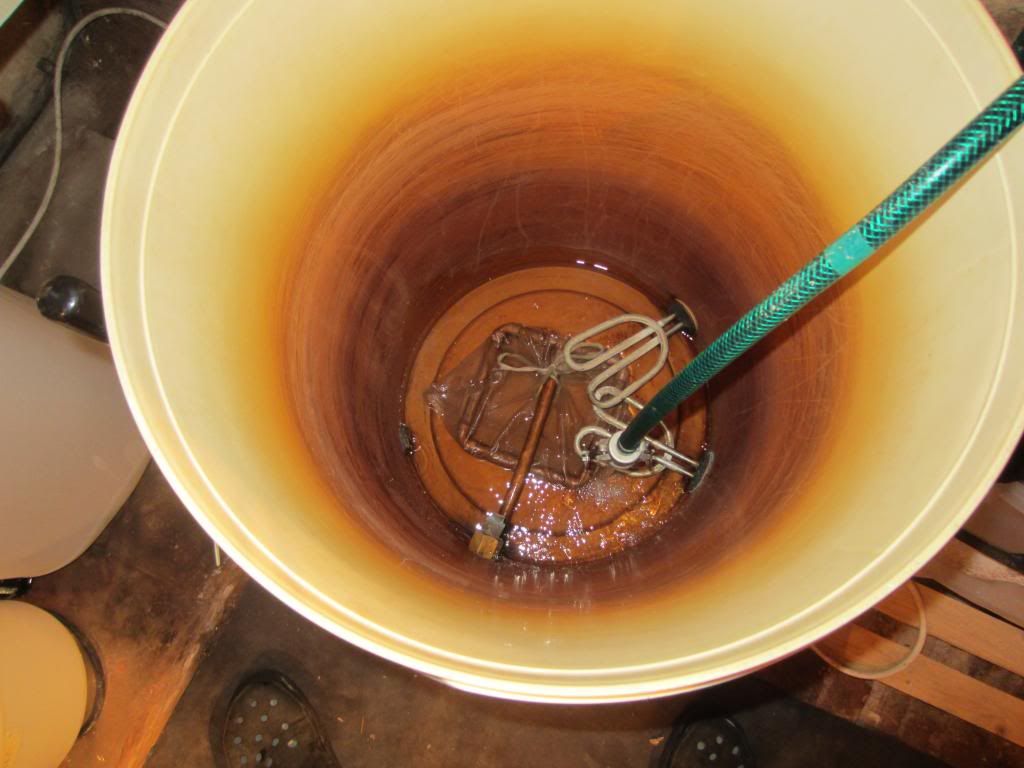
Picture of the sparge water being put into my boiler, note the hop sock is already in place over the manifold hop stopper, helps protect my plate chiller when it comes to run off and contributes to fabulous clarity. I will begin to heat this the moment I start the brewday then pump it up, using the mighty solar pump, up to my HLT once the mash is on.
Final stage of the prep is to acidify the liquour. For this brewday it is only the sparge water that is being acidified. This brew is an answer to the question, "why not acidify all the water in one go?". The answer to that has already been alluded too, because I am brewing a dark beer with a heavy reliance on highly roasted grains the acidification effect on the mash is so high I have even had to add chalk to counteract it, if I had acidified the mash water too my pH would be so low it would potentially ruin the beer. A precautionary piece of advice for those thinking of water treatment and using the Bru'n water calculator.
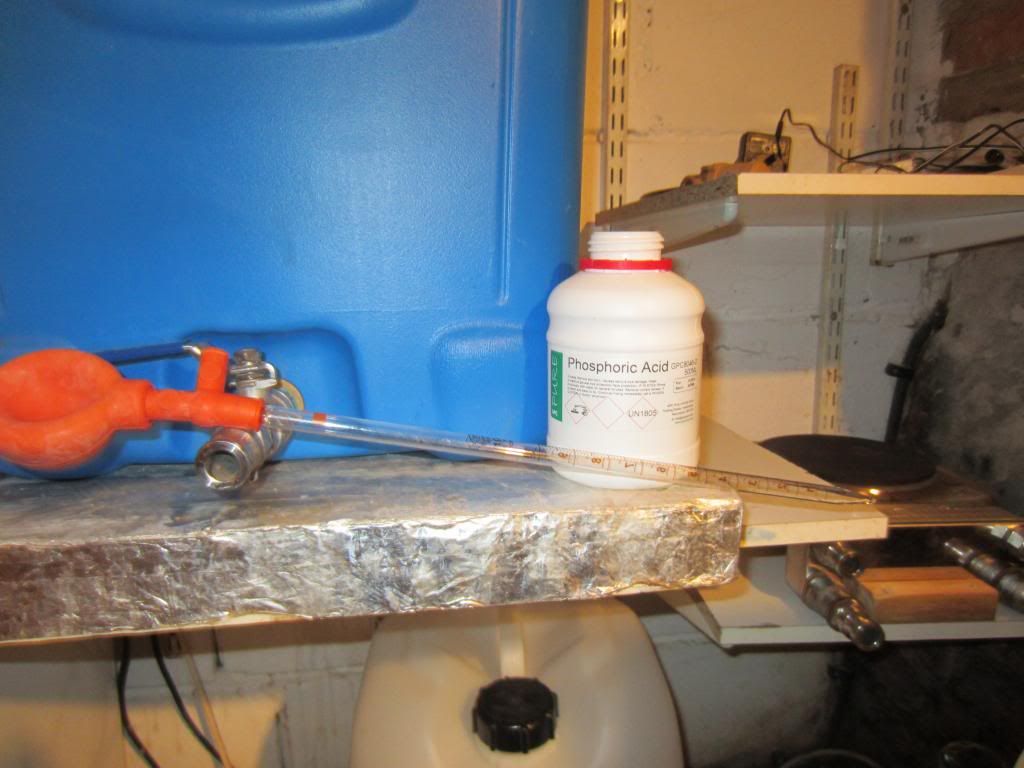
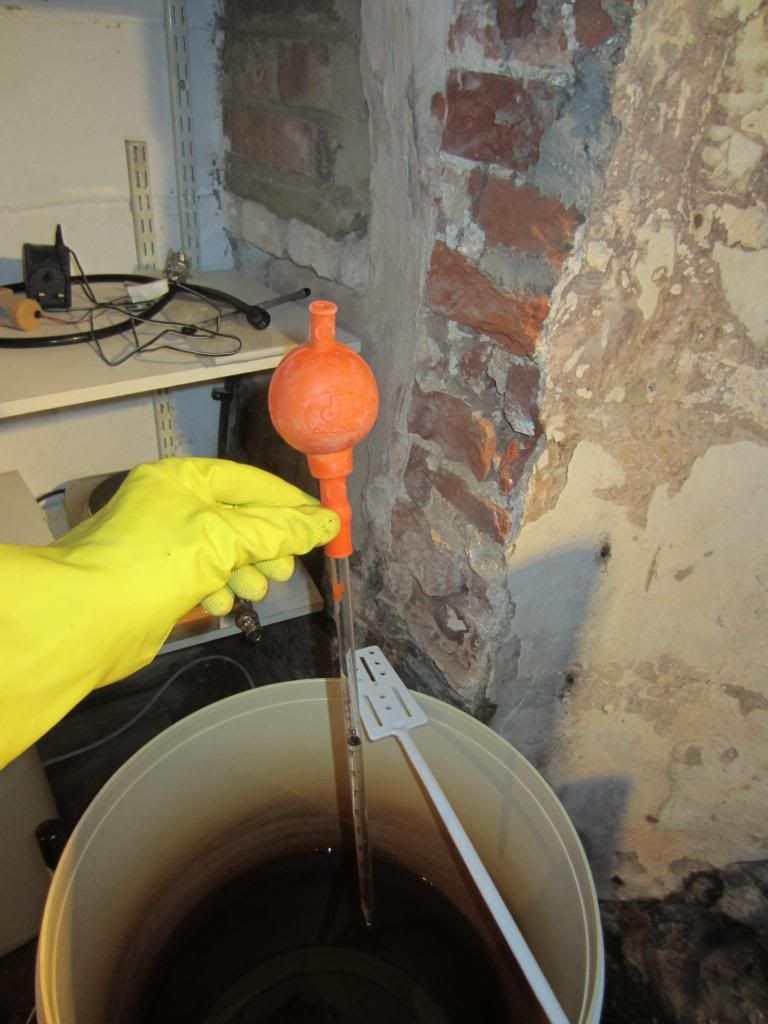
This picture shows the acid and the graduated pipette. The bulb is rather clever and allows you to very precisely suck up the acid you need and gently dispense into the liquour. ALWAYS this way round!
This picture doesn't show the full chemical suit, face mask and phone with 999 already plumbed in and ready to go. Only kidding, phosphoric won't melt your face and eyes just from the fumes like some other acids used. .
Ok, that's it for now. I will post the brewday pictures as soon as I can. I am travelling up to Hexham, Northumberland and a visit to Fuggledog straight after, so it might be a day or so until I can. Bear with
Last edited by orlando on Sun Aug 25, 2013 8:08 am, edited 4 times in total.
I am "The Little Red Brooster"
Fermenting:
Conditioning:
Drinking: Southwold Again,
Up Next: John Barleycorn (Barley Wine)
Planning: Winter drinking Beer
Fermenting:
Conditioning:
Drinking: Southwold Again,
Up Next: John Barleycorn (Barley Wine)
Planning: Winter drinking Beer
- Horatio
- Under the Table
- Posts: 1214
- Joined: Mon Nov 30, 2009 3:07 pm
- Location: Stanford le Hope, Essex. UK
Re: Complete brewday including set up (pics included)
Fantastic! Well documented pre brew procedures. This sort of post is/will be of great interest to all brewers. Loads of pictures too; why do I find brewing pictures so entertaining?
If I had all the money I'd spent on brewing... I'd spend it on brewing!
- orlando
- So far gone I'm on the way back again!
- Posts: 7201
- Joined: Thu Nov 17, 2011 3:22 pm
- Location: North Norfolk: Nearest breweries All Day Brewery, Salle. Panther, Reepham. Yetman's, Holt
Re: Complete brewday including set up (pics included)
Well that's at least one of you, glad you liked it.Horatio wrote:Fantastic! Well documented pre brew procedures. This sort of post is/will be of great interest to all brewers. Loads of pictures too; why do I find brewing pictures so entertaining?
I am "The Little Red Brooster"
Fermenting:
Conditioning:
Drinking: Southwold Again,
Up Next: John Barleycorn (Barley Wine)
Planning: Winter drinking Beer
Fermenting:
Conditioning:
Drinking: Southwold Again,
Up Next: John Barleycorn (Barley Wine)
Planning: Winter drinking Beer
- barneey
- Telling imaginary friend stories
- Posts: 5423
- Joined: Mon Jul 25, 2011 10:42 pm
- Location: East Kent
Re: Complete brewday including set up (pics included)
I`m liking the marigolds + how did you get the folder?
Hair of the dog, bacon, butty.
Hops, cider pips & hello.
Name the Movie + song :)
Hops, cider pips & hello.
Name the Movie + song :)
Re: Complete brewday including set up (pics included)
im liking the folder and step by step recipe
Cheers and gone,
Mozza
Mozza
-
- Even further under the Table
- Posts: 2514
- Joined: Sun Apr 01, 2012 5:38 pm
- Location: Wirral, Merseyside
Re: Complete brewday including set up (pics included)
Good post Orlando. I must get off me arse and do some pics one of these brew days. The next one probably won't be until after the hols now - third week in September. I recall that the last porter I brewed required acid to mash and sparge but absolutely no further additions for a more or less spot on mash pH. It turned out really well.
Looking forward to your second episode.
Best wishes
Dave
Dave
Re: Complete brewday including set up (pics included)
Nice cellar you have there Orlando.
- orlando
- So far gone I'm on the way back again!
- Posts: 7201
- Joined: Thu Nov 17, 2011 3:22 pm
- Location: North Norfolk: Nearest breweries All Day Brewery, Salle. Panther, Reepham. Yetman's, Holt
Re: Complete brewday including set up (pics included)
Marigolds! Hi tech chemists gloves for highly dangerous procedures, actually. Admittedly made by the Marigold people.barneey wrote:I`m liking the marigolds + how did you get the folder?
The folder was a "freebie" from Murphy & Son's that I went on earlier in the year, CBA organised it. What I particularly like is you can use the front cover to keep wort and shit off your paperwork. I used to always have to reprint before I got it.
Thanks for the comments so far, I just hope the brew day is now up to it.
I am "The Little Red Brooster"
Fermenting:
Conditioning:
Drinking: Southwold Again,
Up Next: John Barleycorn (Barley Wine)
Planning: Winter drinking Beer
Fermenting:
Conditioning:
Drinking: Southwold Again,
Up Next: John Barleycorn (Barley Wine)
Planning: Winter drinking Beer
-
- Falling off the Barstool
- Posts: 3909
- Joined: Thu Jan 24, 2013 11:07 pm
- Location: South Wales UK.
Re: Complete brewday including set up (pics included)
Hello Orlando,
Excellent post! You are right in saying that new brewers join all the time and things like this might inspire people to try different things! I`ve only been doing kit brewing since January and so far everything has been excellent. You`ve probably seen my post `Is this normal for a newbie?`, well, the concrete base for my Brew Shed is being laid on Thursday so it onwards and upwards on the Brewing front!
WA
- orlando
- So far gone I'm on the way back again!
- Posts: 7201
- Joined: Thu Nov 17, 2011 3:22 pm
- Location: North Norfolk: Nearest breweries All Day Brewery, Salle. Panther, Reepham. Yetman's, Holt
Re: Complete brewday including set up (pics included)
Good for you, I've seen your posts, excellent contributor. If I can be of any help, except the concrete base stuff of course , feel free to ask.WalesAles wrote:Hello Orlando,
Excellent post! You are right in saying that new brewers join all the time and things like this might inspire people to try different things! I`ve only been doing kit brewing since January and so far everything has been excellent. You`ve probably seen my post `Is this normal for a newbie?`, well, the concrete base for my Brew Shed is being laid on Thursday so it onwards and upwards on the Brewing front!
WA
I am "The Little Red Brooster"
Fermenting:
Conditioning:
Drinking: Southwold Again,
Up Next: John Barleycorn (Barley Wine)
Planning: Winter drinking Beer
Fermenting:
Conditioning:
Drinking: Southwold Again,
Up Next: John Barleycorn (Barley Wine)
Planning: Winter drinking Beer
- far9410
- Even further under the Table
- Posts: 2472
- Joined: Wed Sep 22, 2010 4:37 pm
- Location: Nottingham, usually!
Re: Complete brewday including set up (pics included)
Great post, keep it up.
no palate, no patience.
Drinking - of course
-
- Lost in an Alcoholic Haze
- Posts: 525
- Joined: Wed Jun 09, 2010 8:58 pm
- Location: Las Palmas, GC
Re: Complete brewday including set up (pics included)
Fantastic work, Orlando. It serves as a great check list and commentary to explain why such checks steps are in place.
It also gives me, an extract brewer, more ammunition when people think I'm doing the full mash. I just didn't realise how much more science is involved. (I don't get all smug and let them think I'm John Keeling, honest.)
Seriously, my brewing has come on leaps and bounds because of this website and posts like this will continue that.
Cheers
David
Evolution didn't end with us growing thumbs.
Bill Hicks
Bill Hicks
Re: Complete brewday including set up (pics included)
Cracking post Orlando. I've not tried a dark ale using Bru'n Water yet, but the precautionary warning about the pH of the mash when using dark grains is something I hadn't really thought about.
- orlando
- So far gone I'm on the way back again!
- Posts: 7201
- Joined: Thu Nov 17, 2011 3:22 pm
- Location: North Norfolk: Nearest breweries All Day Brewery, Salle. Panther, Reepham. Yetman's, Holt
Re: Complete brewday including set up (pics included)
Thanks guys. You do realise though that I don't need much encouragement to bring out the pedant in me so stand by for the brew day to be full of it.
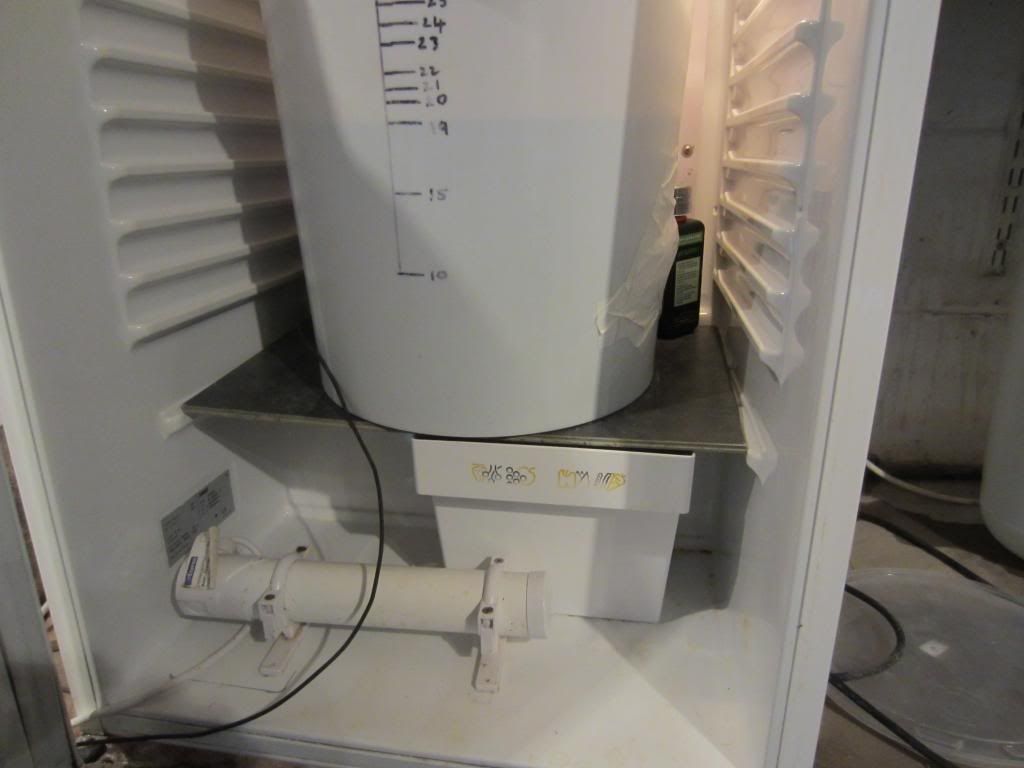
Travelling t'up North today so the HLT is already switched on with the STC sensor taken out of the fridge, set to 20c and containing the pH calibration solutions so I can ensure accurate measurement, and now dangling in the mash liqour. I've set the HLT to 79c today not the usual 80 as the cellar/brewery is around 20c so it won't take long to get to strike temp.
A quick tip on volumes. If you have some dead space in the boiler, as I do, I allow for this when treating the water, I usually have about 1.5l left over once I have pumped up to the HLT and after the mash liqour is in the MT. I tip this out into a kettle and keep it if I need to top up the boiler or help to raise the MT temp if I suffer from a stuck mash, that way I am always introducing liquor that is treated and so does not interfere with the mash or kettle pH. If I need to liquor back once the boil is over the same thing applies.
While I think about it I'll make a comment about mash run off. All the books will tell you to stop sparging when you reach 1.010, at least some of the older ones. The argument is that below this you can extract husky astringent flavours from the grain. Well I no longer bother with that, by treating the sparge liquor it reduces the pH so the run off is always less than pH 6. If you keep the run off below this and the temperature of the sparge liquor does not go much over 80 you'll never experience it.
It's occurred to me as I type this that some of these tips, are a function of my kit as well as my response to the "problems" it throws up, you don't really think about that until you focus on every detail of what you are doing and take the time to write it down; interesting.
Right can't sit here any longer my PMT is starting to get unbearable. Er, pre mash tension that is. On with the mash
I am "The Little Red Brooster"
Fermenting:
Conditioning:
Drinking: Southwold Again,
Up Next: John Barleycorn (Barley Wine)
Planning: Winter drinking Beer
Fermenting:
Conditioning:
Drinking: Southwold Again,
Up Next: John Barleycorn (Barley Wine)
Planning: Winter drinking Beer
- orlando
- So far gone I'm on the way back again!
- Posts: 7201
- Joined: Thu Nov 17, 2011 3:22 pm
- Location: North Norfolk: Nearest breweries All Day Brewery, Salle. Panther, Reepham. Yetman's, Holt
Re: Complete brewday including set up (pics included)
THE BREW DAY
Stand by this is a monster with over 30 pictures and has taken me 1.5 hours to write up & post, so comment whatever you think to make it worth it
Having spent the previous day setting it up and knowing that afterwards I would be driving for over 5 hours I got up a little earlier than usual to make the coffee check on the yeast and set the HLT up to get to strike water temps.
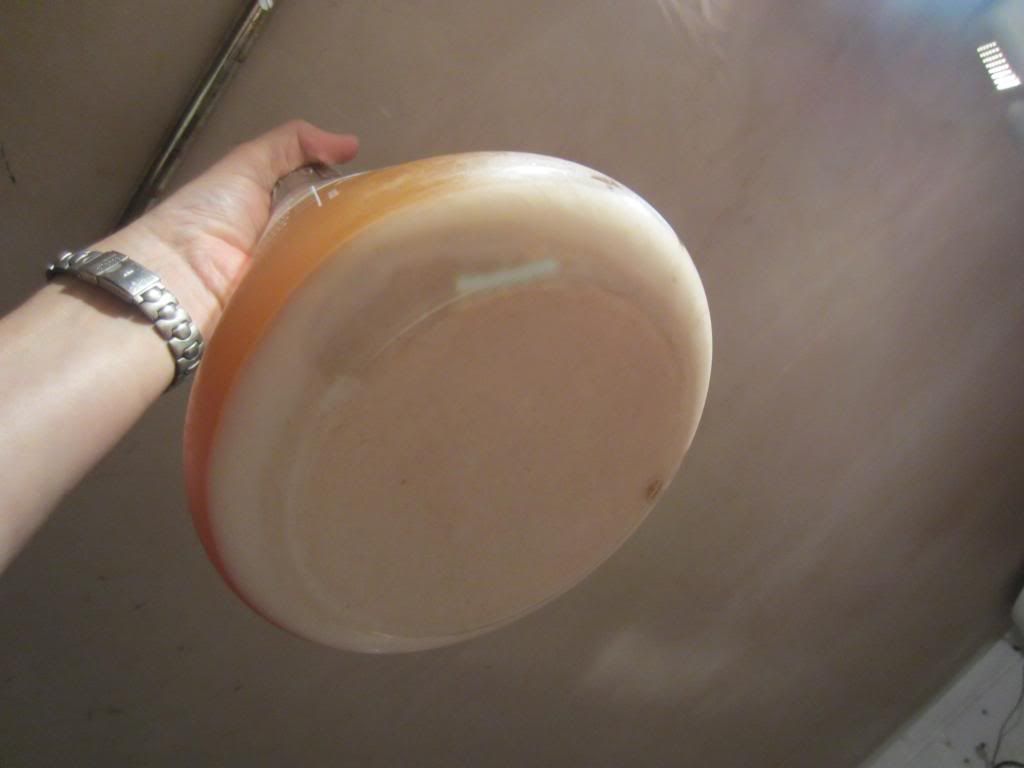
This is after 3 days, note that the stir bar is still in the flask at this point, don't forget and pitch the whole lot or you will be waiting until after fermentation is over before you can safely retrieve it. Or of course if you forget pour the trub down the drain along with the stir bar.
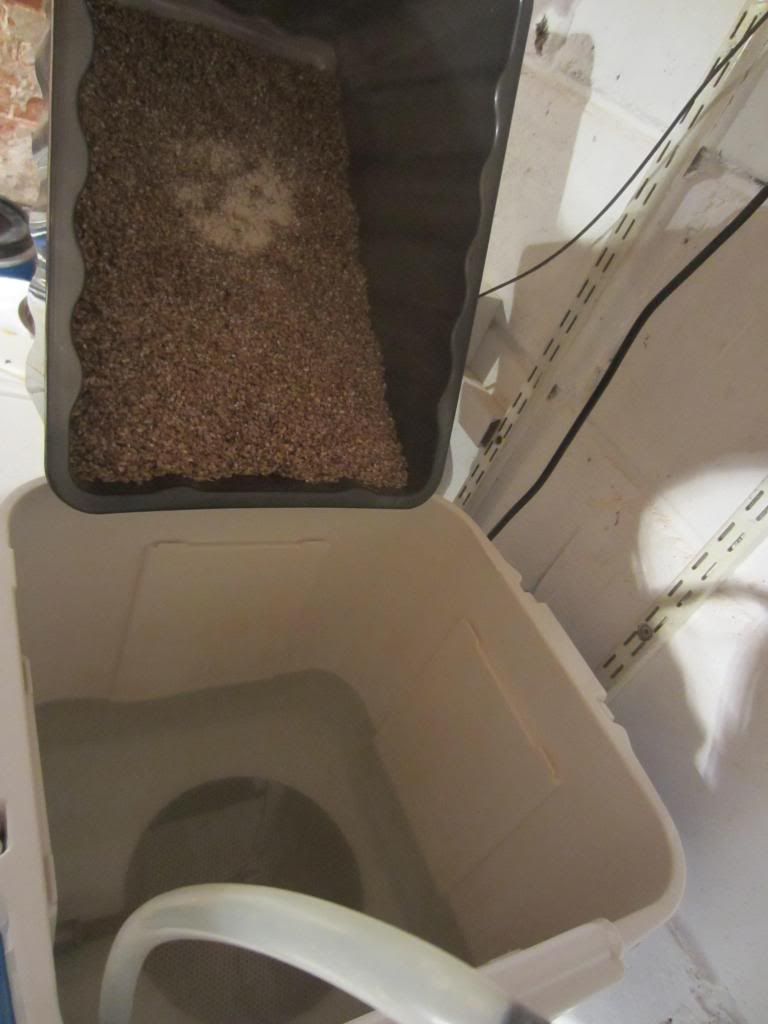
Doughing in: First problem of the day the strike water was too hot so I left it whilst I went back upstairs for something and by the time I got back it was too low, tried to rescue with some boiled water but couldn't get it high enough without seriously diluting the mash and of course petentially ruining the mash pH, more of that later.
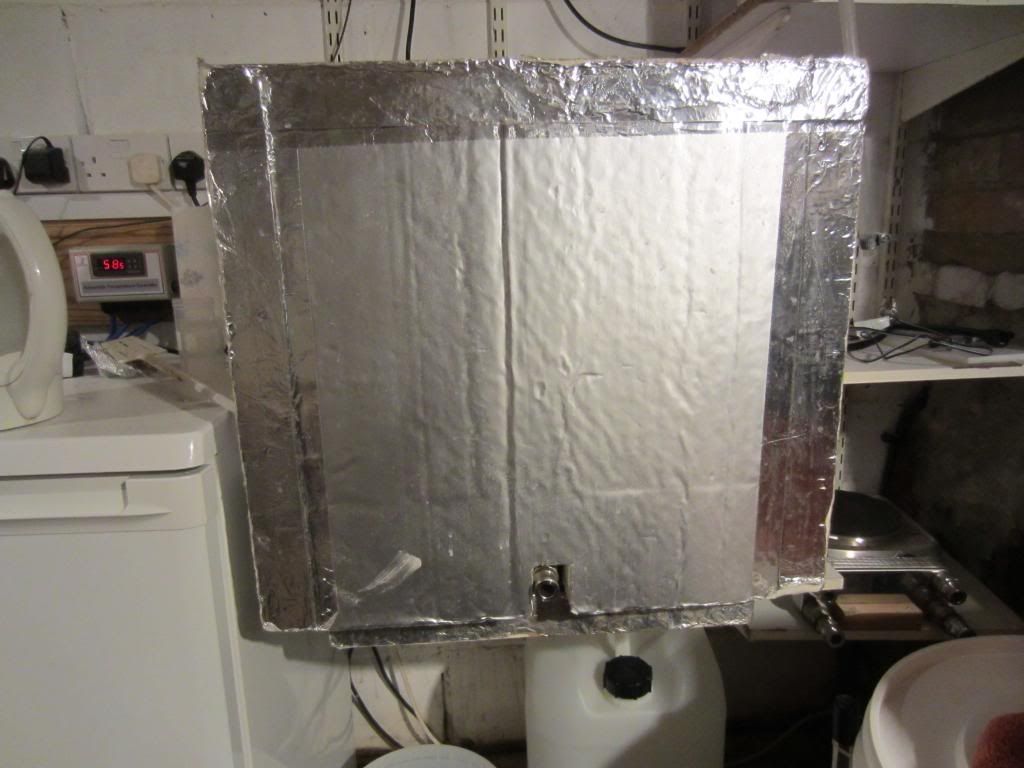
I made this insulation hood for my Igloo cool box, very simple, it has to be for me, and rarely loses more than 1/2 a degree over 1 hour, this actually went for a full 90 minutes.
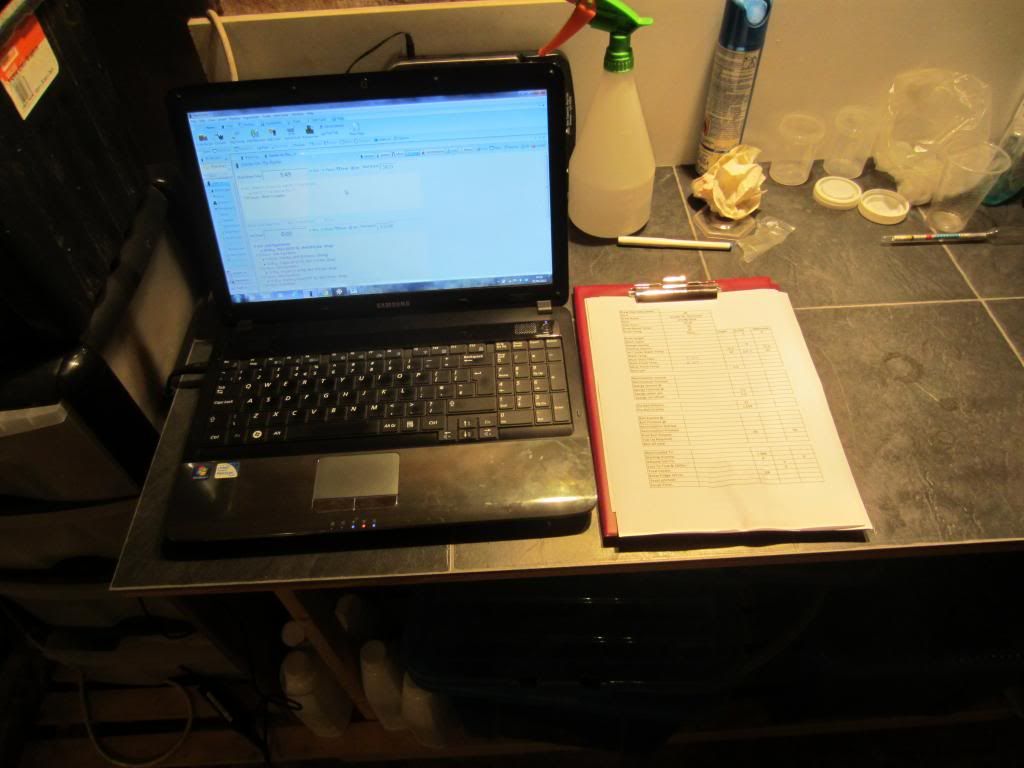
This shot shows me running Beersmith software and using a brew day data capture sheet I created in Excel. It is designed to be an aide memoire for when I write up the notes for putting into Beersmith and then keeping with my printouts of the Beersmith recipe, water treatment sheet and the brew day data sheet. They are put into a plastic document sleeve and kept in a ring binder. I don't trust software
Whilst the mash is doing its thing I pump the sparge water up to the HLT form the boiler, I usually start heating the sparge water in the boiler before pumping up to give it a start, just remember to turn the elements off before you pump below them . You can see the little solar pump chugging away, takes about 30 minutes at this height, also note the black lead going from the STC 1000 to the HLT, this is the sensor which will monitor the temp of the HLT during the sparge, now a lot of guys will say that is nowhere near good enough as there will be all sorts of differing temps throughout the liquour in there, but it is a reasonably inexpensive way of doing this and maximises the use of the STC. Just make sure the relay on the hot side is rated correctly, I believe mine is 40 amp (came from Cedaronics).
Meanwhile, told you it was a long one, I mix up some cleaning solution and as you can see I measure it precisely. The guys at 5 star chemicals will tell you that more isn't more, follow instructions precisely or you will either need to rinse more or find it doesn't do the job. Note: this is after the item has been cleaned of all visible dirt too. JMC has done a couple of great spreadsheets that anglicise the US instructions and put them into Excel, search on here for them. They are for PBW and Starsan and will ensure you always use the correct amount.
Once mixed up they go in the FV I am going to use with all of the post boil equipment as this is when it starts to get serious.
This shot shows me calibrating the pH meter, as you can see it is a little under the pH 7 point. Also note I am taking the temperature of the calibration solution to know what temp I need to have the samples at I will be testing later. I keep the calibration solution in the brew fridge at circa 20c so that I don't have so far to cool them.
As you can see here the post mash temperature is a lot lower than I originally was shooting for so I may end up with a slightly dryer beer than I was after, we shall see.
This is the start of recirculation. I usually jug about 8 litres of wort to get rid of as much grain as possible this is especially the case before I recirculate my pale ales using the solar pump as I want to ensure the minimum of grain is pushed through it.
I don't usually do this with my dark beers but thought I would take a picture to illustrate a point. When I usually jug a pale ale wort I use this BBQ tray pierced with holes to distribute the wort going back in so I minimise the disturbance of the grain bed. This is because I am after the clearest wort possible going into the boiler, I want to leave behind as much haze forming protein as I can. I like clear beer and if you can make it without then why not, it's not a lot of extra effort.
I fly sparge so I thought I would show a couple of things here, note that the tap on the MT is really throttled back, I'm after the slowest sparge and run off I can manage to maximise efficiency.
This shot isn't particularly clear but I was trying to show how much sparge water is above the grain bed, again designed to minimise disturbance and maximise the sugars being washed out, it also helps to keep the grain bed temp up.
The hops being used. Shows a mixture of ones bought in the original packaging and ones I have repackaged. Note the Fuggles plugs, something I understand that is being phased out. They were originally designed to be easy to put into casks that were dry hopped before sealing.
I have decanted the wort off of the yeast and now keeping it at ferment temp so when beer is cooled to the same degree I can pitch immediately. In the back you can see the pH calibration solutions (7 & 4).
Possibly a controversial one this: I see beer making as essentially cooking. We work with recipes, weights, measurements, temperatures and times to produce a tasty, well dish of beer. When I make a stock I was always taught to skim all the shit that comes to the surface off of the stock so it didn't go back into it and "muddy" the flavours. So this is what's happening here. I honestly don't know if I'm wasting my time or not, but I think it helps, particularly in getting really clear pale beers. I find it aesthetically pleasing and it gives me something to do whilst waiting for the boil. You might argue that commercials don't do it so why should we. Well commercials do a lot of things we don't do and vice versa.
Boiling with virtually no "scum", this method is really useful if you are worried about boil overs when you are at the limit of your pot. I like to use both elements for the whole boil to get a decent break and good isomerisation of the hops. 2 elements would almost guarantee a boil over in a pot on the limit.
Alright time to get controversial again. I don't worry about sparging below 1.010 as I think that as long as your run off is below pH 6 at the end of collection you won't have a problem with tannins etc. This shot shows my sparge water was below pH 6 so I am confident the run off was below that, unfortunately I can't find a picture of the run off being measured so may have forgotten to take one. My notes tell me it was well under 6
Samples cooling for pre boil gravity taking, I don't trust hydrometer correction formulas, and next to it is my final runnings sample. I put them in the fridge to rapidly cool to circa 20c which is what the hydrometer is calibrated to and so is the pH meter.
This is the mash pH sample and as you can see it is way off the 5.5 I was aiming for. However, it is not an accurate picture. I mentioned earlier I had had to up the temp of the mash water in order to get it closer to the temp I was shooting for, this would have made a difference but, and here is the embarrassment, I also forgot to take the sample straight from the mash and took this from the run off so it's all a bit of a nonsense really . I am confident in Brun' waters calculations so am reasonably happy I am in the ballpark.
As if I didn't have enough to do I even kegged an APA during the boil
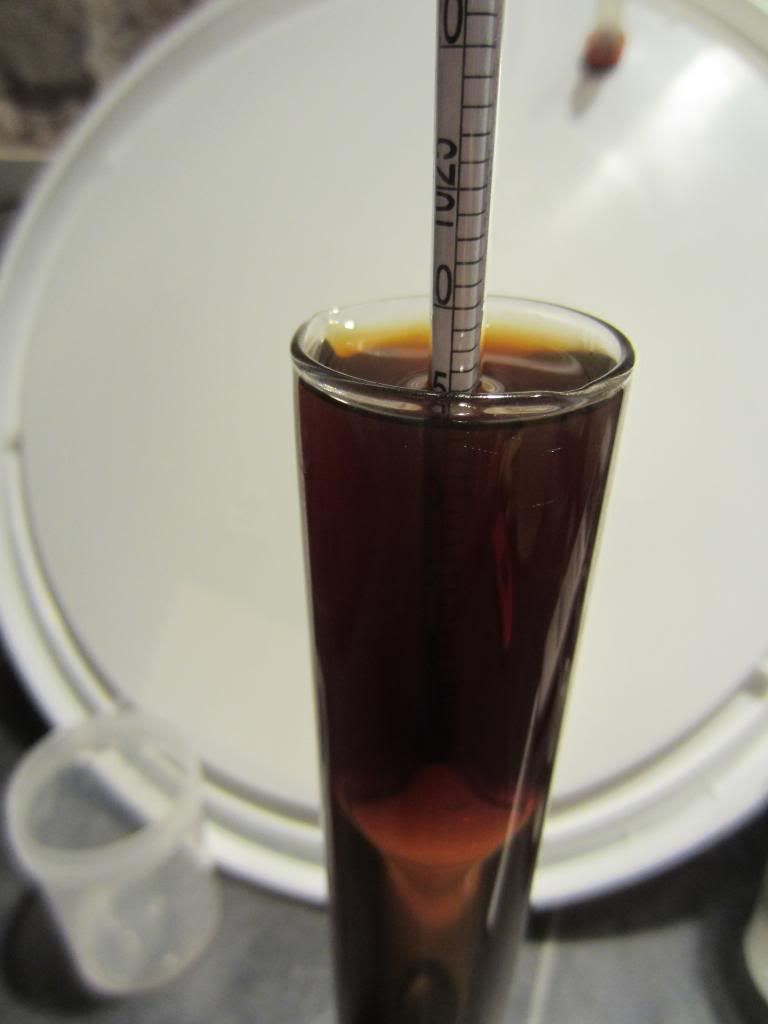
Pre boil wort SG using my final gravity hydrometer which is much more accurate than my standard hydro.
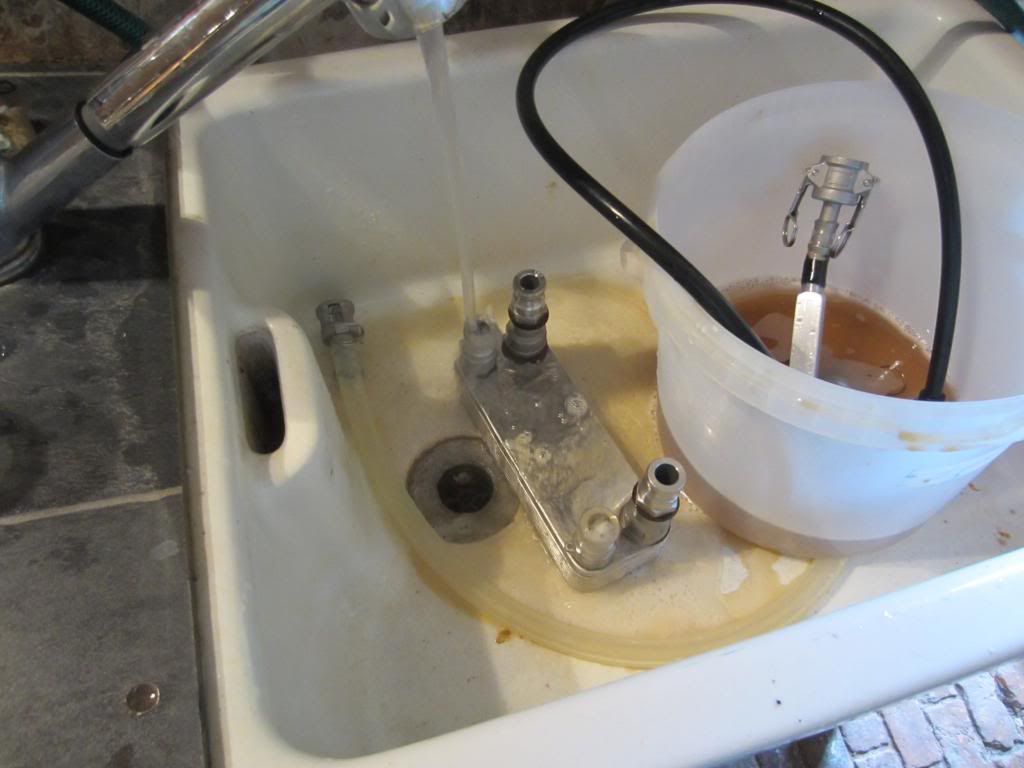
Immediately after switch off I hook up the plate chiller and begin cooling down the wort. No steep hops in this, which I have to be pretty quick with as the chiller pulls a massive amount of heat out of the wort right at the beginning. You can see that the solar pump is once again coming to the party.
This is how I cater for the "lost" water from the chiller. This pipe goes all the way up to the pond, which regularly needs topping up in hot weather.
This picture makes the earlier point about how fast the chiller works. The wort is over 95 c at this point and the groundwater is pushing 18-19 c.
Once at this point I am regularly checking the wort so as we get into temperatures that bacteria can survive at I need to be really careful with what goes in it. This is a handy tip, I keep the therma pen in starsan between tests.
That's a Blichman Thrumometer that does the job of monitoring temps really well too.
The money shot: This is with my standard hydro. What do you think it reads?
And now with the final SG one. Quite a difference I think
Immediately the chill is over I back flush the chiller with hot water for at least 5 minutes. This is then left to drain and then placed upside down in a 180 c oven for 1/2 hour. You wouldn't believe the gunk that comes out. I urge all plate chiller owners to try this. Put a tray directly under to make sure you don't confuse its gunk with the other gunk on the oven floor
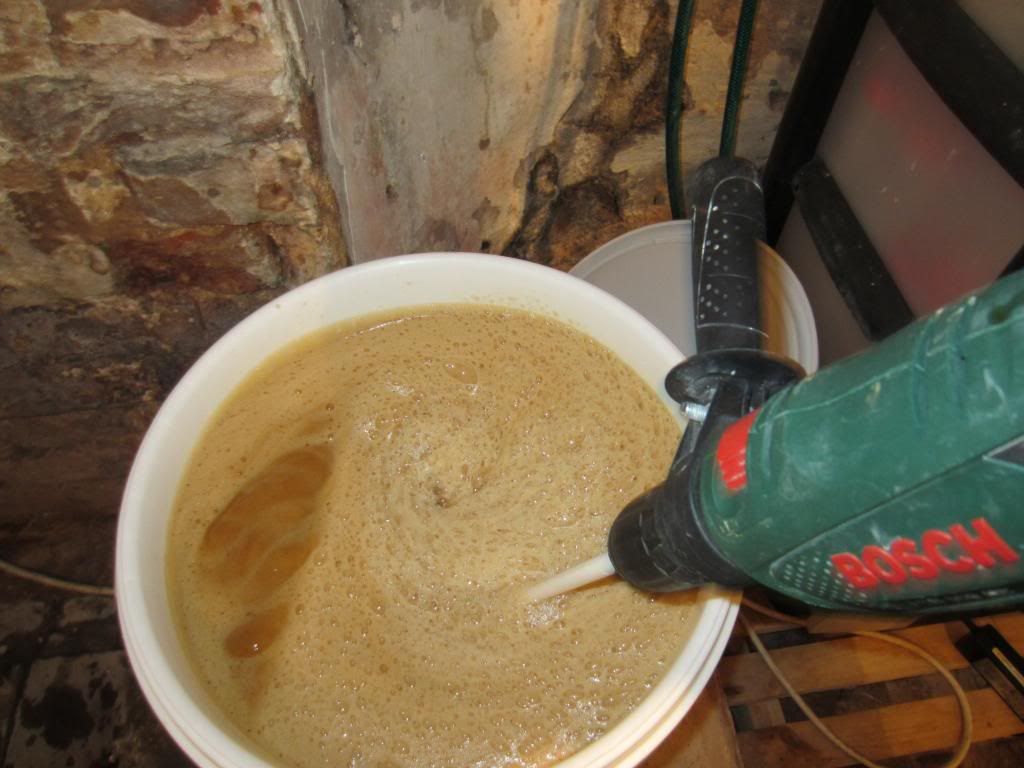
I have often thought about getting an air diffusion stone etc but when you see what a paddle and a drill can do I'm not sure it's worth it.
Unfortunately trying to flame the flask holding the yeast flask and take a clear picture eluded me. Anyway the point is, you want the yeast flowing over a sanitised lip, just remember to spray a bit of starsan to cool it down or you fry your first billion cells
All tucked up: Now you may look at that and think "he only got 19 litres" but the rest is foam from the paddle aeration, told you it was good.
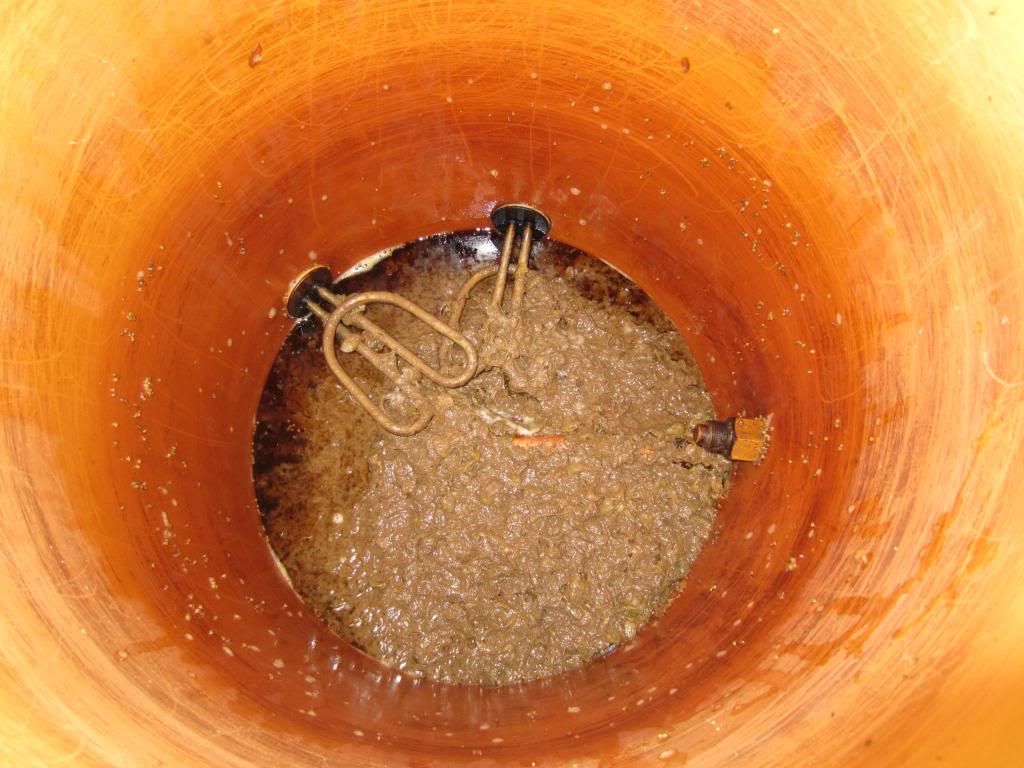
Always find dark beers are the filthiest, unfortunately for me my boiler has a lot of dead space but I don't really want that stuff as it tends to contain some of the stuff I'm trying to separate from the beer.
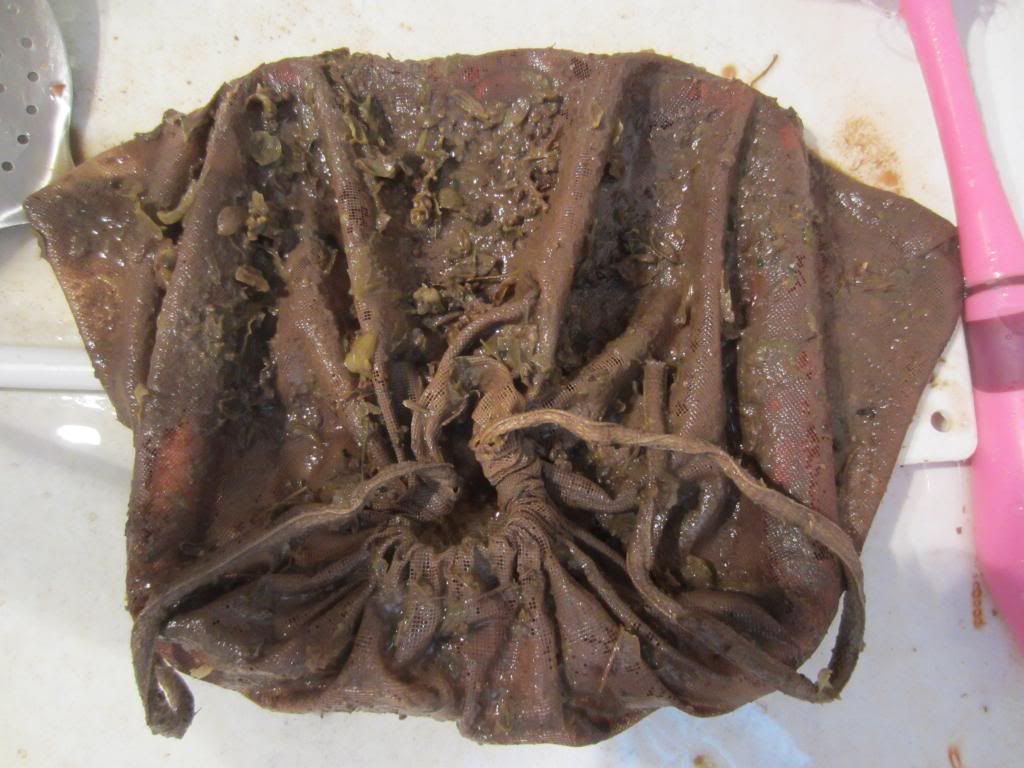
The famous hop sock, still wrapped around the copper manifold. The amount of crap this captures is unbelievable, but the wort going into the FV is crystal.
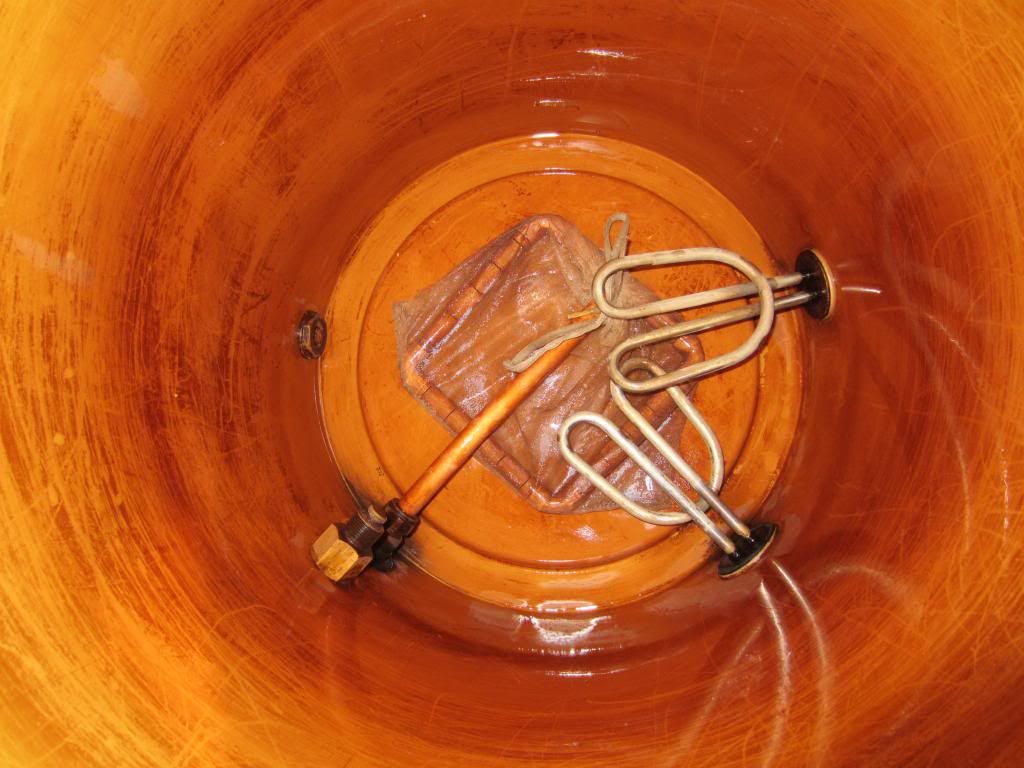
Cleans up lovely though, doesn't it?
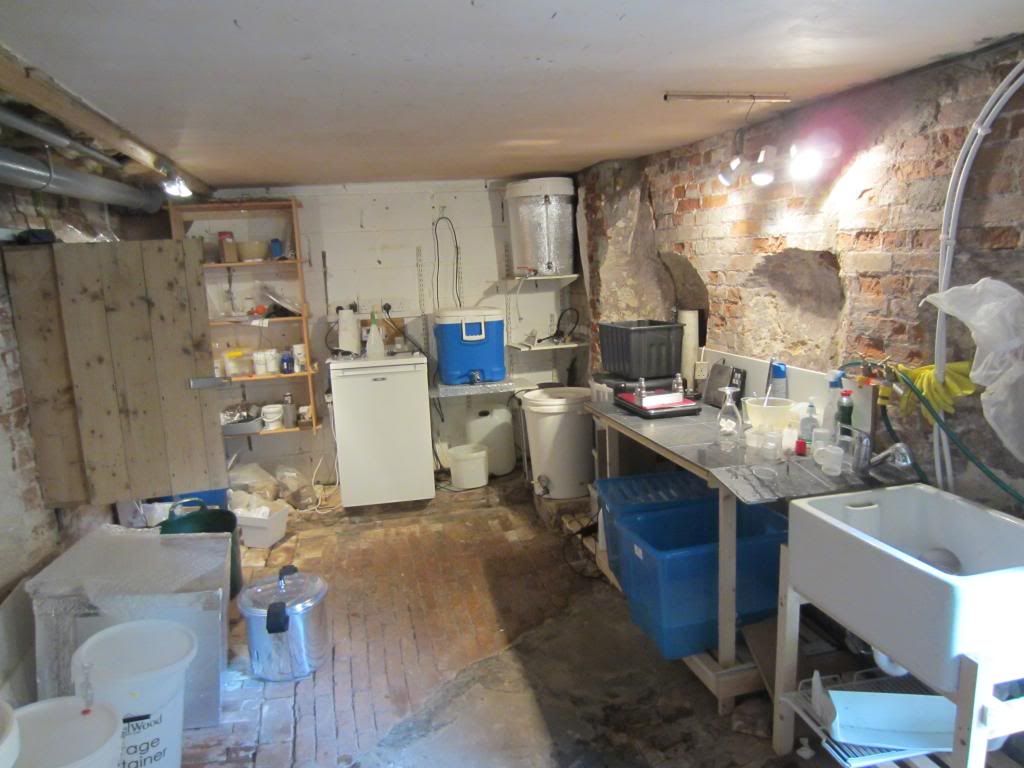
And finally the scene of the "crime" after it was cleared up. I will do it properly after my holiday, honest
OK, phew that's it. Took almost as long to record it as to brew it. Bound to be a few things I've forgotten to mention and of course a lot of things that you will disagree with. I welcome all comments and queries so fire away.
Stand by this is a monster with over 30 pictures and has taken me 1.5 hours to write up & post, so comment whatever you think to make it worth it
Having spent the previous day setting it up and knowing that afterwards I would be driving for over 5 hours I got up a little earlier than usual to make the coffee check on the yeast and set the HLT up to get to strike water temps.
This is after 3 days, note that the stir bar is still in the flask at this point, don't forget and pitch the whole lot or you will be waiting until after fermentation is over before you can safely retrieve it. Or of course if you forget pour the trub down the drain along with the stir bar.
Doughing in: First problem of the day the strike water was too hot so I left it whilst I went back upstairs for something and by the time I got back it was too low, tried to rescue with some boiled water but couldn't get it high enough without seriously diluting the mash and of course petentially ruining the mash pH, more of that later.
I made this insulation hood for my Igloo cool box, very simple, it has to be for me, and rarely loses more than 1/2 a degree over 1 hour, this actually went for a full 90 minutes.
This shot shows me running Beersmith software and using a brew day data capture sheet I created in Excel. It is designed to be an aide memoire for when I write up the notes for putting into Beersmith and then keeping with my printouts of the Beersmith recipe, water treatment sheet and the brew day data sheet. They are put into a plastic document sleeve and kept in a ring binder. I don't trust software
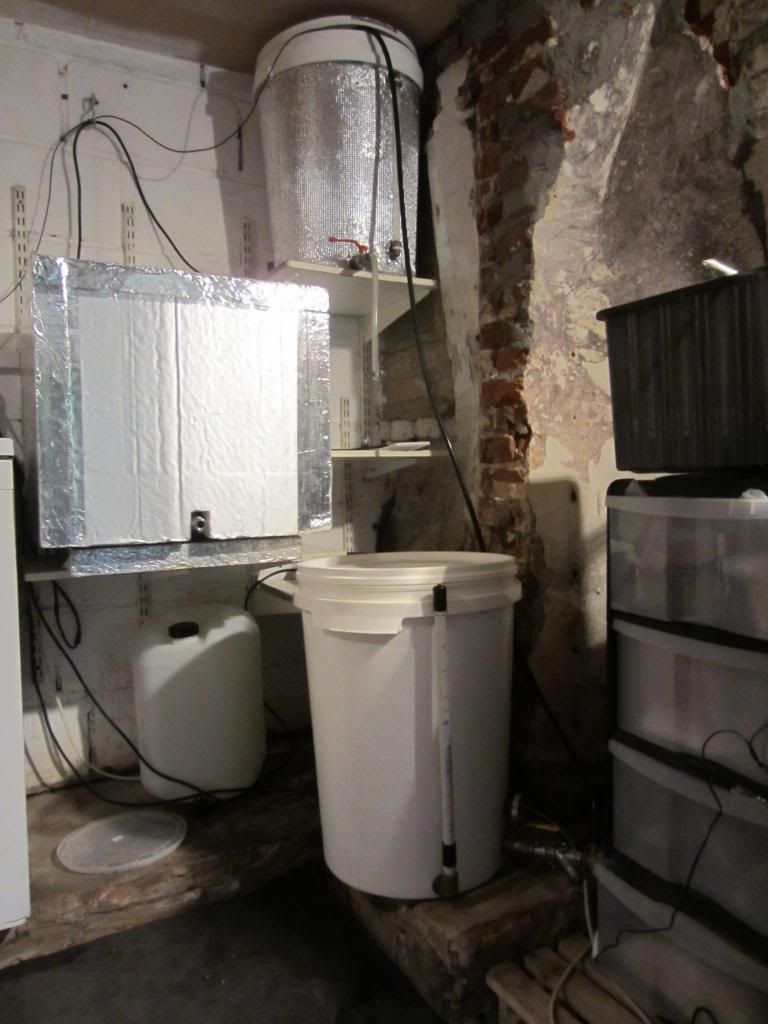
Whilst the mash is doing its thing I pump the sparge water up to the HLT form the boiler, I usually start heating the sparge water in the boiler before pumping up to give it a start, just remember to turn the elements off before you pump below them . You can see the little solar pump chugging away, takes about 30 minutes at this height, also note the black lead going from the STC 1000 to the HLT, this is the sensor which will monitor the temp of the HLT during the sparge, now a lot of guys will say that is nowhere near good enough as there will be all sorts of differing temps throughout the liquour in there, but it is a reasonably inexpensive way of doing this and maximises the use of the STC. Just make sure the relay on the hot side is rated correctly, I believe mine is 40 amp (came from Cedaronics).
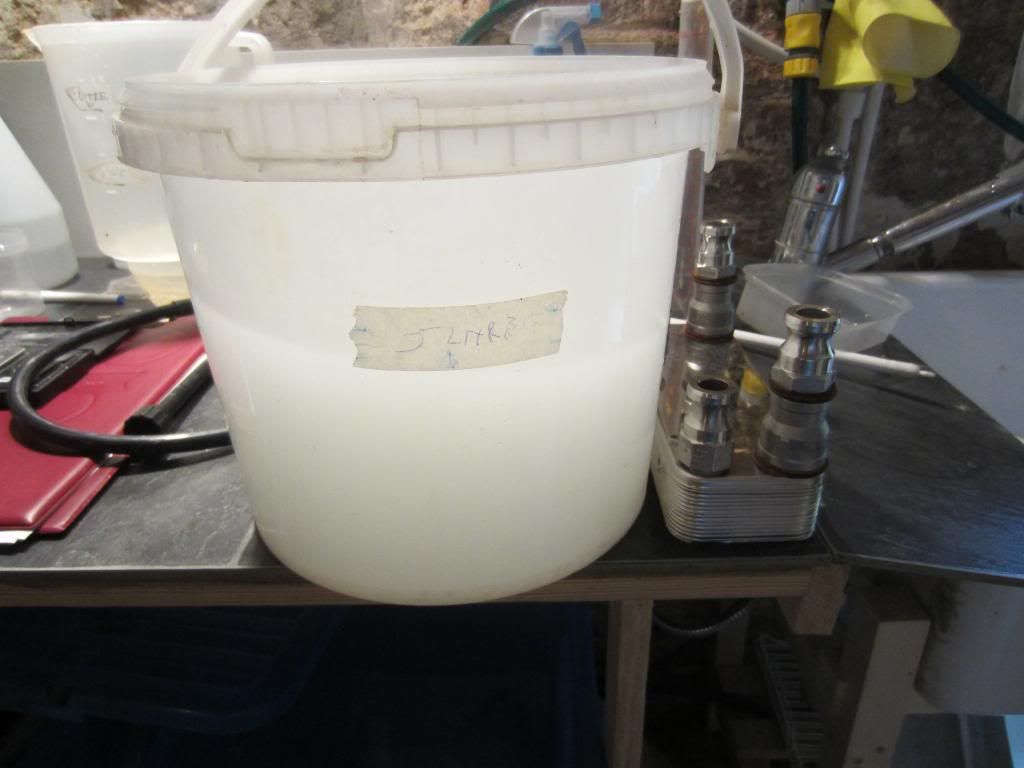
Meanwhile, told you it was a long one, I mix up some cleaning solution and as you can see I measure it precisely. The guys at 5 star chemicals will tell you that more isn't more, follow instructions precisely or you will either need to rinse more or find it doesn't do the job. Note: this is after the item has been cleaned of all visible dirt too. JMC has done a couple of great spreadsheets that anglicise the US instructions and put them into Excel, search on here for them. They are for PBW and Starsan and will ensure you always use the correct amount.
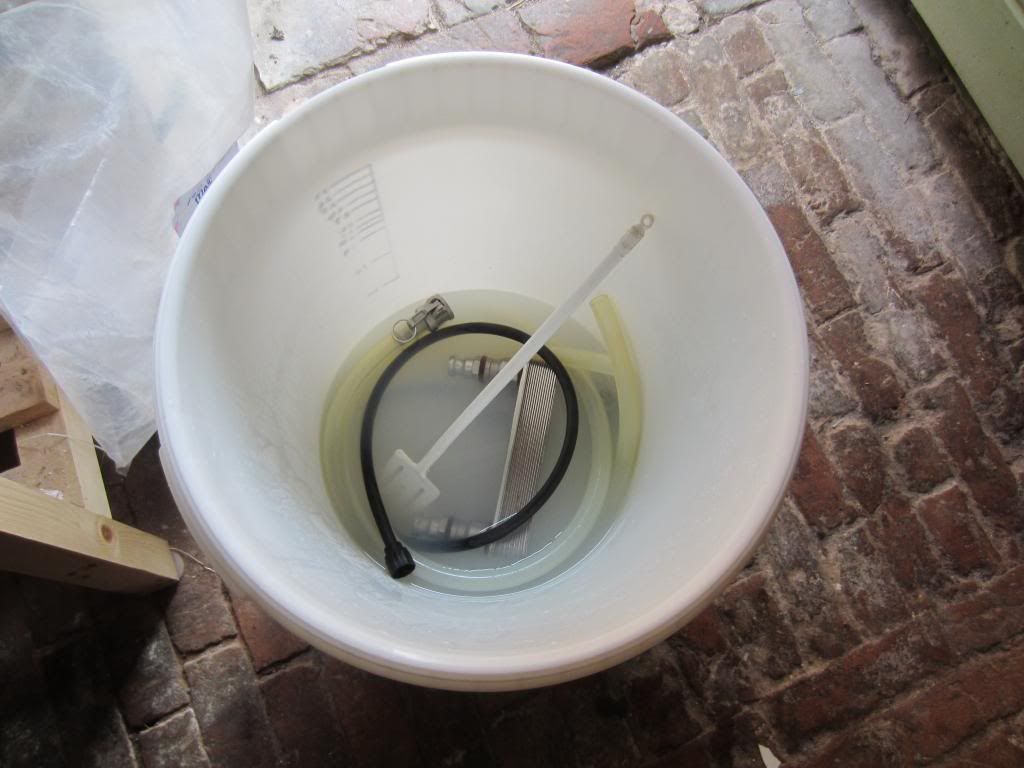
Once mixed up they go in the FV I am going to use with all of the post boil equipment as this is when it starts to get serious.
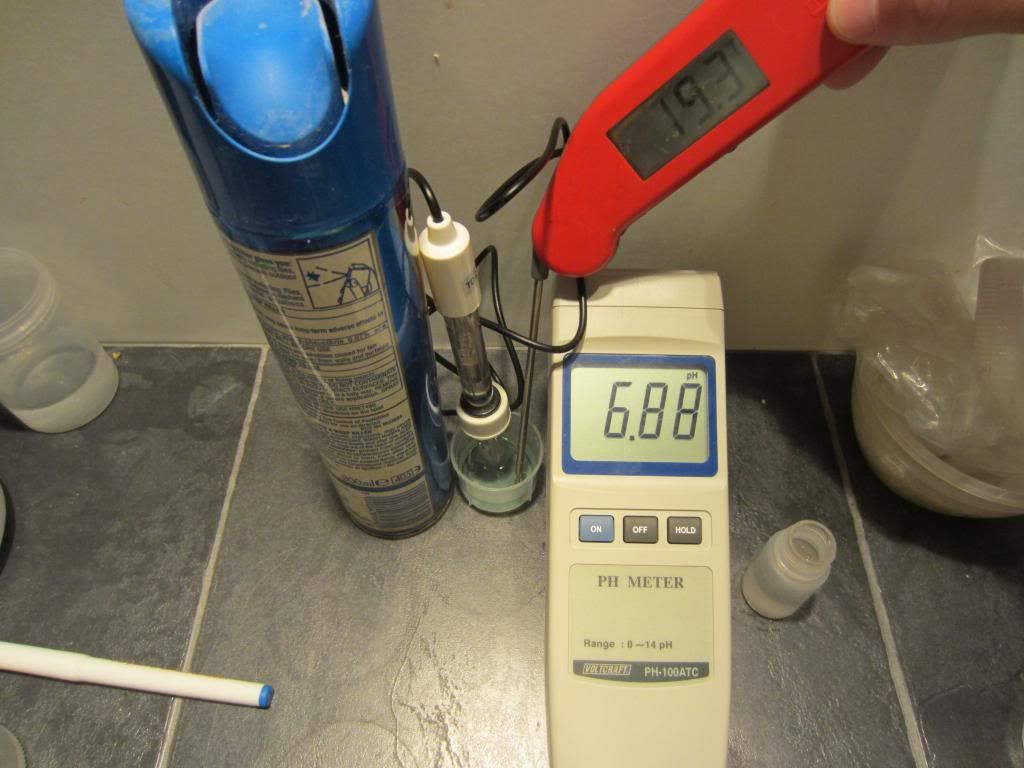
This shot shows me calibrating the pH meter, as you can see it is a little under the pH 7 point. Also note I am taking the temperature of the calibration solution to know what temp I need to have the samples at I will be testing later. I keep the calibration solution in the brew fridge at circa 20c so that I don't have so far to cool them.
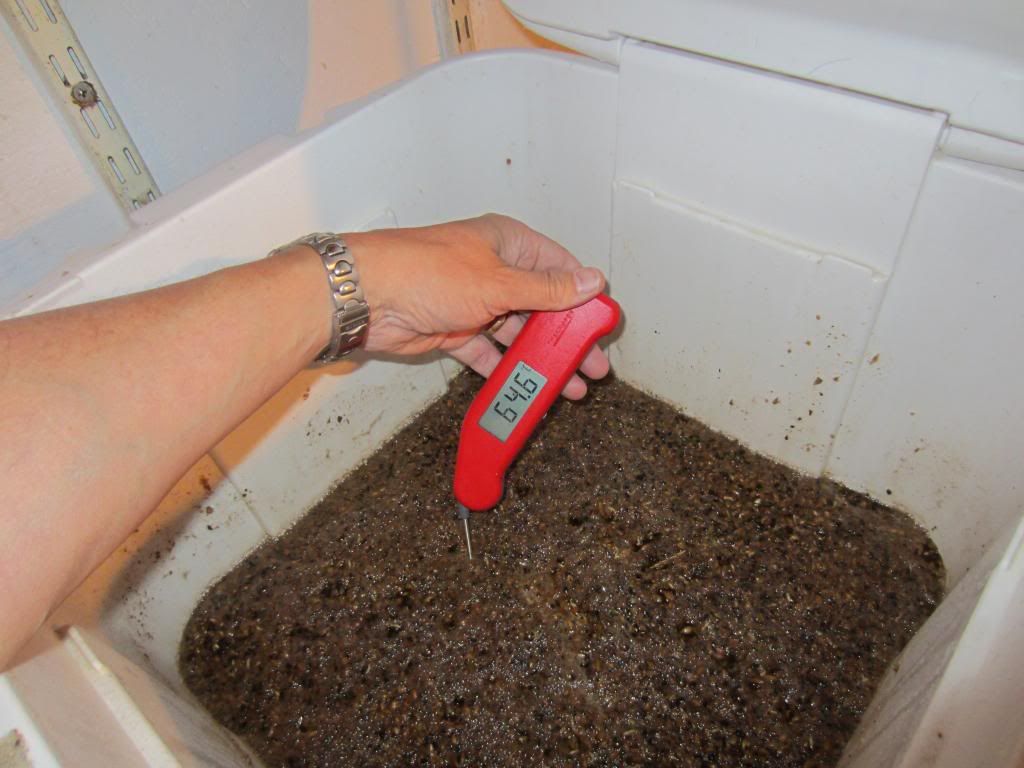
As you can see here the post mash temperature is a lot lower than I originally was shooting for so I may end up with a slightly dryer beer than I was after, we shall see.
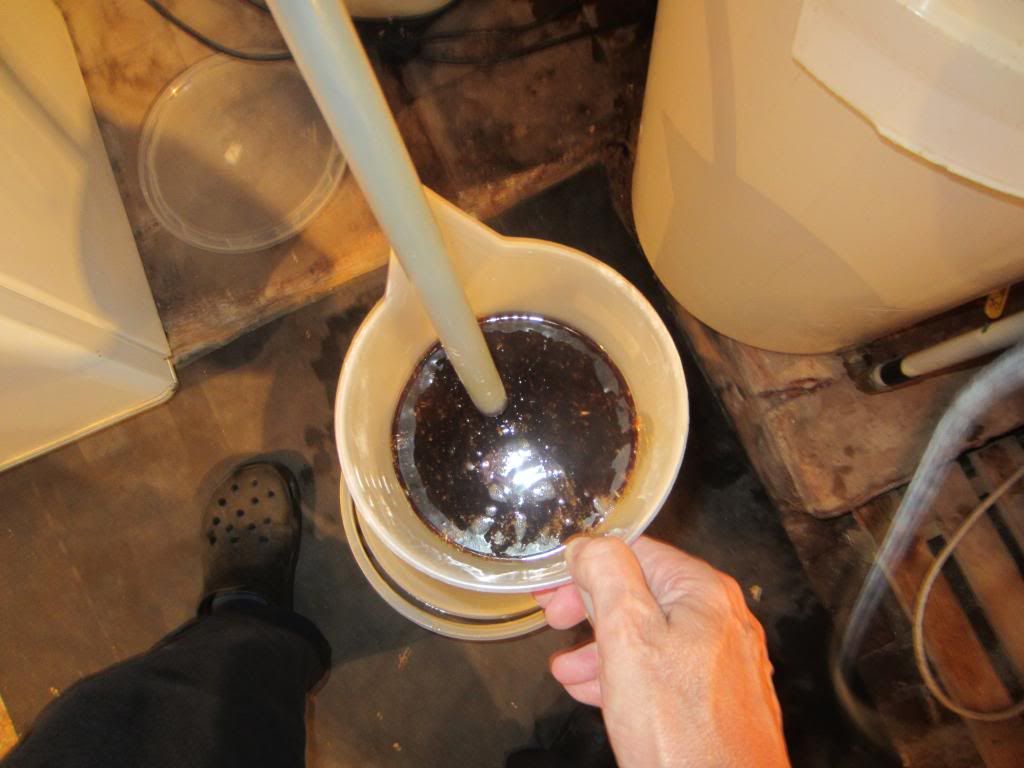
This is the start of recirculation. I usually jug about 8 litres of wort to get rid of as much grain as possible this is especially the case before I recirculate my pale ales using the solar pump as I want to ensure the minimum of grain is pushed through it.
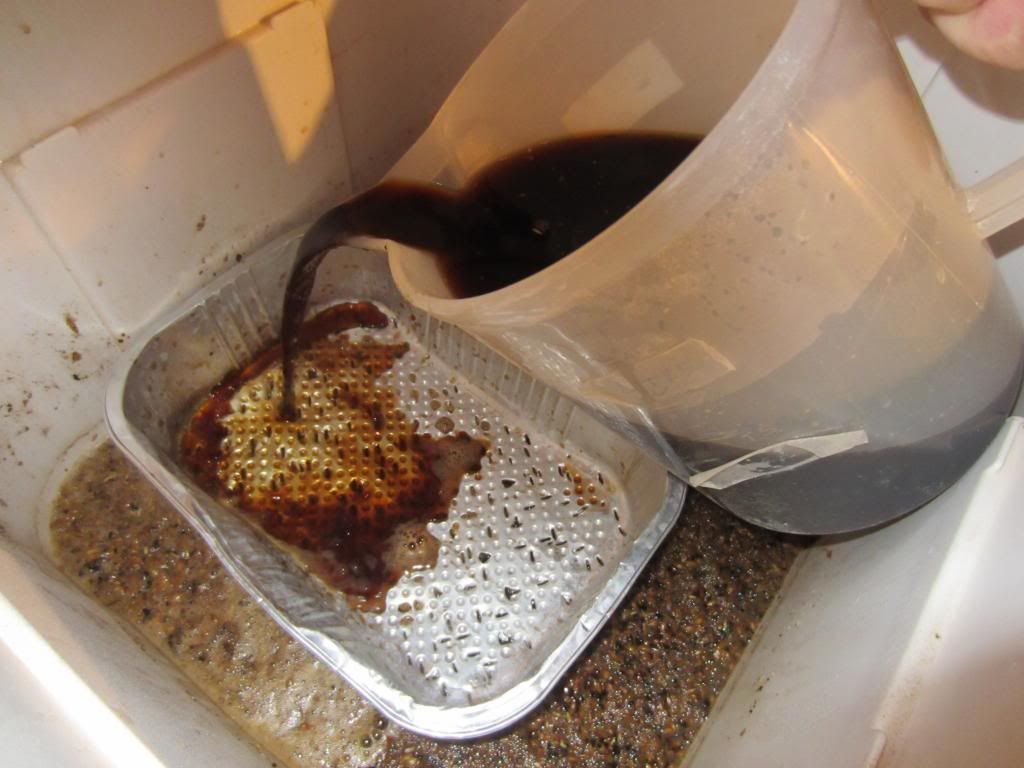
I don't usually do this with my dark beers but thought I would take a picture to illustrate a point. When I usually jug a pale ale wort I use this BBQ tray pierced with holes to distribute the wort going back in so I minimise the disturbance of the grain bed. This is because I am after the clearest wort possible going into the boiler, I want to leave behind as much haze forming protein as I can. I like clear beer and if you can make it without then why not, it's not a lot of extra effort.
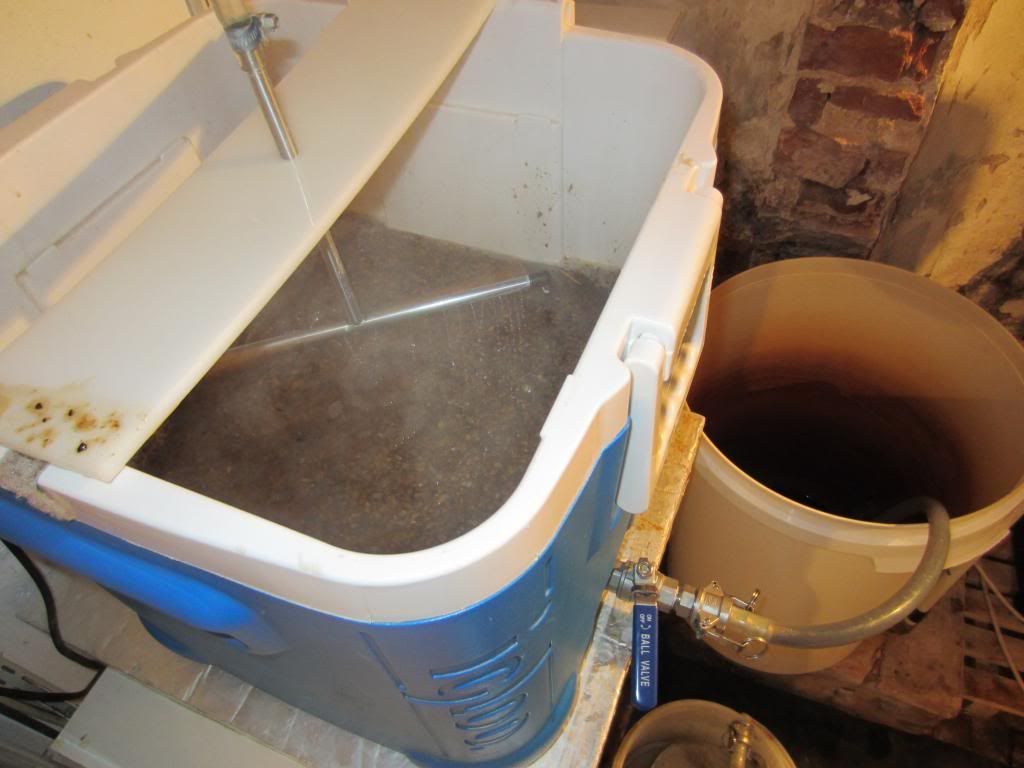
I fly sparge so I thought I would show a couple of things here, note that the tap on the MT is really throttled back, I'm after the slowest sparge and run off I can manage to maximise efficiency.
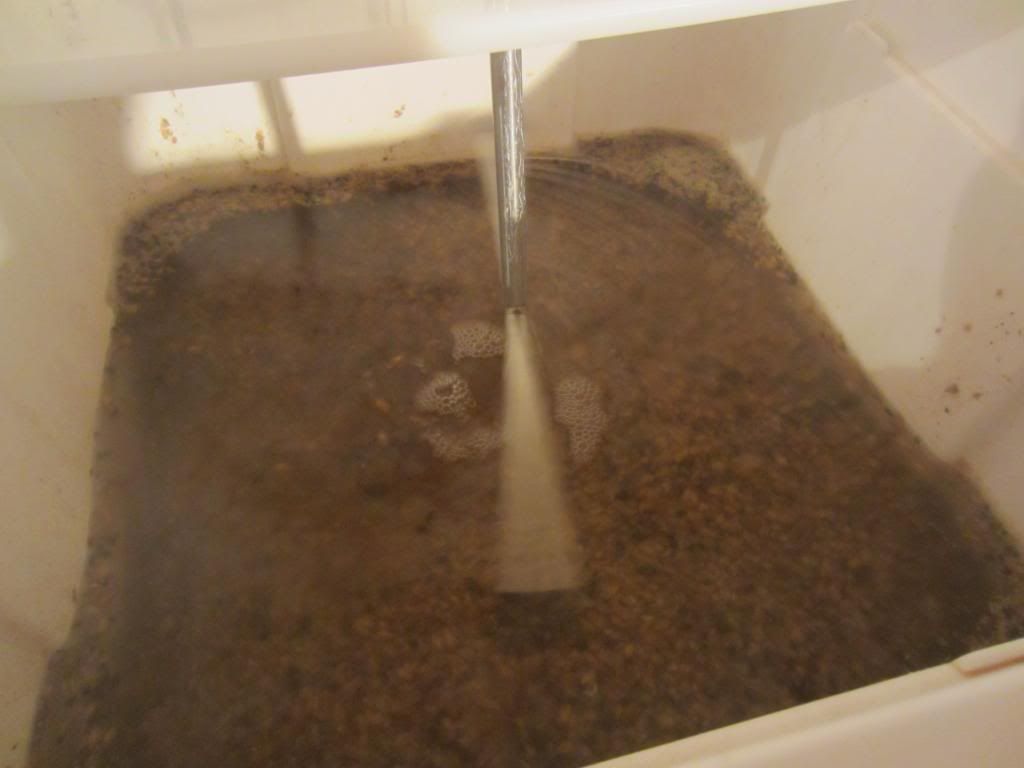
This shot isn't particularly clear but I was trying to show how much sparge water is above the grain bed, again designed to minimise disturbance and maximise the sugars being washed out, it also helps to keep the grain bed temp up.
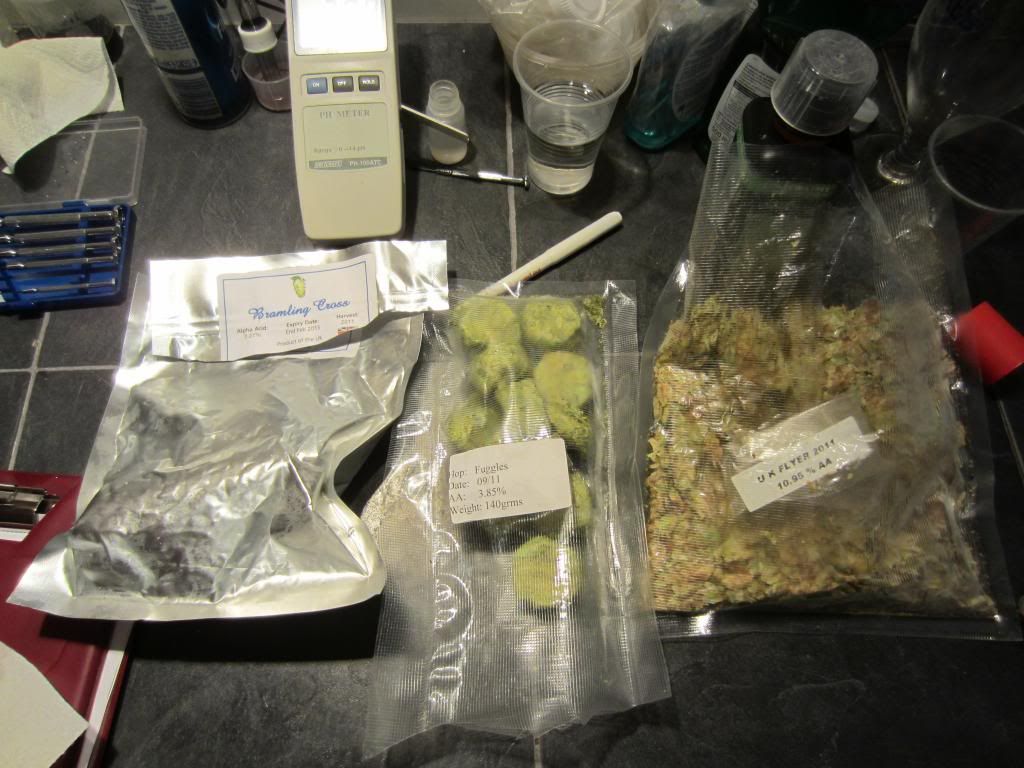
The hops being used. Shows a mixture of ones bought in the original packaging and ones I have repackaged. Note the Fuggles plugs, something I understand that is being phased out. They were originally designed to be easy to put into casks that were dry hopped before sealing.
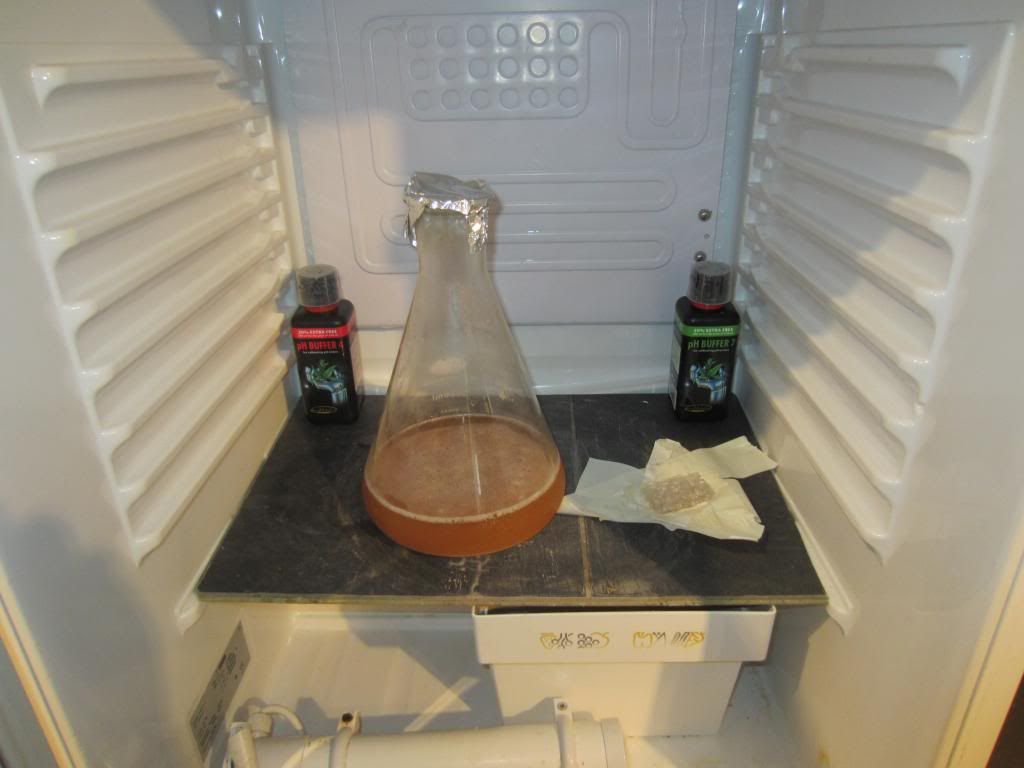
I have decanted the wort off of the yeast and now keeping it at ferment temp so when beer is cooled to the same degree I can pitch immediately. In the back you can see the pH calibration solutions (7 & 4).
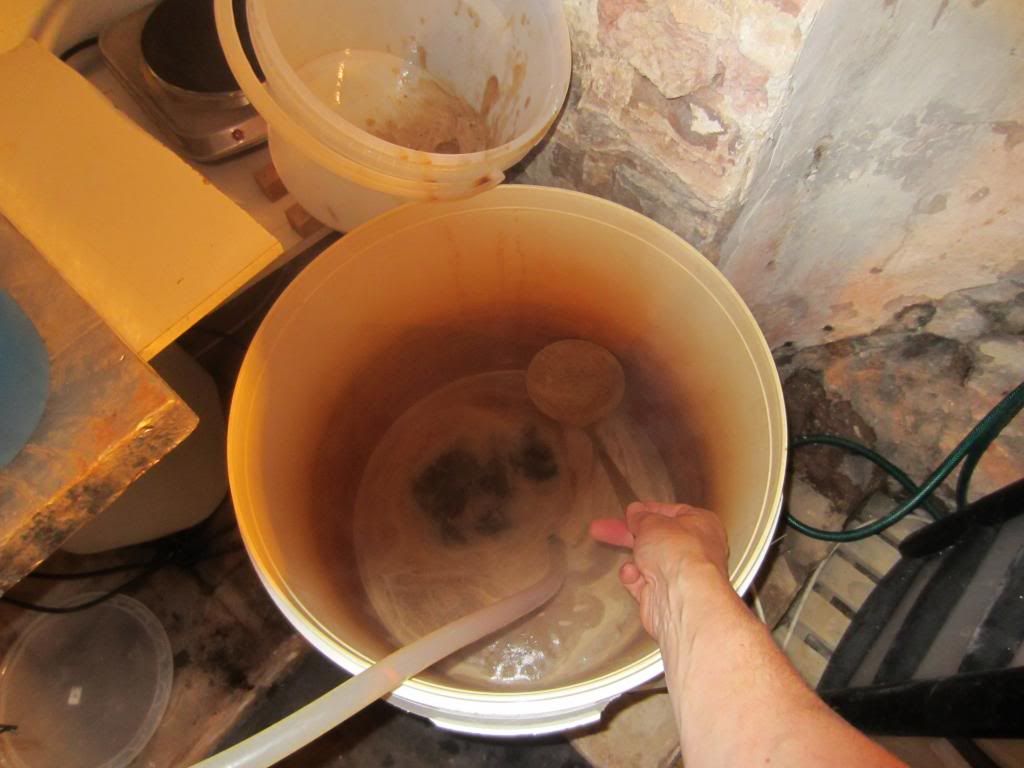
Possibly a controversial one this: I see beer making as essentially cooking. We work with recipes, weights, measurements, temperatures and times to produce a tasty, well dish of beer. When I make a stock I was always taught to skim all the shit that comes to the surface off of the stock so it didn't go back into it and "muddy" the flavours. So this is what's happening here. I honestly don't know if I'm wasting my time or not, but I think it helps, particularly in getting really clear pale beers. I find it aesthetically pleasing and it gives me something to do whilst waiting for the boil. You might argue that commercials don't do it so why should we. Well commercials do a lot of things we don't do and vice versa.
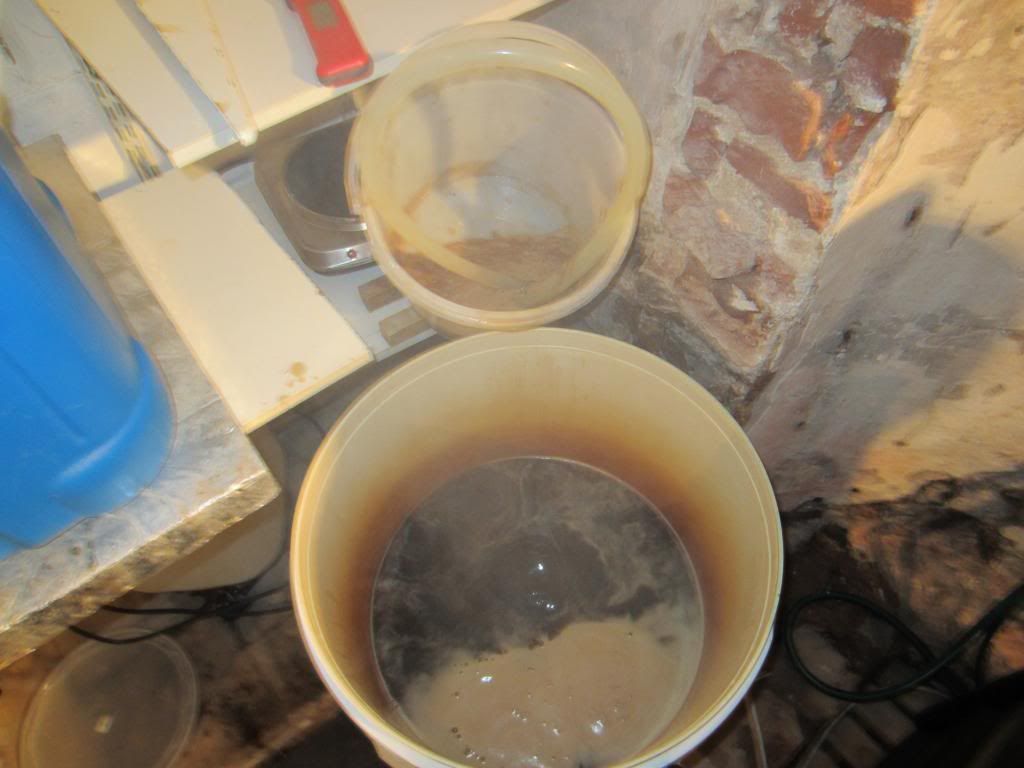
Boiling with virtually no "scum", this method is really useful if you are worried about boil overs when you are at the limit of your pot. I like to use both elements for the whole boil to get a decent break and good isomerisation of the hops. 2 elements would almost guarantee a boil over in a pot on the limit.
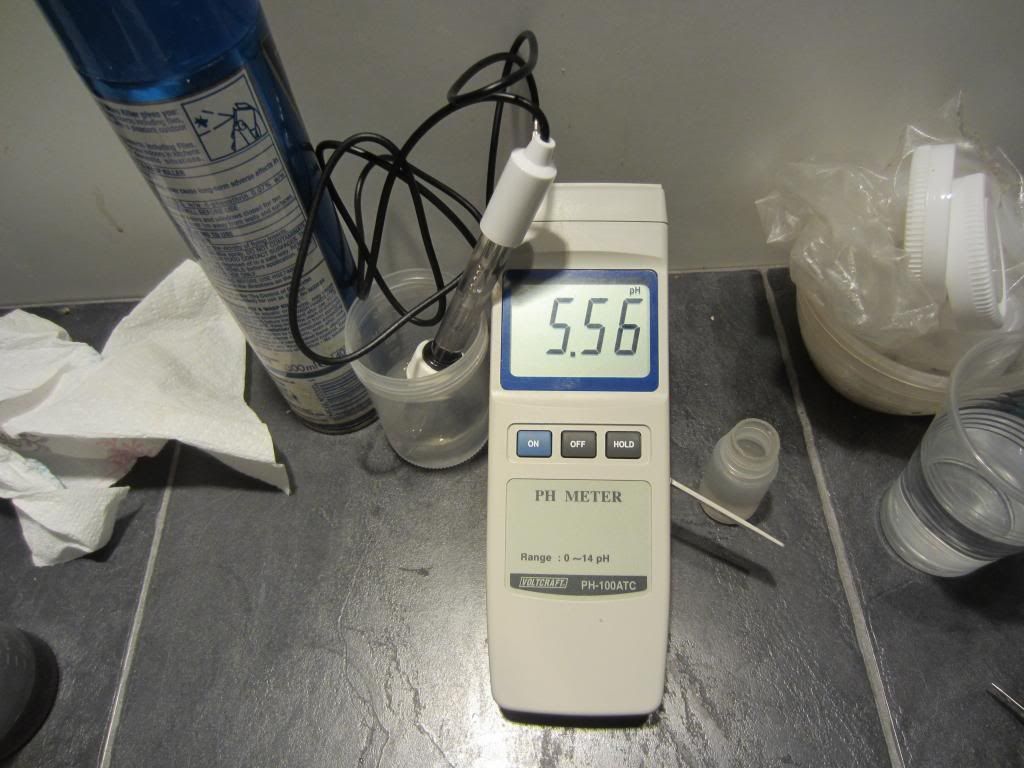
Alright time to get controversial again. I don't worry about sparging below 1.010 as I think that as long as your run off is below pH 6 at the end of collection you won't have a problem with tannins etc. This shot shows my sparge water was below pH 6 so I am confident the run off was below that, unfortunately I can't find a picture of the run off being measured so may have forgotten to take one. My notes tell me it was well under 6
Samples cooling for pre boil gravity taking, I don't trust hydrometer correction formulas, and next to it is my final runnings sample. I put them in the fridge to rapidly cool to circa 20c which is what the hydrometer is calibrated to and so is the pH meter.
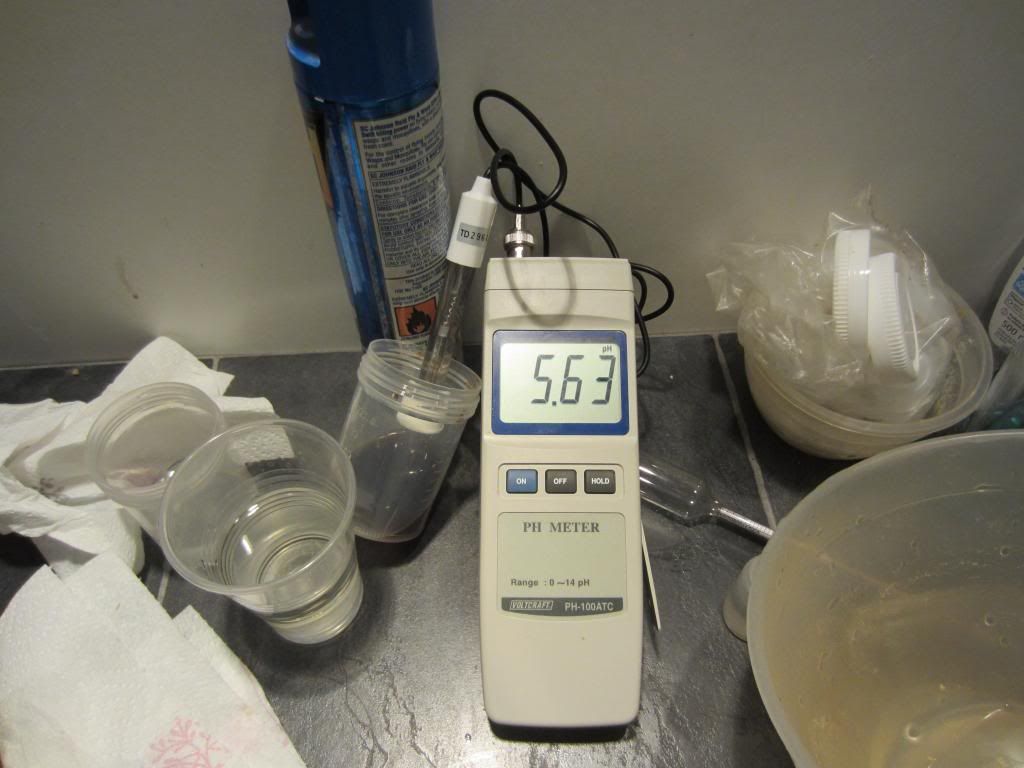
This is the mash pH sample and as you can see it is way off the 5.5 I was aiming for. However, it is not an accurate picture. I mentioned earlier I had had to up the temp of the mash water in order to get it closer to the temp I was shooting for, this would have made a difference but, and here is the embarrassment, I also forgot to take the sample straight from the mash and took this from the run off so it's all a bit of a nonsense really . I am confident in Brun' waters calculations so am reasonably happy I am in the ballpark.
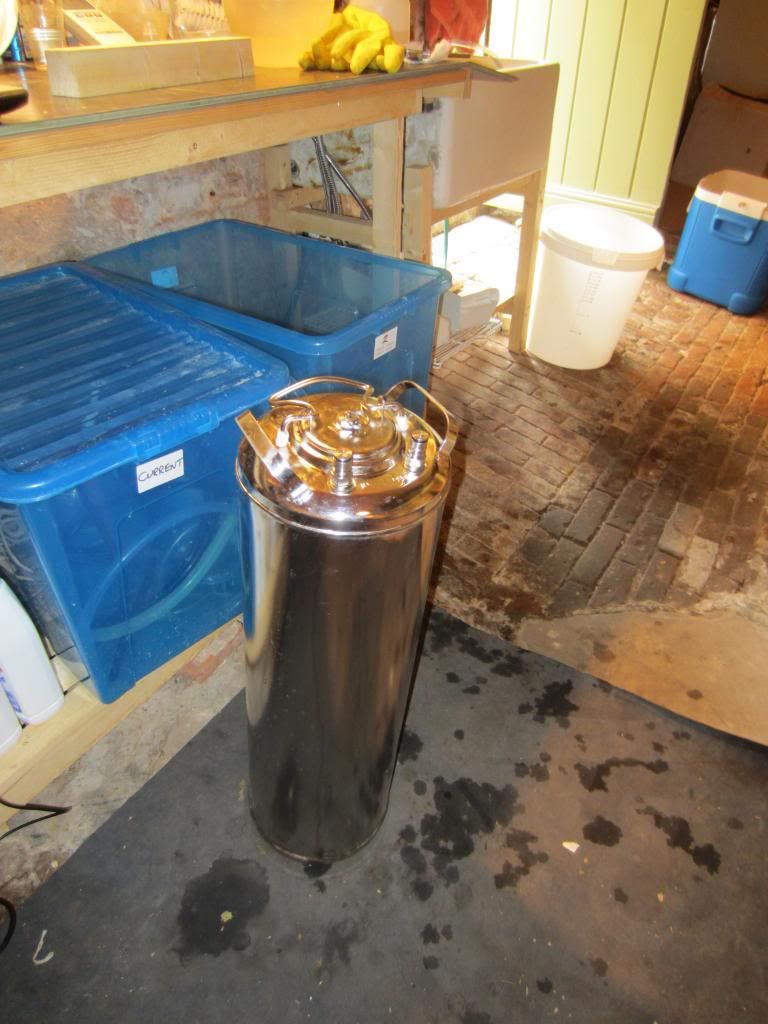
As if I didn't have enough to do I even kegged an APA during the boil
Pre boil wort SG using my final gravity hydrometer which is much more accurate than my standard hydro.
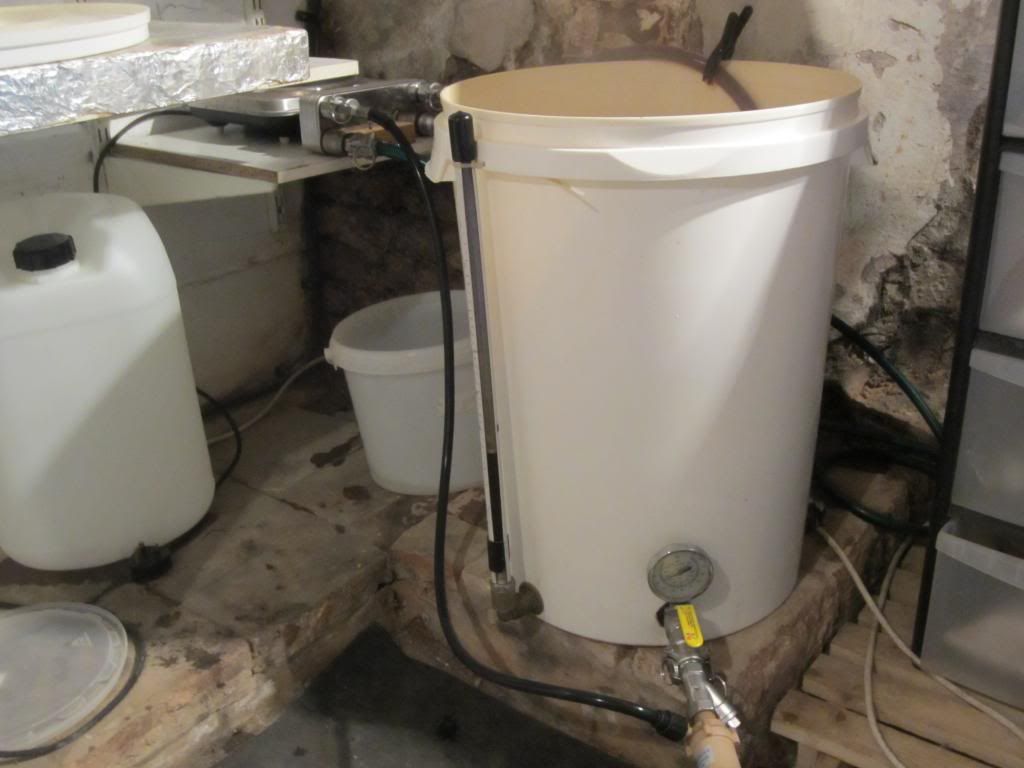
Immediately after switch off I hook up the plate chiller and begin cooling down the wort. No steep hops in this, which I have to be pretty quick with as the chiller pulls a massive amount of heat out of the wort right at the beginning. You can see that the solar pump is once again coming to the party.
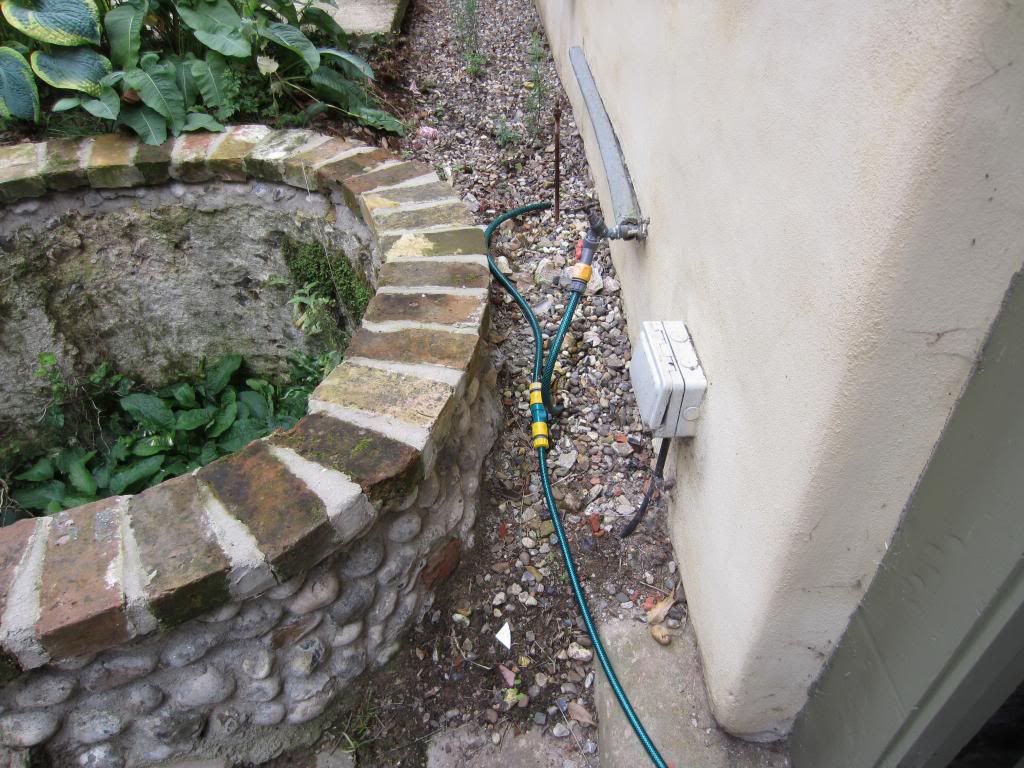
This is how I cater for the "lost" water from the chiller. This pipe goes all the way up to the pond, which regularly needs topping up in hot weather.
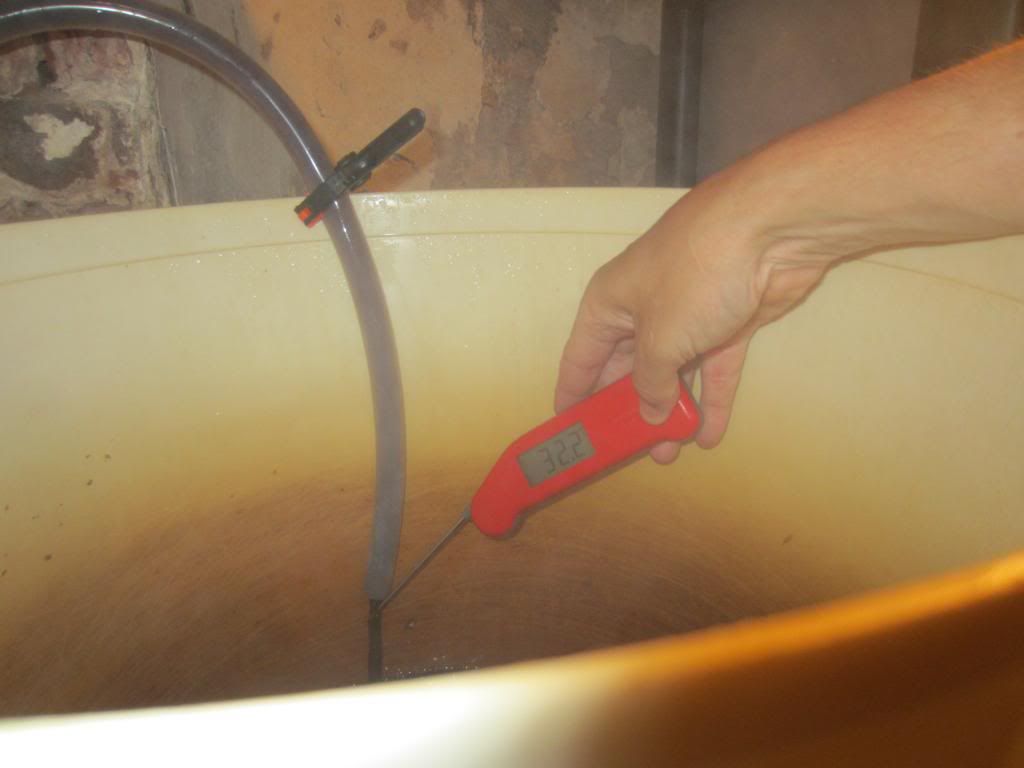
This picture makes the earlier point about how fast the chiller works. The wort is over 95 c at this point and the groundwater is pushing 18-19 c.
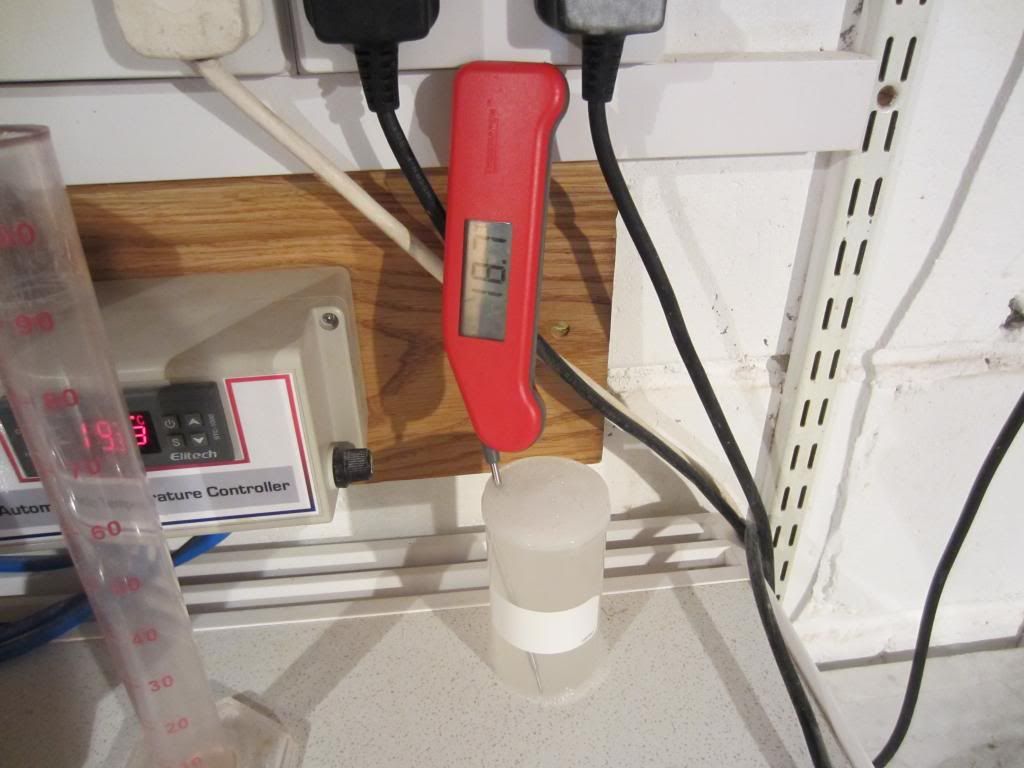
Once at this point I am regularly checking the wort so as we get into temperatures that bacteria can survive at I need to be really careful with what goes in it. This is a handy tip, I keep the therma pen in starsan between tests.
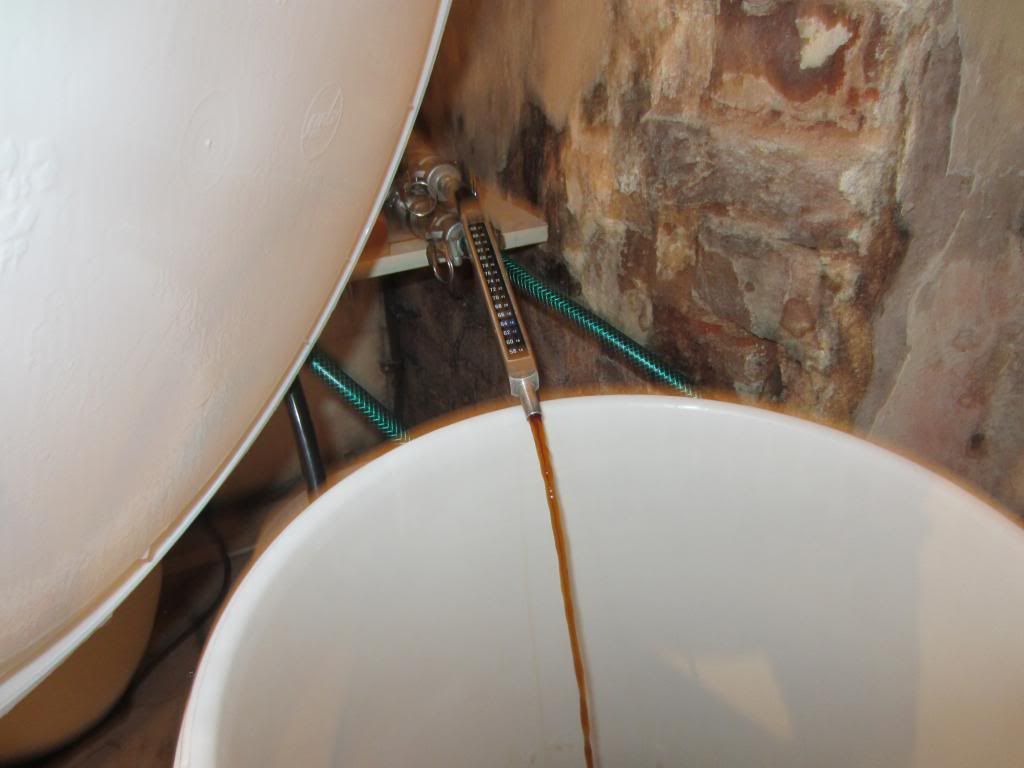
That's a Blichman Thrumometer that does the job of monitoring temps really well too.
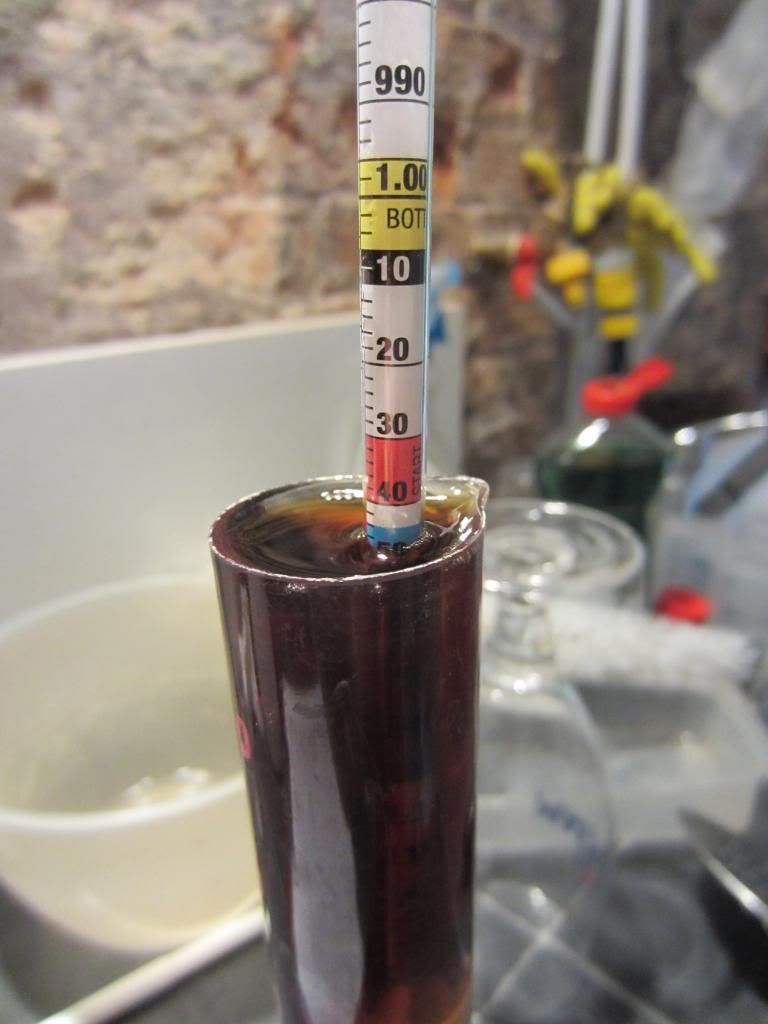
The money shot: This is with my standard hydro. What do you think it reads?
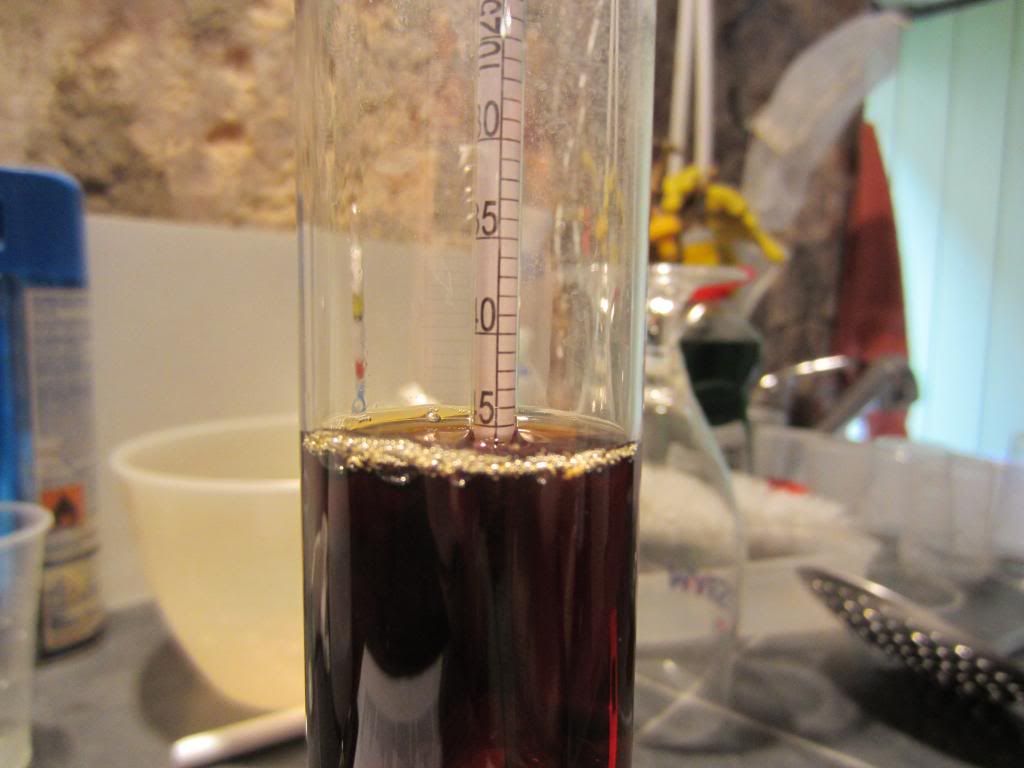
And now with the final SG one. Quite a difference I think
Immediately the chill is over I back flush the chiller with hot water for at least 5 minutes. This is then left to drain and then placed upside down in a 180 c oven for 1/2 hour. You wouldn't believe the gunk that comes out. I urge all plate chiller owners to try this. Put a tray directly under to make sure you don't confuse its gunk with the other gunk on the oven floor
I have often thought about getting an air diffusion stone etc but when you see what a paddle and a drill can do I'm not sure it's worth it.
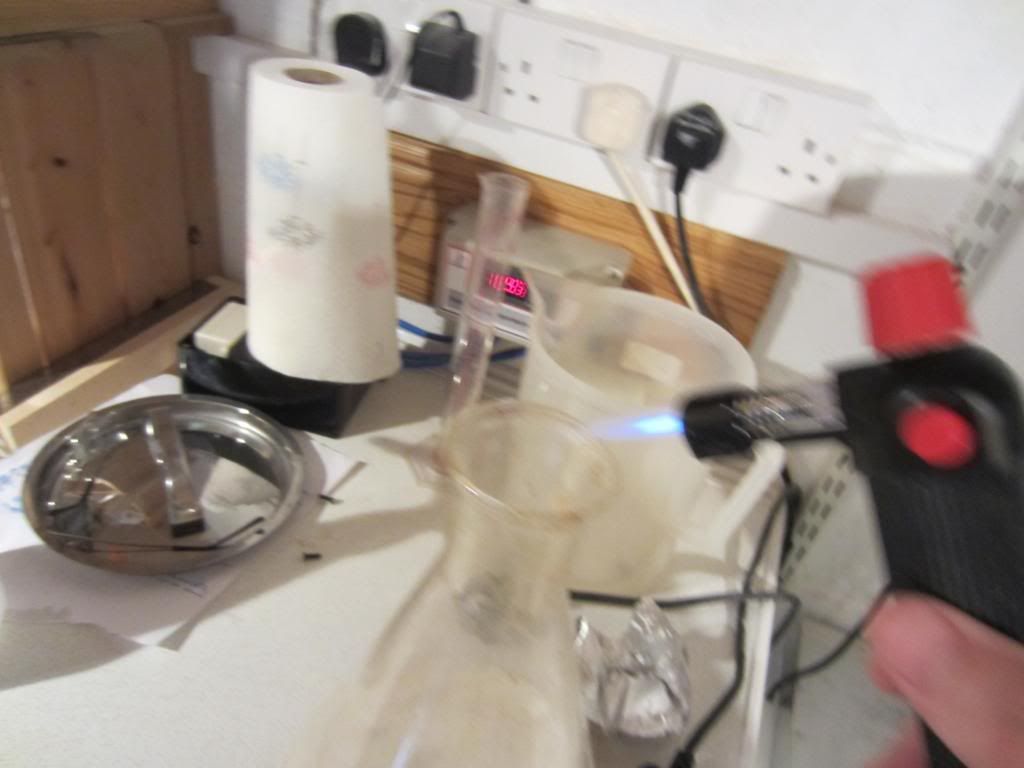
Unfortunately trying to flame the flask holding the yeast flask and take a clear picture eluded me. Anyway the point is, you want the yeast flowing over a sanitised lip, just remember to spray a bit of starsan to cool it down or you fry your first billion cells
All tucked up: Now you may look at that and think "he only got 19 litres" but the rest is foam from the paddle aeration, told you it was good.
Always find dark beers are the filthiest, unfortunately for me my boiler has a lot of dead space but I don't really want that stuff as it tends to contain some of the stuff I'm trying to separate from the beer.
The famous hop sock, still wrapped around the copper manifold. The amount of crap this captures is unbelievable, but the wort going into the FV is crystal.
Cleans up lovely though, doesn't it?
And finally the scene of the "crime" after it was cleared up. I will do it properly after my holiday, honest
OK, phew that's it. Took almost as long to record it as to brew it. Bound to be a few things I've forgotten to mention and of course a lot of things that you will disagree with. I welcome all comments and queries so fire away.
I am "The Little Red Brooster"
Fermenting:
Conditioning:
Drinking: Southwold Again,
Up Next: John Barleycorn (Barley Wine)
Planning: Winter drinking Beer
Fermenting:
Conditioning:
Drinking: Southwold Again,
Up Next: John Barleycorn (Barley Wine)
Planning: Winter drinking Beer