Packaging
Brew is now finished (1.011) and was on the yeast for 15 days, racked off and left overnight. Because I didn't get as much as I would like I thought I might bottle this exclusively. However, I haven't kegged a Porter in a cornie and really wanted to see how much difference this would make to the beer, but that would mean I couldn't show how I bottle and as this is probably the most popular form of packaging I decided to do both

.
First thing to say about bottling is,
it is a monumental PITA 
Like most, if not just about all who start home brewing, I bottled exclusively for a lot of brews and very quickly set out to find the simplest, quickest and most effective time saving method there is whilst still ensuring a good quality infection free beer at the end of it. I'm as desperate as the next brewer to know how it could be improved on for any of those parameters, so by all means chip in

.
This is what I've come up with:
First and foremost of course is cleaning the bottles, they must have absolutely no visible dirt on them whatsoever before you even start using brewhouse products. Whatever you choose to use to get to this point it is extremely important to ensure any residue from it is rinsed to the point where there is nothing left of it. Next issue for me was what is the best combination of cleaner and sanitiser. Now I apologise in advance if you were expecting the cheapest method, as well as the other parameters, but for me not having to throw beer away because of faulty cleaning IS the cheapest method, but it comes at a cost, because of all the products I have used and others I have read and heard about the best combination I have come up with is PBW & Starsan. Go and
watch this and you will have all of the reasons why.
OK, that's the bad news, because PBW is expensive but, at least as far as bottle cleaning is concerned, I have a way of really extending the use of it in this area and it introduces the first tip on reducing the pain of bottling.
Once all your bottles are cleaned, PBW'ed and sprayed internally with starsan, get yourself
some of these. There are no doubt cheaper alternatives elsewhere but the principle of it is what's important. Place a cap on the bottles until you wish to fill. Now here is the gem, once you have consumed the beer have a bottle brush and a spray bottle of starsan and some caps next to the sink where you IMMEDIATELY rinse your bottle out after pouring yourself a beer. Rinse, brush, if necessary, rinse again then spray starsan into the bottle, a good 1/2 dozen of squirts, until you are happy you have completely covered every part of the bottle then reseal with the plastic cap. Store until you are ready to bottle again. Repeat above; I have recycled this way 1/2 dozen times before starting from scratch. The way to tell when the bottle is in need of re cleaning is if you spot anything on the inside of a bottle containing beer which is clinging to the sides. If you follow this regime and do not go past 6 recyclings and are scrupulous with the technique, you will never get to that point.
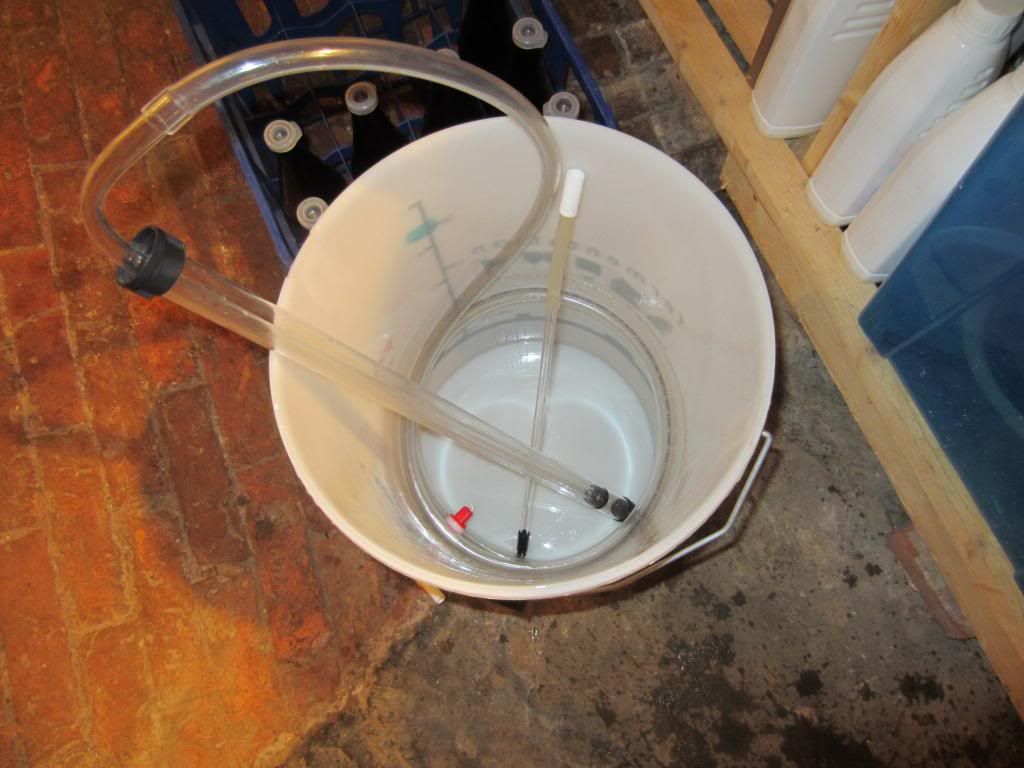
Racking off equipment, with resealable plastic caps on top of bottles.
The next step depends on whether you are going to fine or not. Typically if I am brewing a pale beer I want the clearest beer possible short of filtration. I know you can't taste chill haze and for most of the history of beer drinking before glass became the ubiquitous drinking vessel of today, most drinkers probably never knew if their beer was crystal or pond water. For me the techniques of brewing that pertain to aesthetics are important, so I want a clear beer. If only because when I serve it to someone who is not a brewer or even particularly a beer drinker, they have no reason to judge the beer negatively before they've even tasted it. To that end I would crash cool the beer at FG + 3 days to drop out as much of the yeast as I can before fining. I have been experimenting of late with this and at the moment I use Murphy's fining adjunct in the FV after crash cooling, leave 24 hours rack off and then add the Allklear finings and again leave for 24 hours this time at ambient. This is then racked off on top of the priming syrup. More in a moment.
Once you have your crate of plastic capped bottles ready in your crate, or whatever else you store in, prepare for the next step. I have tried using a spoon and funnel to get sugar into 40 pint bottles and I'm here to tell you it does nothing to ease the pain of bottling, if anything it is replete with potential problems, for me there is only one technique that I trust and that is to boil up table sugar with some water to make a priming syrup, as to how much sugar and how much water, that of course depends on what style of beer you are making and how fizzy you like your beer. If you are like me and prefer less fizzy ales I usually get Beersmith (brewing software) to calculate what 1.5 to 1.8 volumes of CO2 requires in grams. 250ml of water is usually enough and I simmer this for 10 minutes which has always been sufficient to satisfy me that the mix has killed enough bacteria to go into what is already a hostile environment for bacteria anyway.
I pour this into my bottling bucket which has a tap on it that accepts a little bottler, I have not found anything better than this without spending big money on a Blichman beer gun, that is quicker, more cost effective and simple to do with just the 2 hands available to me
. In the following picture you will see that I have tilted the FV. This I do the moment I take it out of the brew fridge ready for fining/racking, forward for fining, backward for racking. What this does is to encourage the trub to drift towards one side of the FV, when I come to rack off I tilt it the other way so that the syphon sits on the bottom of the side which has the least amount of trub on it. Unfortunately no picture to show this as this is a Porter so I didn't fine so missed this step, but it is another step to building a crystal clear beer.
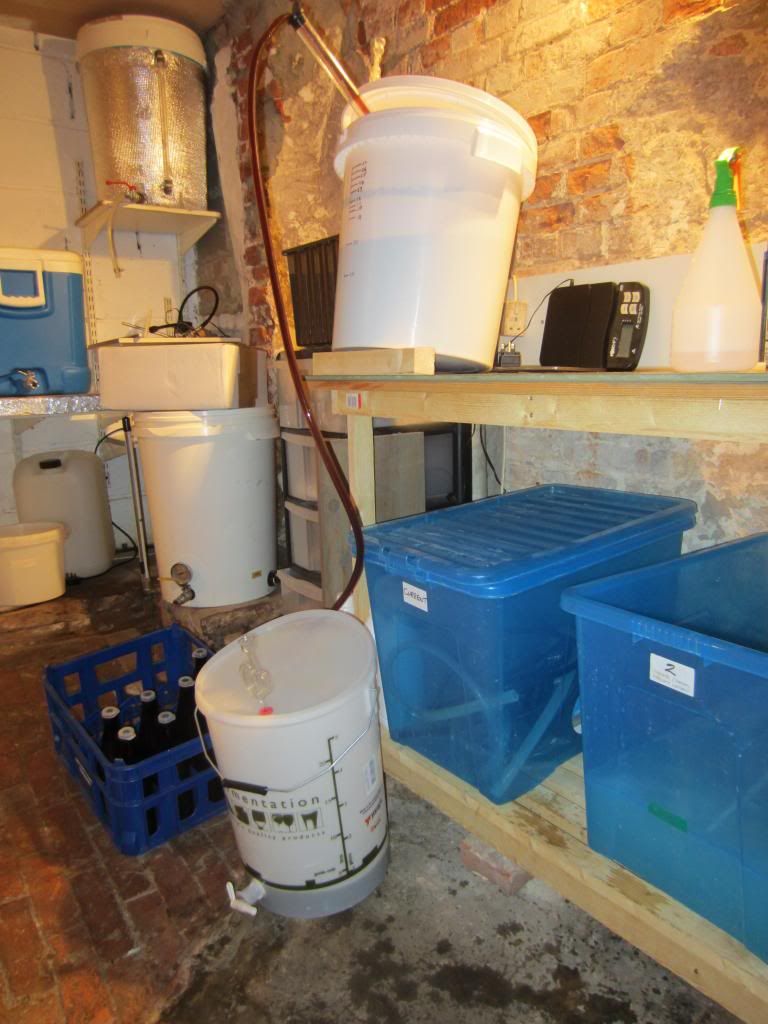
This picture shows the FV tilted to allow me to get as much beer racked off as possible without disturbing the trub. Note that I keep the lids of both the FV and bottling bucket as closely fitted as I can. At this stage the beer is reasonably immune to bacteria compared to any other point of the process post boil, nevertheless I still don't want anything dropping into it if it can be avoided.
After racking the beer onto the syrup it is important to ensure that the syrup is completely distributed throughout the beer so I very gently stir the beer with a sanitised brew paddle, ensuring I minimise the introduction of oxygen that can lead to early staling.
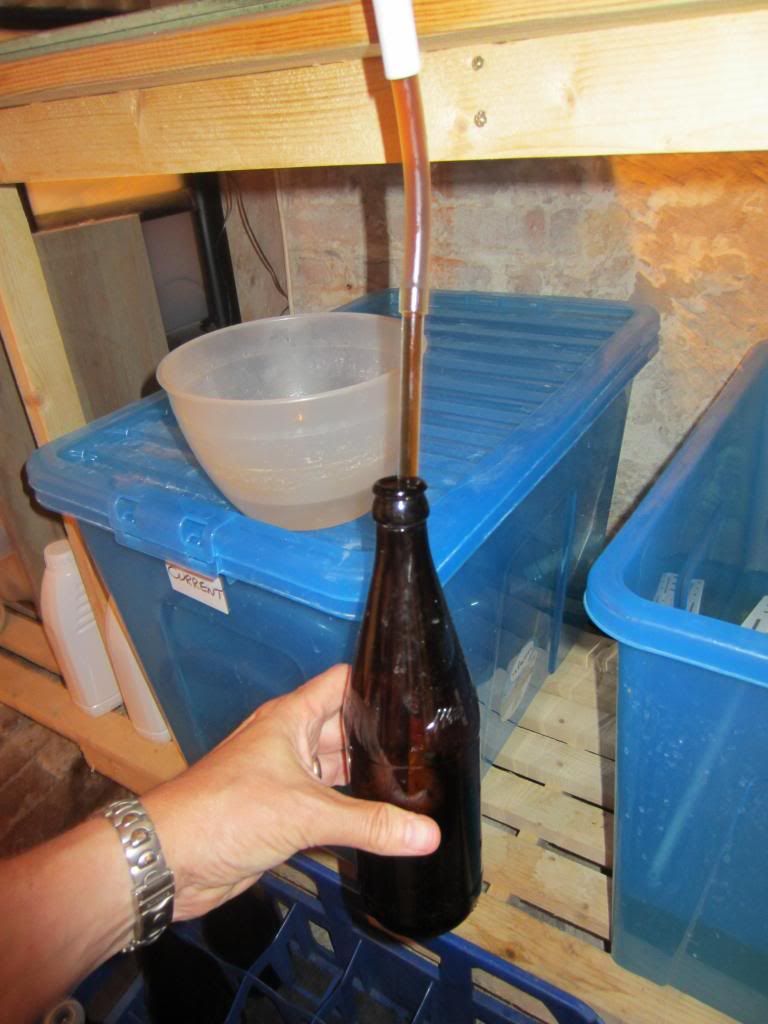
Once the beer is in the bucket I keep the lid on just slightly cracked open to allow the beer to flow into the bottling wand and into the beer. At this stage I swing the tap on the bottling bucket to on. The beer should slowly fill the wand. I have made the mistake of putting the bottle under the wand and then opening the tap and found that it drags a lot of air into it and it can then take a few bottles to finally purge itself.
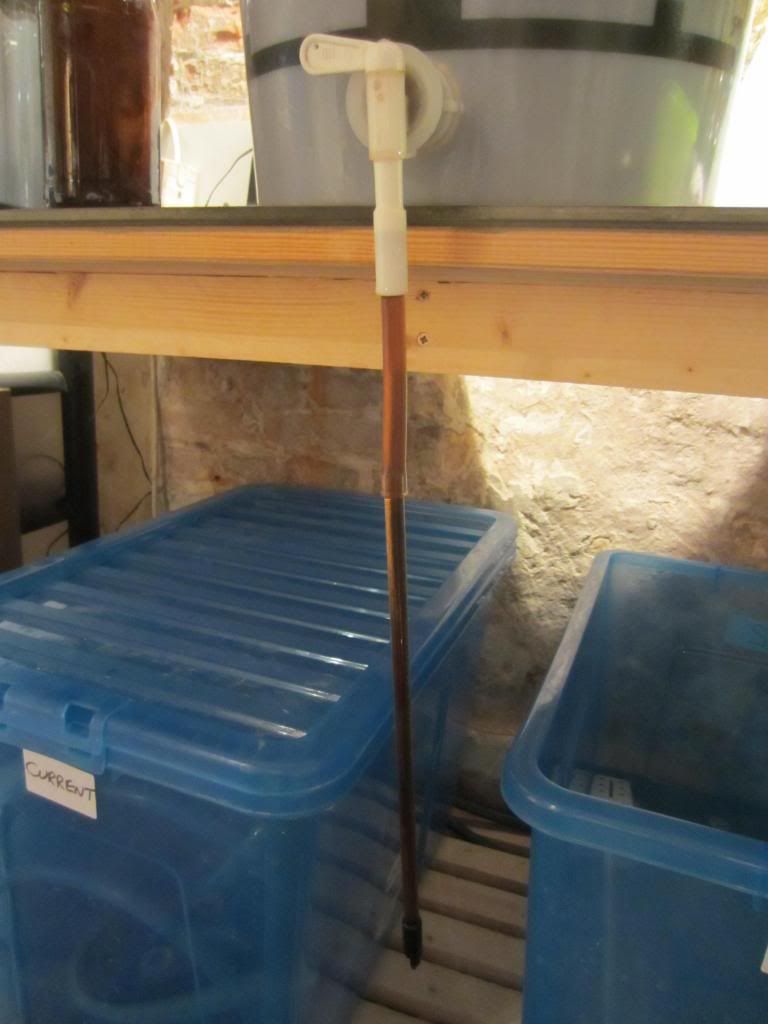
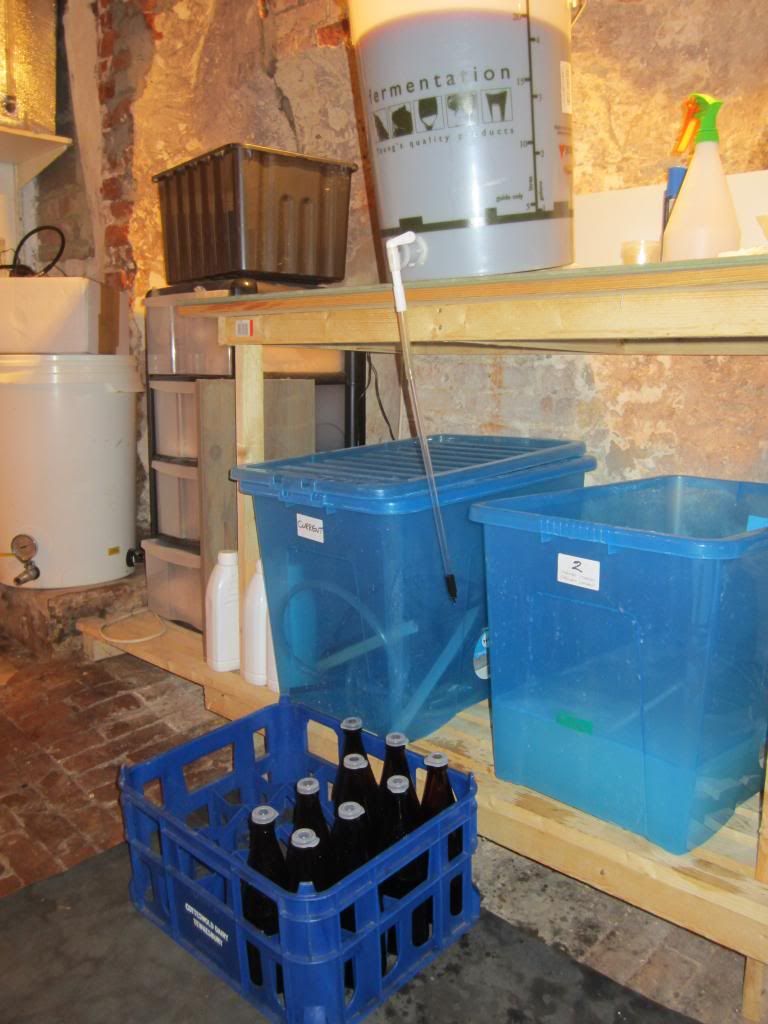
Bottling bucket tilted to maximise draining with plastic resealable capped bottles waiting to be filled.
Now ready to fill bottles, note crown caps sitting in Starsan.

Bottle being filled. The beauty of the bottling wand is you can do all this one handed, stopping filling by just dropping the bottle once the beer reaches the brim. Once you drop the bottle the wand leaves behind just the right amount of ullage (gap from beer to cap) to give you the right amount of space for gas to build up and eventually dissolve into the beer.
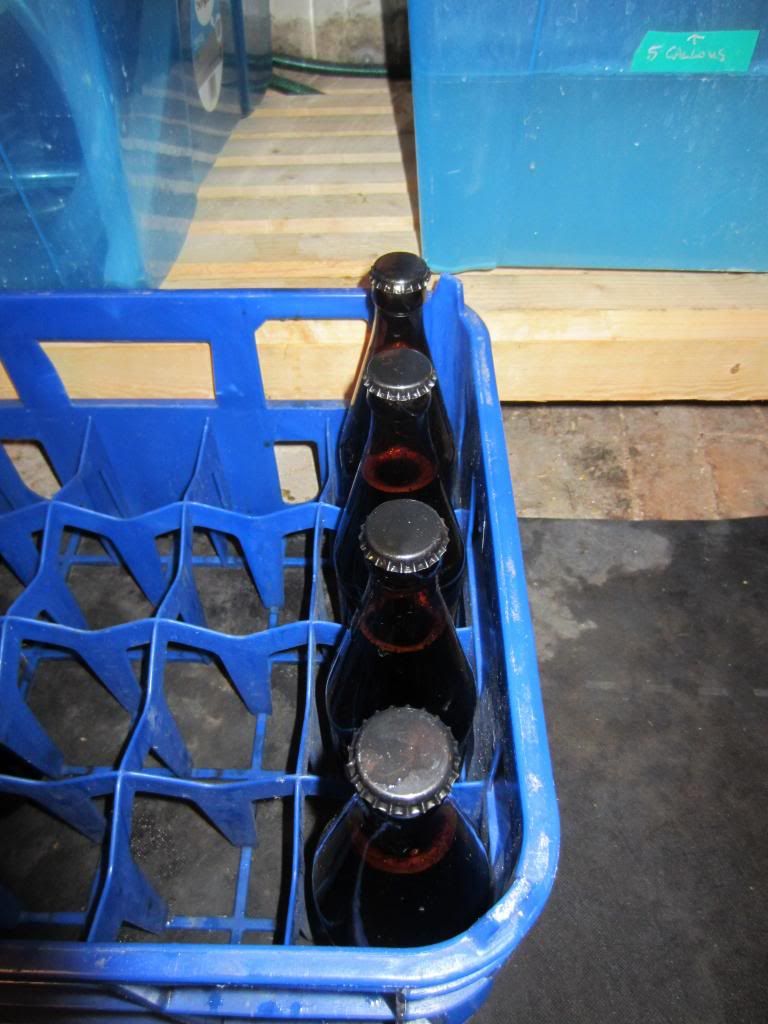
This final picture shows the beer with the bottles filled and the caps just sitting loosely on top. I do this for the whole batch, the reason I do this is because I discovered that whilst sitting like this any air that does get in the beer "burps" out, you can hear the lids as they rise and drop back down again. Given we are at this point desperate to keep as much air away from the beer as we can this delay before capping gives a final opportunity to do so.
That's it. It now only leaves storing the beer at approx. room temps for a week or two and then putting somewhere cool to "push" the CO2 generated into solution.
Pour & enjoy.

Not forgetting to properly rinse the bottle, spray starsan inside and cap with a resealable plastic cap ready to be used at the next bottling.


