
I decided to brew a 19L London Pride copy from Graham Wheelers new book, which I'm not going list the ingredients, as Graham is one of ours and we should all support his work, by buying his book. So after sourcing all the ingredients for the brew & passing them through BeerSmith for find tuning (alteration for actual hop Alpha acids + changed to gravity as bottle London Pride is closer to 4.5% ABV + altered the boil time from 90 mins to 60 mins, which used slightly more hops), I set about sorting out my equipment.
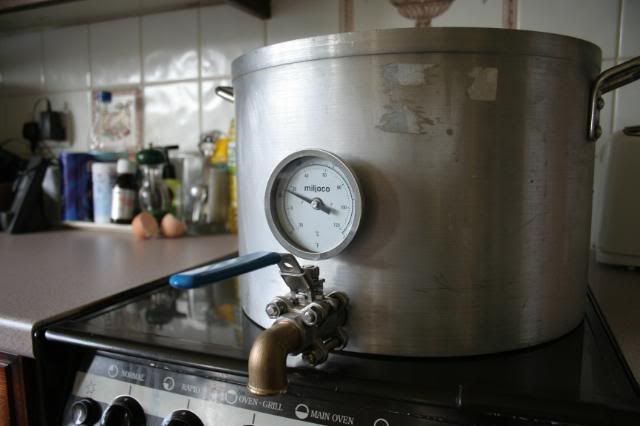
First up, was my (22L) stock pot, which I bought this off Ebay for £20 inc postage, which isn't bad for a 2.5mm sided, 4mm base Vogue pot. First thing to do was fit a ball valve from BES (using the details from Vossley's pot conversion) & hop/grain strainer made up from a length of 15mm copper pipe from wickes.

My chop shop, fair to say, I wasted a fair amount of pipe but on the plus side I got used my new pipe cutter
Finished strainer manifold, prior to drilling & soldering (not really necessary)
Finish strainer, soldered & drilled (could have slotted it by liked the idea of 1mm holes)
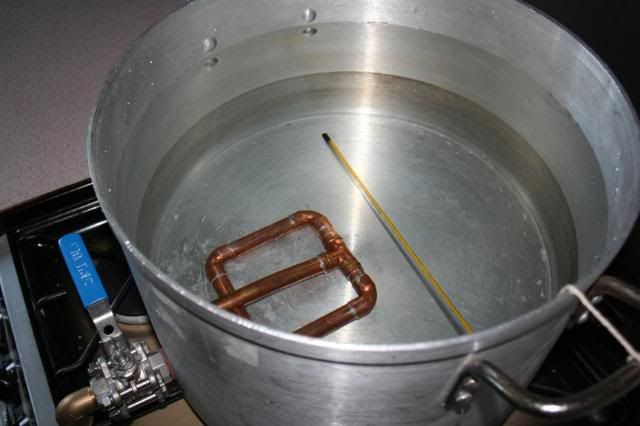
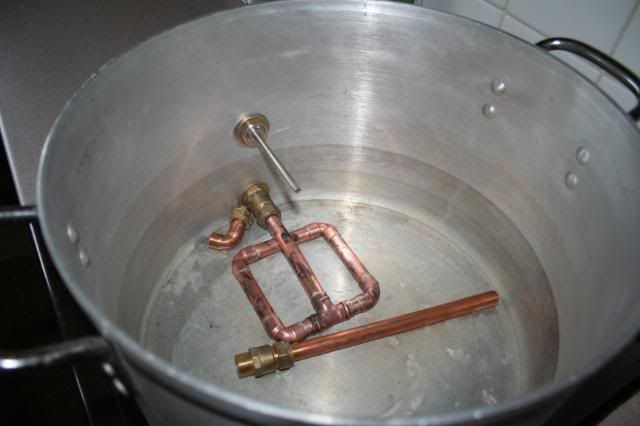
Fitted in the stock pot, opted for any easy removal system by mating with a straight thread from the ball valve. Other item in the pot is a standard 'drainer' should I ever need to drain the pot, whilst cleaning out the manifold
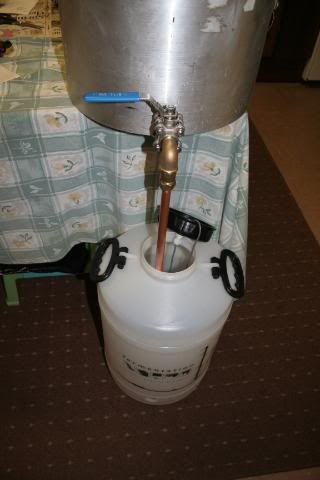
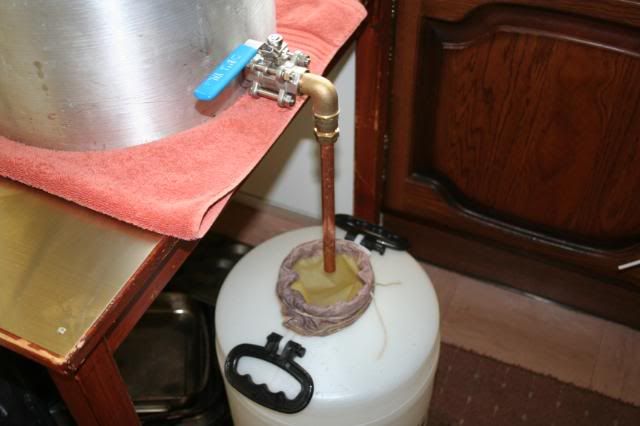
I also took advantage of thread on the ball valve elbow, to add an additional length of copper pipe, which I'd use to make the journey from the stock pot to the FV a little easier + in dropping the drain point lower than 'entry' point, would give me a much better siphon effect, resulting a little over 2mm of dead space being left on the stock pot (when tested with water), which I thought was impressive. Plus being a screw fitting, it's easy to add, take way, when required.
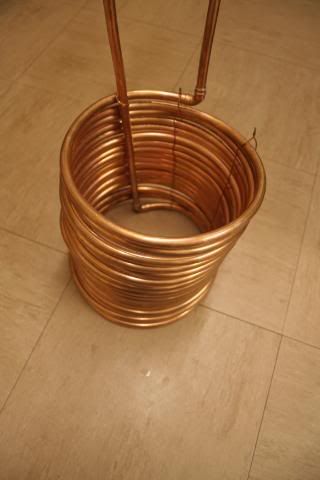
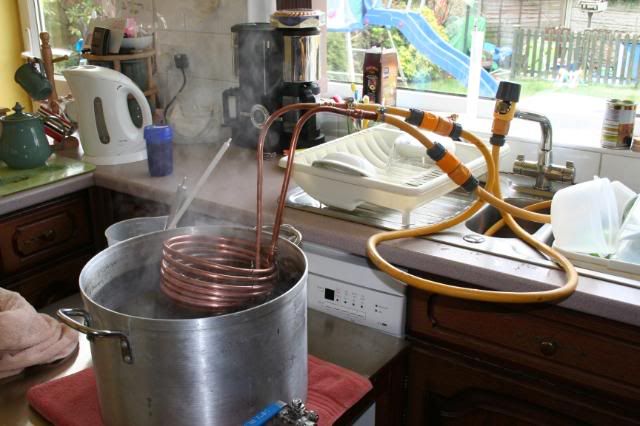
Stock pot sorted, I set about converting a DIY Immersion cooler I bought of ebay, by fitting elbows, to tighten up some of the bends & reducers, so make fitting to my hozelock system easier.
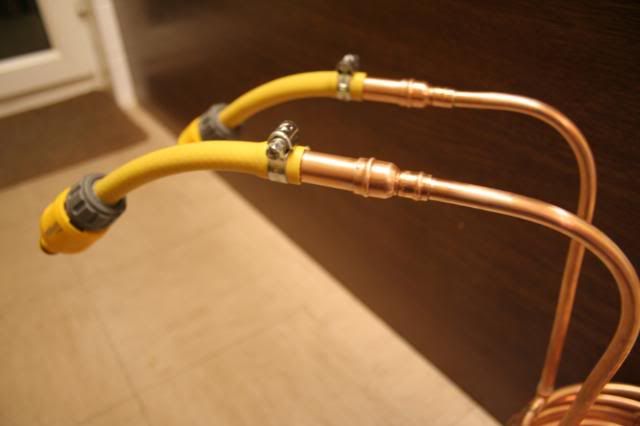
15mm to 10mm reducers, connected to standard hose, fitted with hozelock ends.
Ok, so all equipment sorted, I set about the brew itself.
1) I added 1/2 tea spoon of powered camden tablet to 19L of cold water & left it for 5minutes. I was a little pressed for time as ideally, I'd have liked to have boiled the water first, as I live in a hard water area.
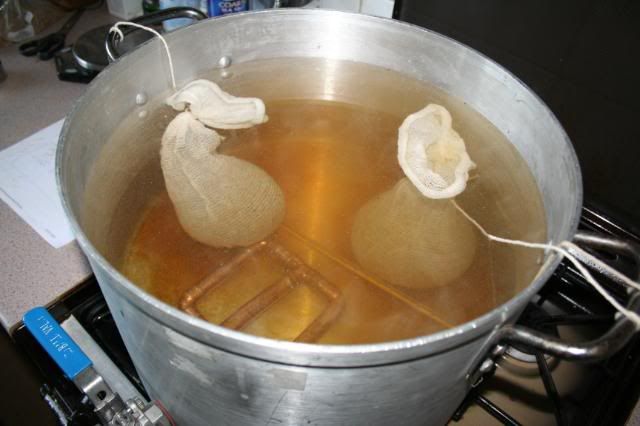
2) The recipe calls for specialist grains, in this instance, Crystal malt & Black malt. Crystal for the flavour/body & black for the colour, so if you're not fussed about the colour you could drop the black. So taking reference from the book, I heated the water to 48 degrees C (should have been 40 degrees C).
And mixing the two grain types together and splitting the resulting quantity into two relatively equal batches (which should help with infusion efficiency, as the grain does swell), that I put into to muslin bags & tide them to the handles, then left them to steep (i.e turned heat off) for 30 minutes, with the lid off.
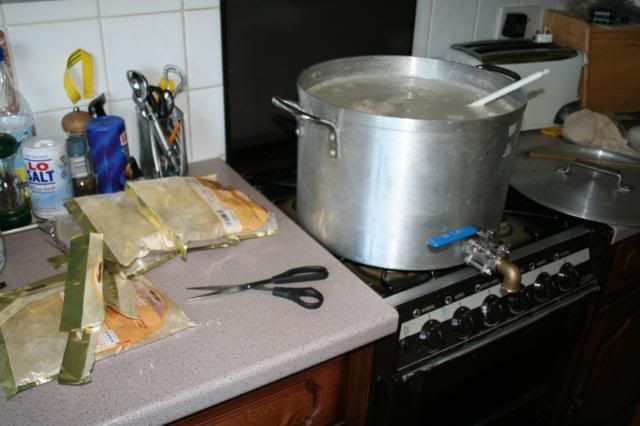
Used the this 30 minutes to measure out my hops, which looked a little strange, as these were the first vacuum/foil wrapped hops I'd used but even looking as they did, the aroma was excellent.
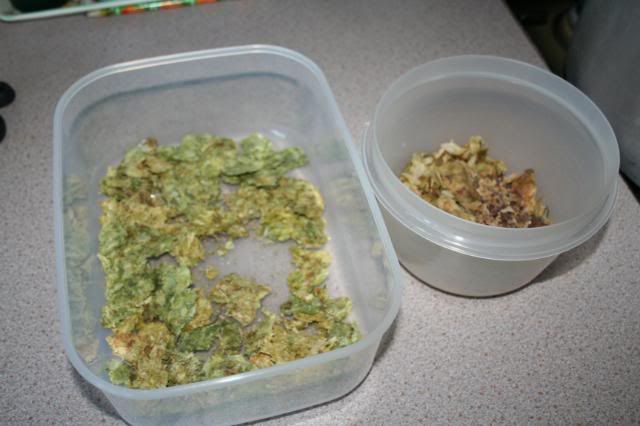
Being an air head, I put all the 60 minute boil hops into one container & the 10 minute boil hops into another but here's the thing, I also added the Irish moss into this container, as both the hops & Irish moss needed to be in the boil for 10 minutes but the chances are, I wouldn't forget the hops
Also during this period, it doesn't hurt to lift the grain bags & give them a swirl. So after 30 minutes, I removed the bags, to be presented with this wonderful colour.
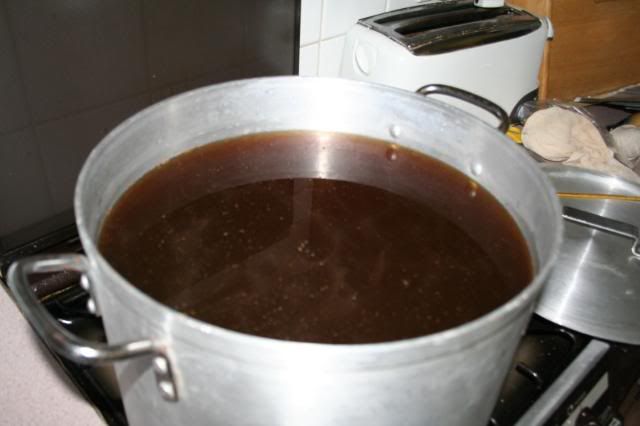
With the temp now around 30 degrees C, I set about mixing in the 5 bags of Muntons light DME, required to get my 4.5% ABV, with my long brewers spoon. You need to be a little careful here, as DME is know to clump together, if you rush but after a careful swirl, the 5 packet was added.
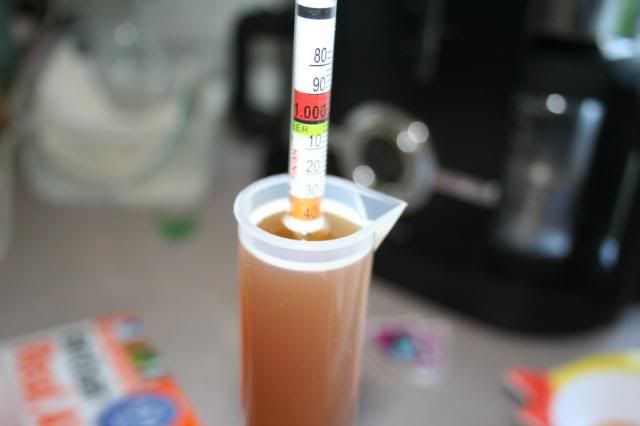
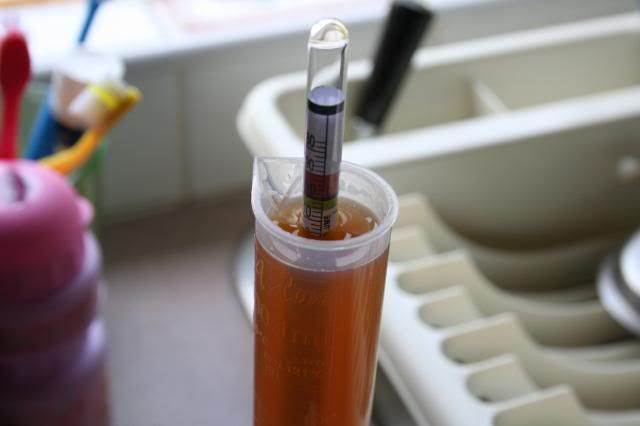
When I was happy all the DME was in, I took a gravity reading, to ensure I was on track BUT remember to take the temp into account as most hydrometers are fixed at 15 or 20 degrees C, so any reading will need to be 'corrected' or left to cool to the correct temp.
Mine was bang on the money at 1047
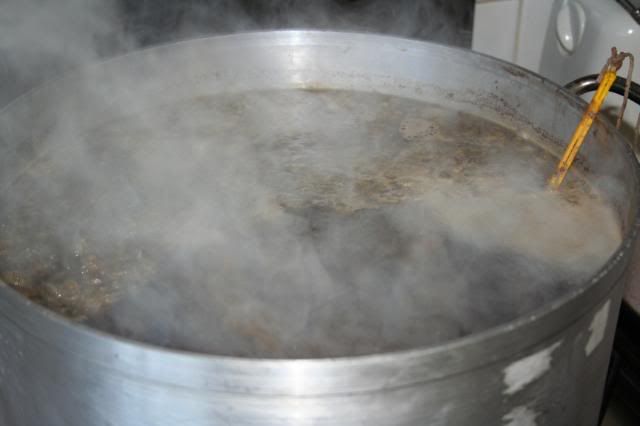
Next step was to bring the water temp up to boiling, which in my case took around 50 mins on my old gas cooker, it's important to leave the lid off or at list cracked open, as there is a risk of off flavours.
Nearly there, only 2 to 3 more degrees to the magic 100+ C point.
On hitting 102 degrees C, I left it boil for a minute or two before adding the hops, as I was a little concerned with boil over's (due to hot break), as it was, the hot break did occur (less so in extract) but since my stock pot is wide, it didn't rise too high, so in went the hops.
Lid was removed for the 60 minute boil
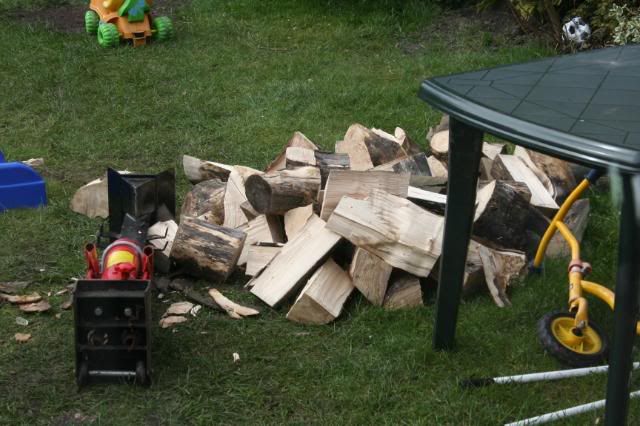
Ok, time to do some house work i.e log splitting
With 10 minutes to go, I put the final hops, Irish moss & Immersion cooler (to be safe, I'd sanitised & rinsed before hand) into the stock pot for a good old boil.
Once the 10 minutes was up, I turned off the heat and left it for 10 minutes to help the trub settle out. Then it was over to my smaller table (be careful, if you need to move your pot i.e 19L is 19Kg + stock pot weight & being a liquid, the weight transfer moves), for a rapid cool.
In the meantime, I sanitised my FV, paddle, nylon filter, bubble lock etc etc etc & got everything ready for the wort. The nylon filter is useful, as it fits inside the FV & is fine enough to remove the small stuff, having said that, the strainer manifold did an excellent job, as it hardly caught anything.
When the temp dropped to an acceptable yeast pitching level (22 to 30 degrees C), it's into the FV. My IC was a little too efficient & by the time I realised, my wort was at 24 degrees C with would have been ok but for my final water top up addition, which further lowered the temp.
On that point, I forgot to mention, you will need some additional pre-boiled cold water, to make up for any losses, during the boil, as in my case, BeerSmith advised I'd need 4.5L which wasn't far out, as I finally ended up with a little over 15L of wort at the final count.
With the remaining water mixed in, to my final brew length of 19L, I took another gravity measurement & was pleased to note that it was a healthy 1045
So all that remained was to aerate the wort & pitch the yeast
My brew took a little time to start fermenting, as I pitched at a low temp (due to cold water addition/over cooling) + I didn't make a starter i.e just sprinkled the Safe04 into the wort
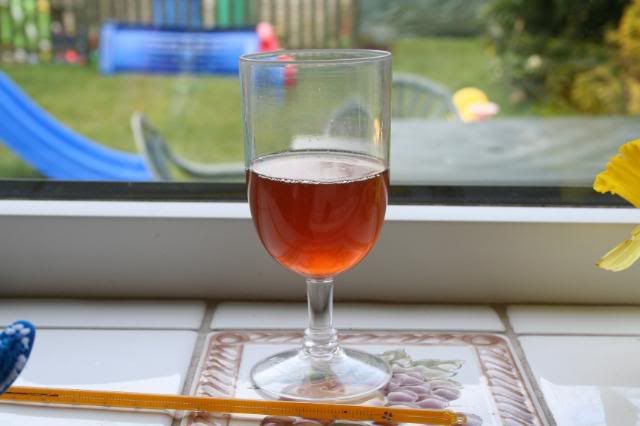
Anyways, after 9 days in the FV (two days at low temp to help the yeast drop), the gravity was healthy 1012 & the colour / clarity was spot on.
Here are some picts I took at day 5/6 but needless to say clarity & gravity have settled out further.
Then all that's left to do, is keg, with dry hop pinch of goldings & a little force carbonation (I'm going for the bottle look/version).
Couldn't help but neck the sample glass & I have to say, that as a fan of the bottled London Pride, my version isn't a far off & this can only get better after maturing & the dry hop.
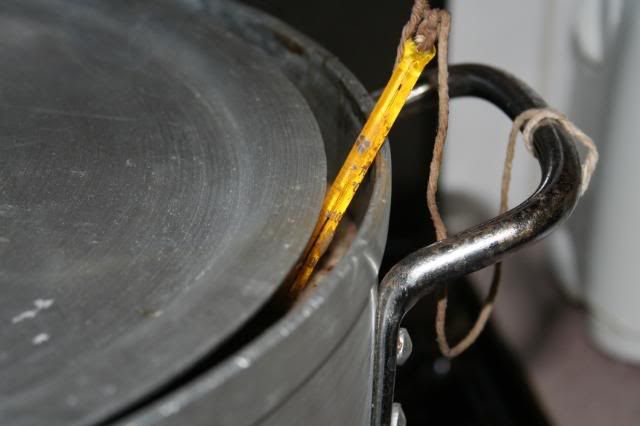
I've taken a few more lessons on board, one of them being the temp measurement in the pot, with was a little risky, give that I was using a glass thermometer in the pot, with IC's and stirring spoons, so the MK II stock pot, now supports an integrated thermometer
Owwwwwww the purpose of this post is to help other extract brewers learn from my mistakes but please don't take everything literally, as I too am on a steep learning curve
Mods, please feel free to alter, correct, move, as you see fit.
Cheers
Darren.