The VANDEEN BREWMISER BUILD

The forum for discussing all kinds of brewing paraphernalia.
Post Reply
VANDEEN

The VANDEEN BREWMISER BUILD

Post by VANDEEN » Fri Feb 26, 2016 9:20 pm

Thanks for everyones input on this, my self imposed internet ban has improved productivity no end and now sees me with......

Image

Image

Image

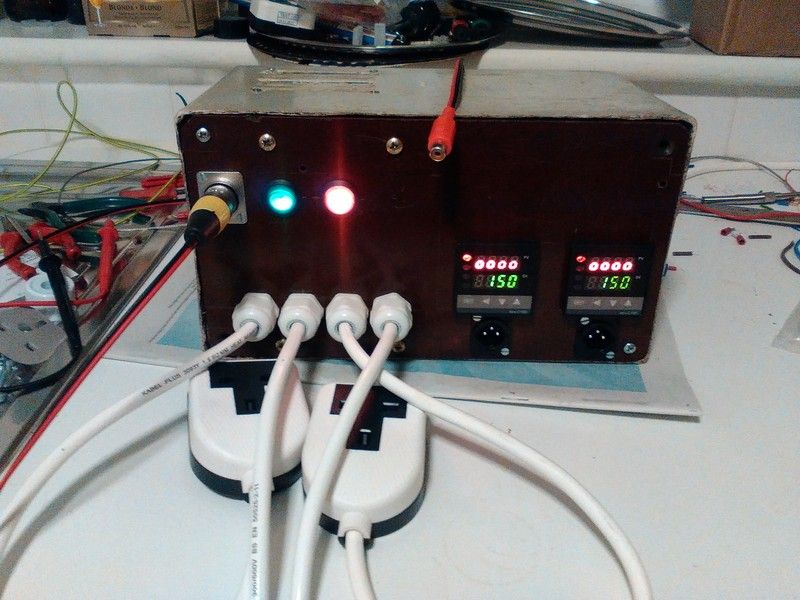
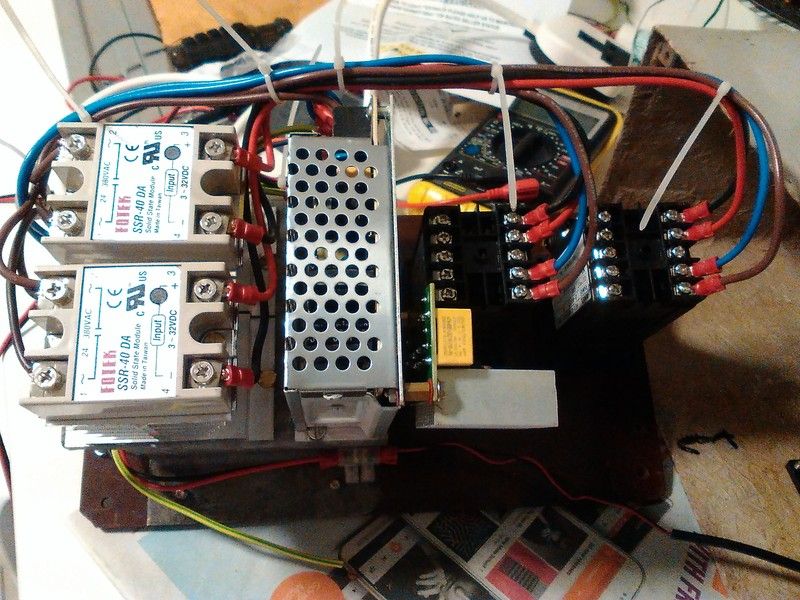
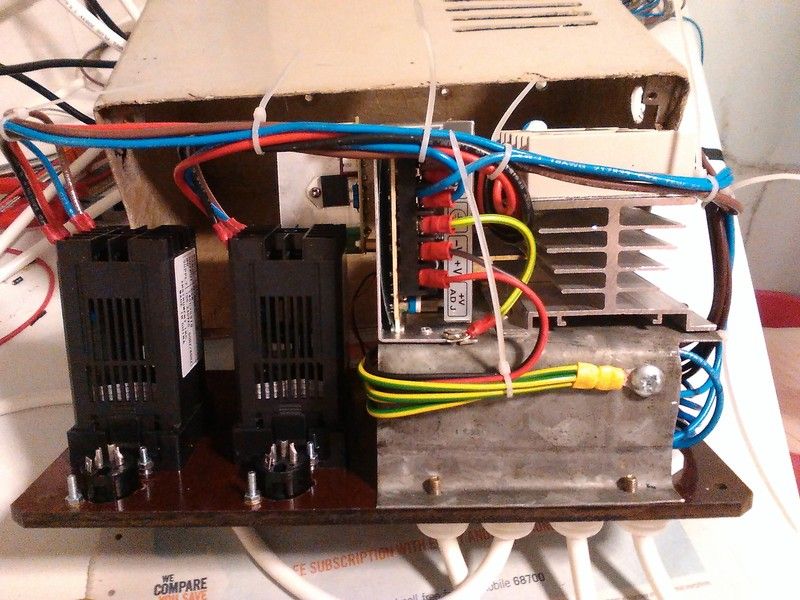
Built into an old alarm box.

Only the PID terminals to wire down to the XLR sockets left to do.

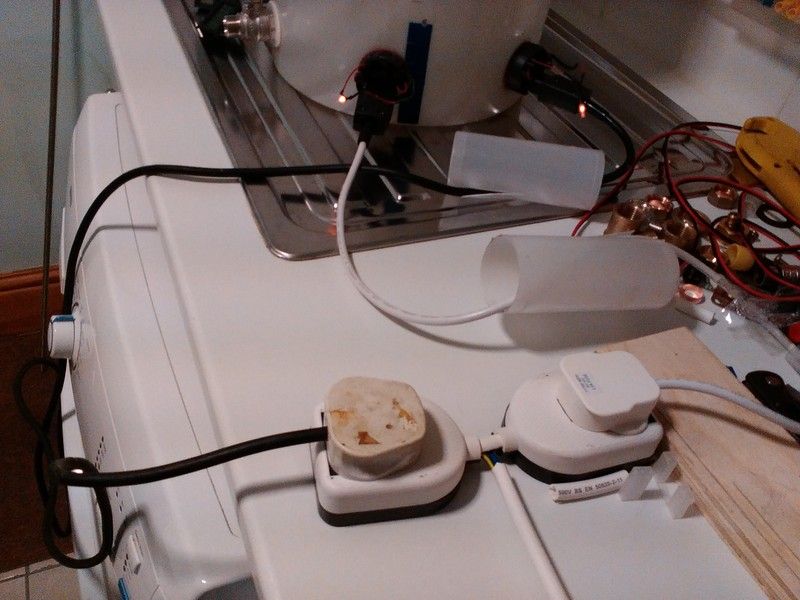
Taking a cue from Graham's suggestion to series the elements & reduce W per inch over on the 1 vessel thread here, viewtopic.php?f=45&t=74697#p778978

I considered adding a 4P 2NO 2NC AC1 suitably rated contactor to the circuit to give me that feature but initially went with a simpler idea, my series adapter....
Image

Heats and boils fine with the 2 x 2.4Kw elements in series but no big mega heated bubbles like you get even using just one, cheers Graham :-)

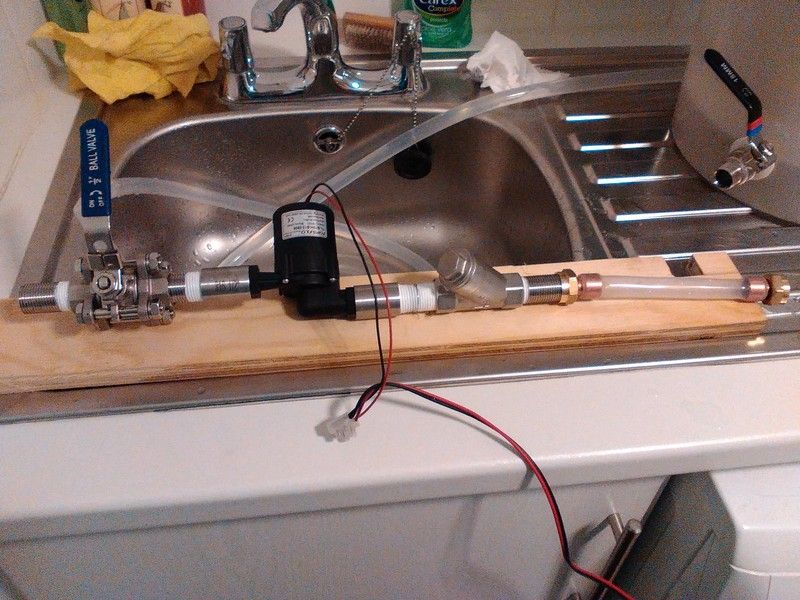
Pumping and filtering is now sorted

Image

and a Y strainer at the other side of the pump to filter any bits on the return flow from the "malt pot" during pump breaks or when draining down.

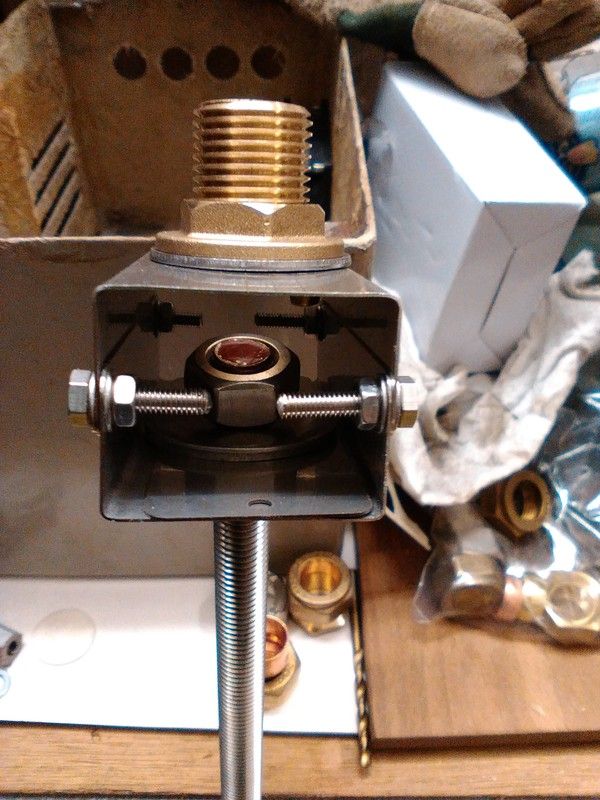
Grain pot is comming along too...
Image

Image

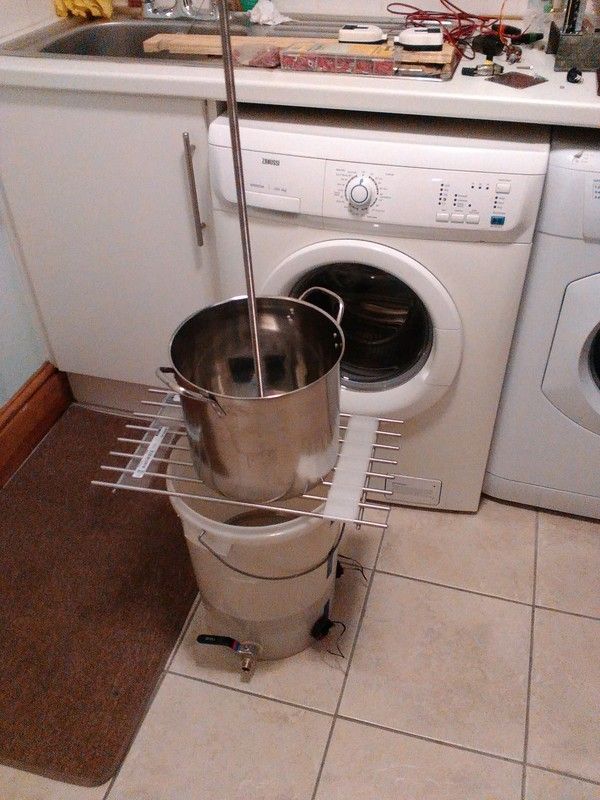
In sparge position

Image

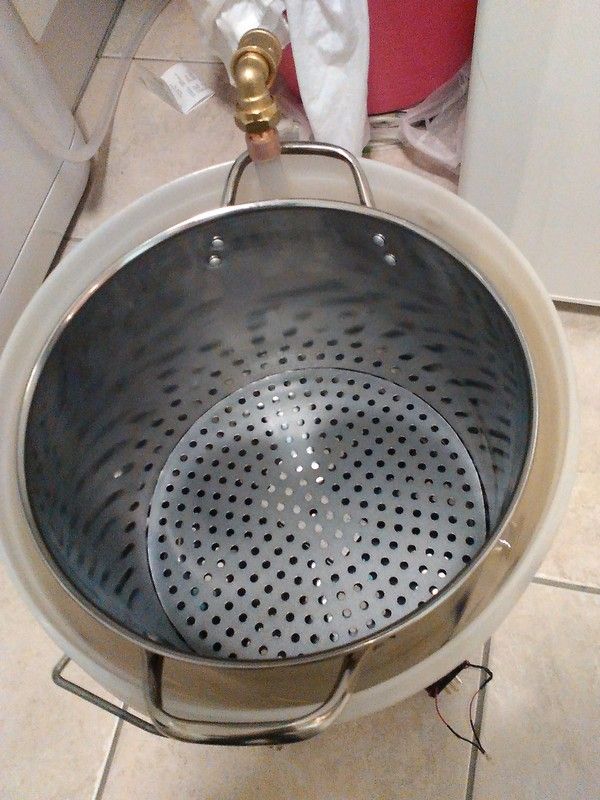
Bottom screen support template installed, to be routed out of food grade chopping board tommorow
Image

Wet test in the kettle

Image

Ingredients are now sorted for the brew along so if all goes well with the top and bottom filters and support plates tomorrow & I get the PID's & Pt100's sorted out & wired I could well be doing my first ever all grain on my VANDEEN Brewmiser before the weekend is out :-)

Oh yes decide to make a VANDEEN Hop SpRoCket too :)

Have a look at my thread in the equipment section here:-

viewtopic.php?f=6&t=75084#p782647

demig
Hollow Legs
Posts: 347
Joined: Sun Jul 19, 2015 9:04 pm

Re: The VANDEEN BREWMISER BUILD

Post by demig » Fri Feb 26, 2016 10:17 pm

Nice bit of work, looking forward to seeing how you get on with this. Tempted to do something like this myself

VANDEEN

Re: The VANDEEN BREWMISER BUILD

Post by VANDEEN » Sun Feb 28, 2016 10:57 am

I started this last night and fell asleep at the PC......

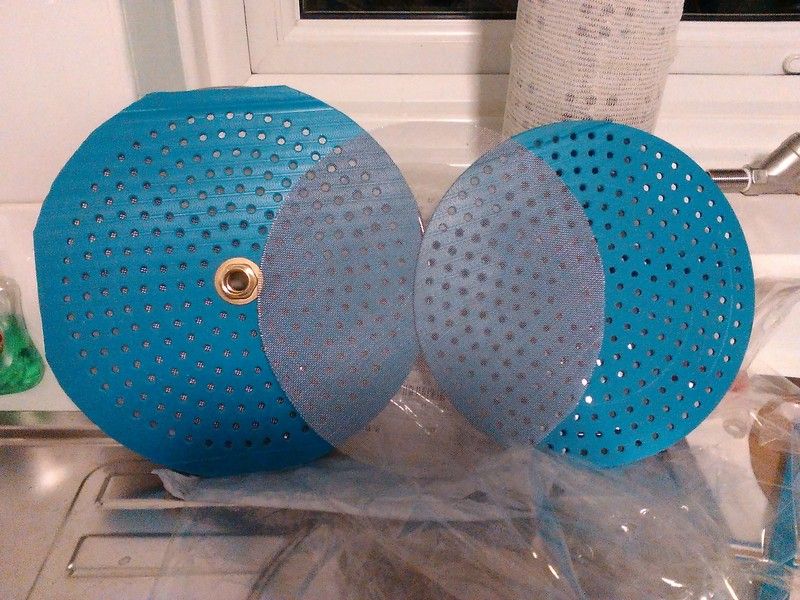
Today has seen quite a productive day on the "wet side" with both grain plates and filter mesh cut & drilled,

Image

I am sick of seeing holes, every one drilled then de-burred, even with a template using the pedestal drill with the cross slide making indexing simple it was a long job, and that's just in plastic! Ultimate respect to anyone who drils and makes their own stainless steel false bottom =D>

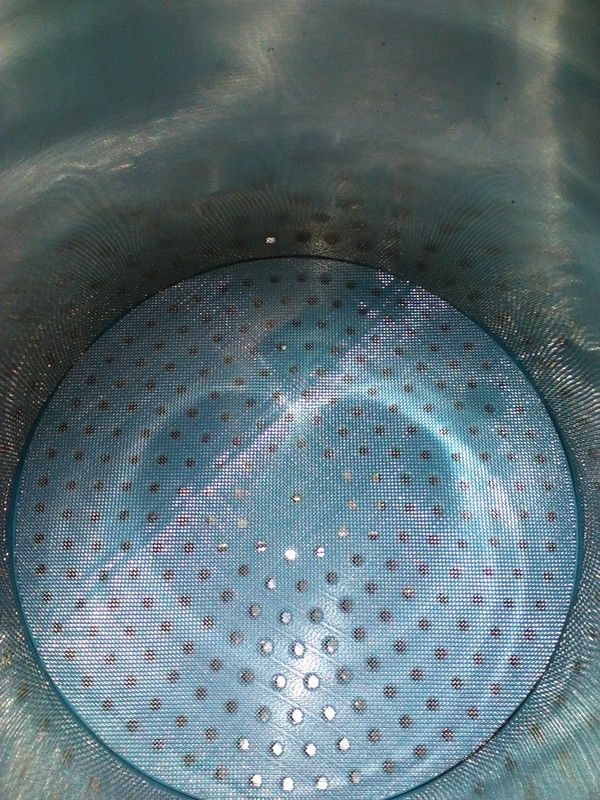
Installed in pot

Image

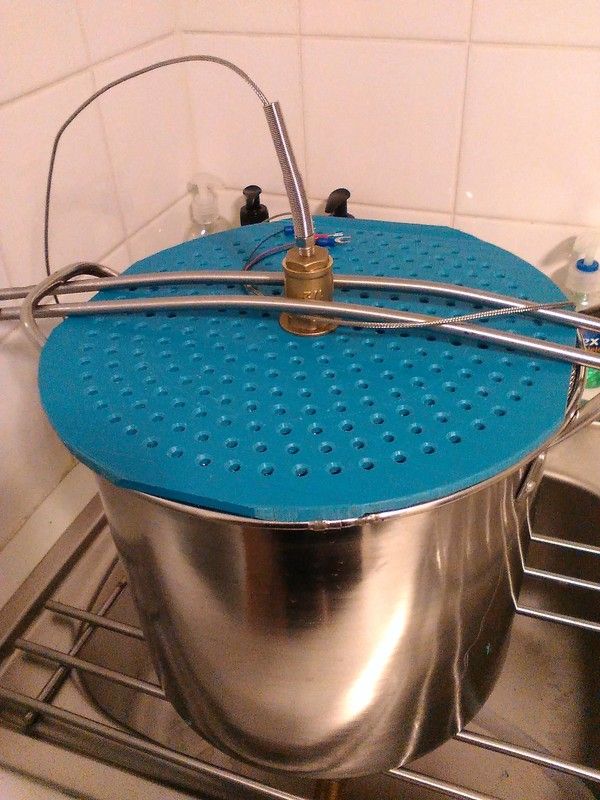
Going with the central bars from the Ikea sparge rack for support as I haven't found a suitable piece of stainless for the cross support yet.

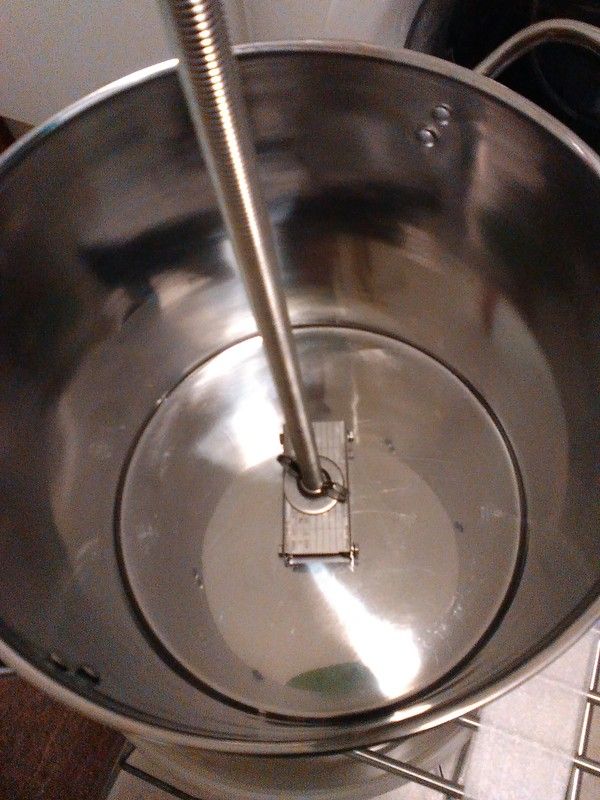
Image

Oh yea and cos I needed a blanking plug to fill that hole in the upper sceen tank connector, why not drill it and tap it for a 100mm PT100 thermocouple :-),
after all it is mash temperature we're concerned with & it's one less hole / sticky out thing in the kettle.

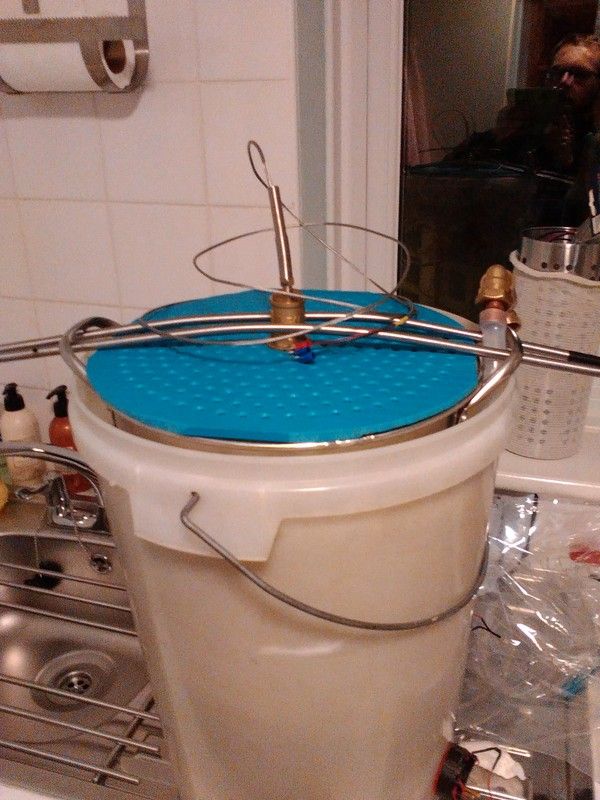
Installed in the kettle

Image


Right off to test/set up the new PID's with the new sensor, apply thread tape on the nipples between pump / 'Y' strainers / kettle drain / then should be a full wet test / sterilisation run before lunch :-)

BRB......

User avatar
alix101
Under the Table
Posts: 1786
Joined: Sun Jun 12, 2011 9:34 am
Location: Chester-le-street Durham

Re: The VANDEEN BREWMISER BUILD

Post by alix101 » Sun Feb 28, 2016 11:16 am

You've been busy ...ive got no idea what's going on but look foward to seeing it in action.
"Everybody should belive in something : and I belive I'll have another drink".

User avatar
barneey
Telling imaginary friend stories
Posts: 5423
Joined: Mon Jul 25, 2011 10:42 pm
Location: East Kent

Re: The VANDEEN BREWMISER BUILD

Post by barneey » Sun Feb 28, 2016 12:44 pm

It will be interesting to see what brew length / grain capacity you end up with.

Are you making a sparging platform? if not a separate bucket with 2 rods 3/4 of the way up is an easy fix. Lift malt tube out place in separate bucket, start the boil in the main unit, add the drained / sparge contents later.

(Unless you can get the malt tube high enough in the main boiler , you will end up with a wet bottom to the grain.)
Hair of the dog, bacon, butty.
Hops, cider pips & hello.

Name the Movie + song :)

VANDEEN

Re: The VANDEEN BREWMISER BUILD

Post by VANDEEN » Sun Feb 28, 2016 5:35 pm

barneey wrote:It will be interesting to see what brew length / grain capacity you end up with.

Are you making a sparging platform? if not a separate bucket with 2 rods 3/4 of the way up is an easy fix. Lift malt tube out place in separate bucket, start the boil in the main unit, add the drained / sparge contents later.

(Unless you can get the malt tube high enough in the main boiler , you will end up with a wet bottom to the grain.)
As I only have a 25l kettle & 11l malt pot I was aiming for 11.5l into the FV.

Full wet test currently in progress
IMG_20160228_154657.jpg
I'll post up my simulated sparge pictures from the PC when I get to mash out temp.

VANDEEN

Re: The VANDEEN BREWMISER BUILD

Post by VANDEEN » Mon Feb 29, 2016 2:33 am

Well testing was both good and bad, I'll start with bad :-(

Had lots of leaks, the tollerances and machining of some of the stainless components left a lot to be desired :-( Half a roll of PTFE tape sorted most of it out, but one connection in particular was being an absolute ####er!

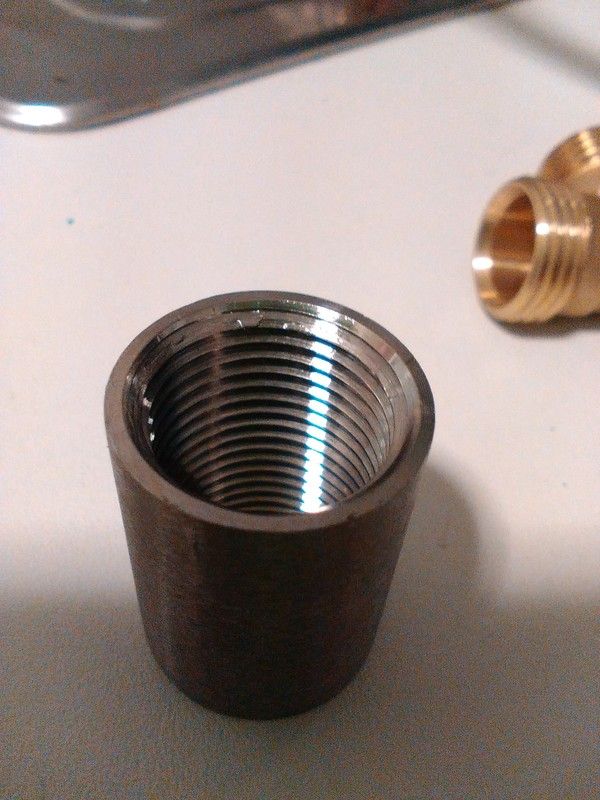
No amount of re thread taping would cure it but I finally traced the problem to a badly tapped coupler

Image

Unfortunately that coupler was the one I was using on the pump outlet (plastic) so I think it has damaged the threads slightly too as even with a new brass coupler on and lots of tape I still get a slight weep from there. It's less than 1 drip every 5-10 Mins so not the end of the world but still annoying.

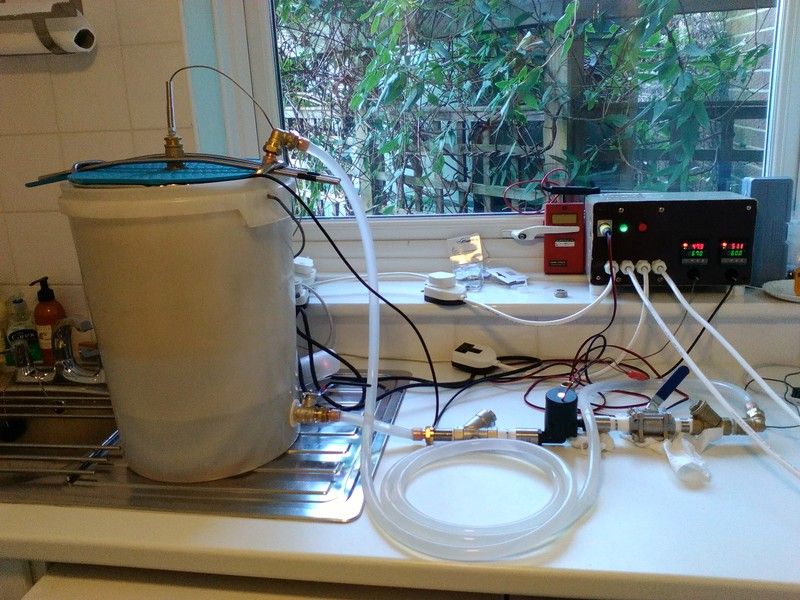
Recirculating

Image

Coming up through the mash steps took far to long as well with the elements in series & I couldn't even hit mashout number so had to put them back in parallel. I need to get the pot down in the kettle to share heat and so I can put a lid on it.

As there's only a <> 3 degree difference between kettle temperature and grain pot when flowing, even with all the spare hose in the test system, the losses are from the falling wort, grain pot walls & through not having a lid on.

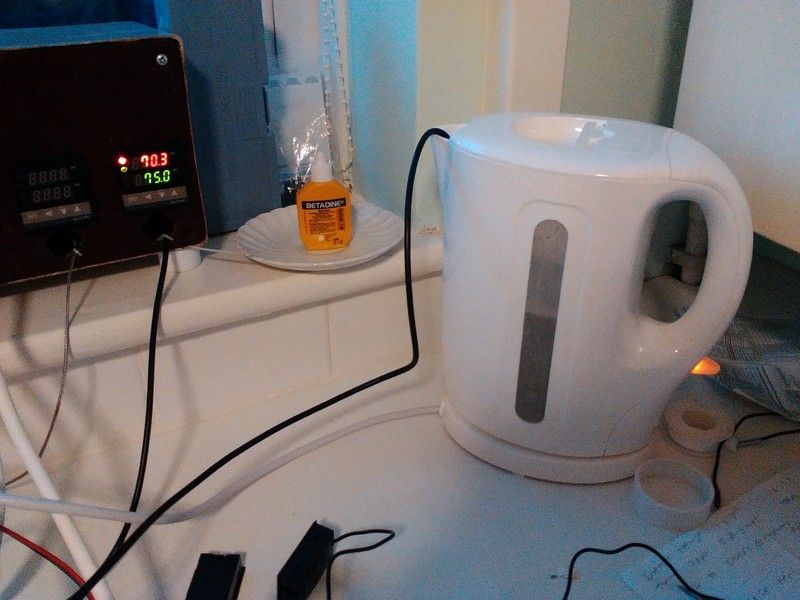
Heating sparge water in kettle via PID 2.

Image

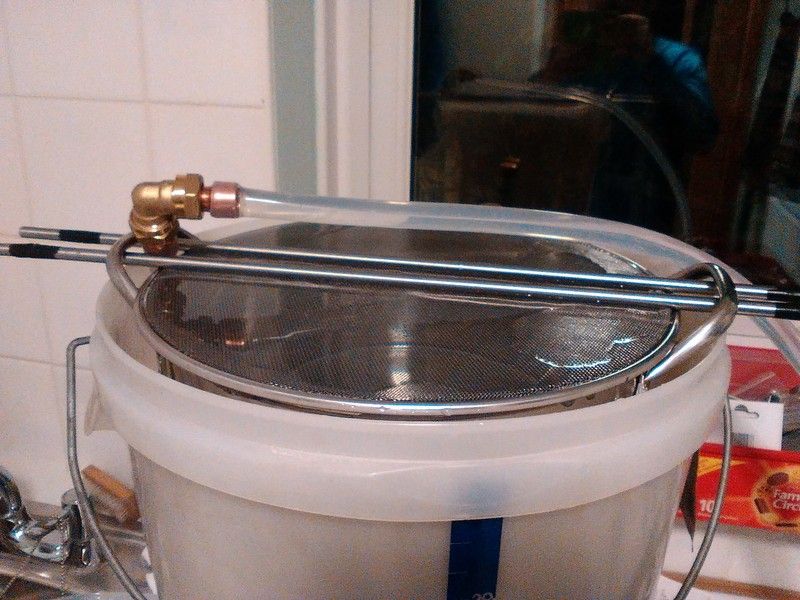
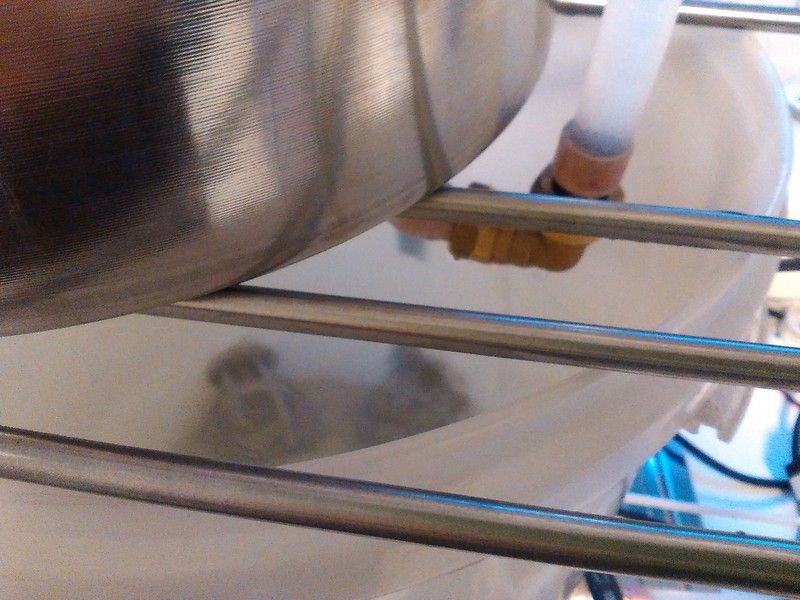
Sparge draining down pot with elbow union backed off a little

Image

All in all pretty good and hasn't shown up anything that I don't think I can overcome :-)

I might be making beer this week yet..... :beer:

Post Reply