
1BBL Brewhouse build (garage conversion)
Re: 1BBL Brewhouse build (garage conversion)
Wow your build is brilliant - just a word of caution though - some advice from a sparks myself unscrew that cover from the fuse cupboard - if something bad happened and you needed to get to a circuit breaker quickly it would be impossible also it makes it non compliant as there has to be adequate access to switch gear - i wouldnt want somebody injured durring our favourite pass time 
BossTronix 1 15 gallon pot brewery
2 x 7 gallon SS Brewtech Chronical
6 x Corny Kegs
in Keg 1 - Black Lager
in Keg 2 - Raspberryade
in Keg 3 - Devil's Backbone Clone
in Keg 4 - empty
in keg 5 - empty
in keg 6 - empty
Tap 1 - Black lager
Tap 2 - Raspberryade
2 x 7 gallon SS Brewtech Chronical
6 x Corny Kegs
in Keg 1 - Black Lager
in Keg 2 - Raspberryade
in Keg 3 - Devil's Backbone Clone
in Keg 4 - empty
in keg 5 - empty
in keg 6 - empty
Tap 1 - Black lager
Tap 2 - Raspberryade
-
fego

- Lost in an Alcoholic Haze
- Posts: 525
- Joined: Fri May 29, 2009 11:02 pm
- Location: Charlestown, Cornwall
Re: 1BBL Brewhouse build (garage conversion)
Thanks for the advice. I've put a couple of hinges on and a crude latch to open it quickly if needed now. Looks rubbish but works a treat...cqout wrote:...a word of caution though - some advice from a sparks myself unscrew that cover from the fuse cupboard


It's called aquafit. Apparently the original hoses leaked too much heat. These ones are brilliant though albeit a little bit stiff and un-bendy...Frothy wrote:What is the type of red hose that you are you using?

Here's the first brew from the batch which survived the infection...

I'm amazed at its quality given the mess I made of brewing it and the fact the other fermentor got infected. Also, it sat on the primary yeast for 3 months before I bottled it (which is proof if ever anyone needed it that lagers don't need to be rushed off their yeast. I opened a bottle the other day and although it was slightly underprimed, for a lager (and I'm not a major fan) it tasted really good. There was a nice maltiness and a dry aftertaste with the hops a bit sharp. That will mellow with time which is what it is going to get because this will be kept in a spare fridge until late summer. I used 2 yeasts (S23 and Coopers lager kit yeast) and going into the bottle, the Coopers tasted best. Will be interesting to do a side by side later in the year.
I said I would finish the build before brewing again, but I've decided to brew an ale today. Only a 100l brewlength (that's all the grain I have) just so I can try out the equipment again. I'll also try to get the build done a bit more too and keep on posting progress as I go...
Tea is for mugs...
-
fego
- Lost in an Alcoholic Haze
- Posts: 525
- Joined: Fri May 29, 2009 11:02 pm
- Location: Charlestown, Cornwall
Re: 1BBL Brewhouse build (garage conversion)
Time for another update. I've made good progress at last and here's how I got there...
First the dreaded door to the fermenting chamber.
Another cut of another full sheet. Not perfect but good enough.

Then I added some padding on the inside to take the screws from the hinges and screwed them on.

Then mucked about adjusting it all a bit until the door opened and closed well enough to form a good enough seal.

Once I'd pissed about some more to make sure it didnt hit the ceiling when fully opened, I climbed inside, shut the door and drew a trace line around the inside edge marking the insulation area. Inside this I added some blocks to screw the insulation wall to which is completely pony but works. I did think about insulation boards but was worried about the weight so went very low tech instead.

Then I added a handle from an offcut and some crude latches to keep it shut.

Then I added the insulation and pinned it to the inside of the door using a cut of thin board screwed into the blocks on the door...

Annoyingly, I asked the chippy to cut the board in half so I could get it in my car but they cut it too thin so I had to improvise a bit and even use some gaffer tape to hold the stuffing in. After more trimming and adjusting, I finally got the door to close tight shut.

Doing the FV chamber door was really hard for me but its now functional and doesn't look terrible when closed which of course will be its resting state.
First the dreaded door to the fermenting chamber.
Another cut of another full sheet. Not perfect but good enough.
Then I added some padding on the inside to take the screws from the hinges and screwed them on.
Then mucked about adjusting it all a bit until the door opened and closed well enough to form a good enough seal.
Once I'd pissed about some more to make sure it didnt hit the ceiling when fully opened, I climbed inside, shut the door and drew a trace line around the inside edge marking the insulation area. Inside this I added some blocks to screw the insulation wall to which is completely pony but works. I did think about insulation boards but was worried about the weight so went very low tech instead.
Then I added a handle from an offcut and some crude latches to keep it shut.
Then I added the insulation and pinned it to the inside of the door using a cut of thin board screwed into the blocks on the door...
Annoyingly, I asked the chippy to cut the board in half so I could get it in my car but they cut it too thin so I had to improvise a bit and even use some gaffer tape to hold the stuffing in. After more trimming and adjusting, I finally got the door to close tight shut.
Doing the FV chamber door was really hard for me but its now functional and doesn't look terrible when closed which of course will be its resting state.
Tea is for mugs...
-
fego
- Lost in an Alcoholic Haze
- Posts: 525
- Joined: Fri May 29, 2009 11:02 pm
- Location: Charlestown, Cornwall
Re: 1BBL Brewhouse build (garage conversion)
I still needed to finish off the chamber at the back (on the hot side) to make it fully functional but struggled to find the time. Any spare days have been spent brewing. Here's a few pictures.
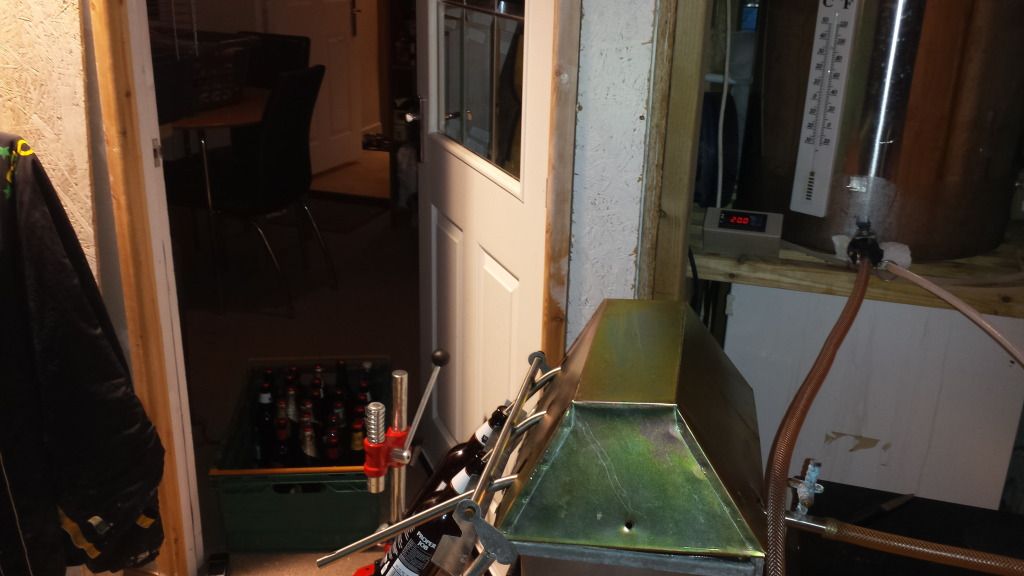
Full rig


Herms working

Boil and hops


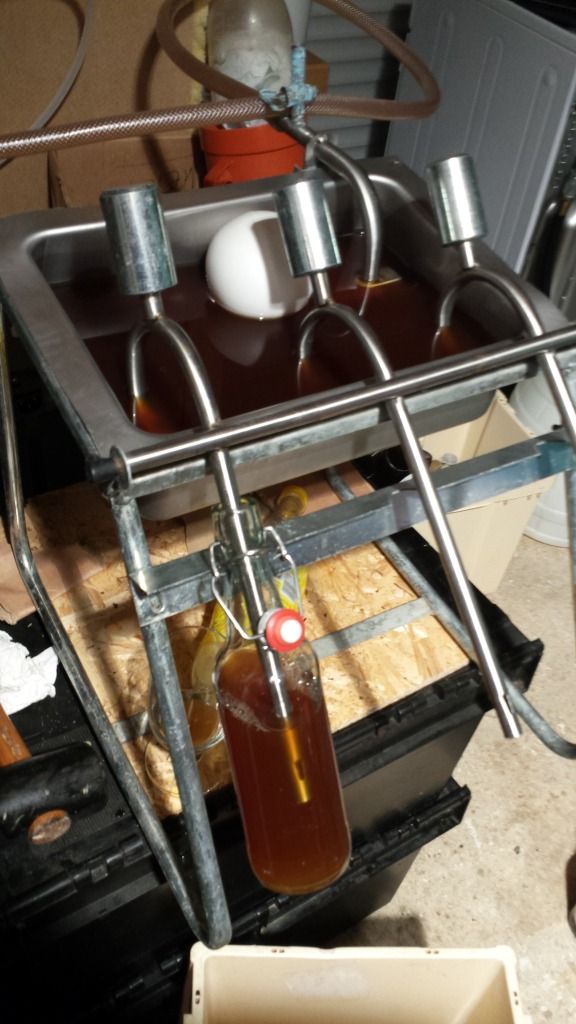
preparing fermenters

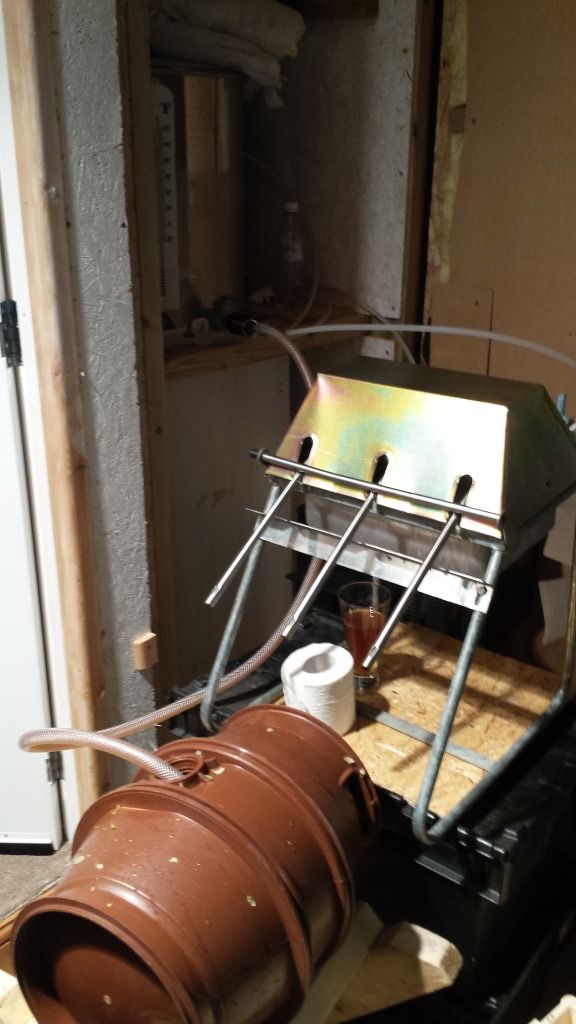
Filling a fv

Spent hops

Spent grain


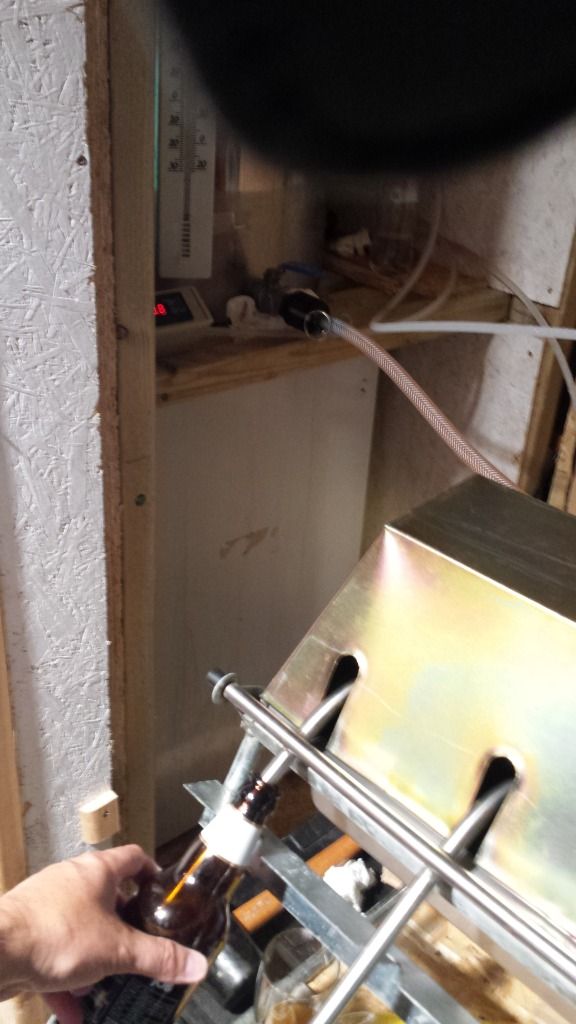
Packaging


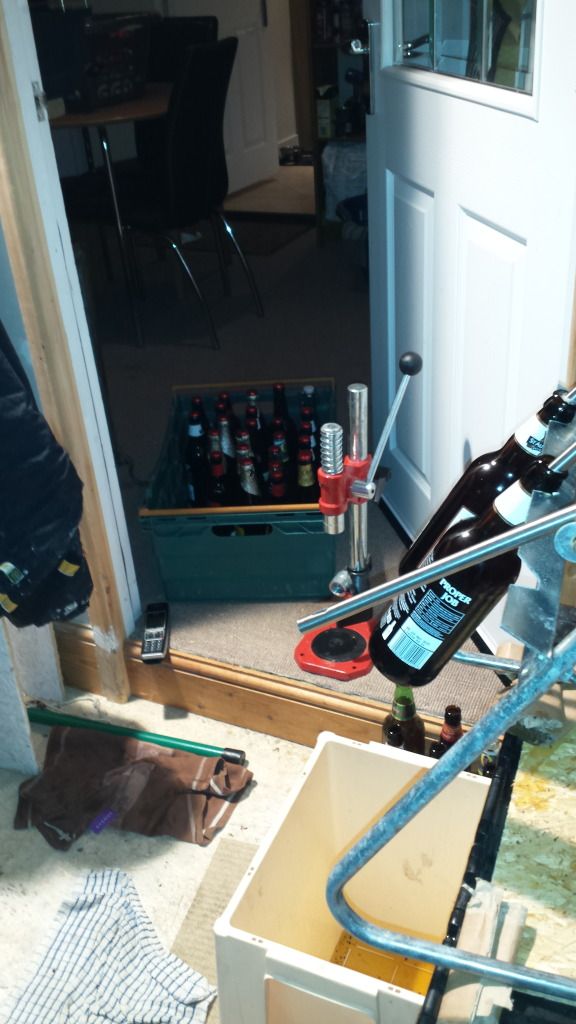


Bevause the chamber isnt yet operational, I manually controlled the fermentation temp using my beer chiller randomly turning it on when the temp crept up a bit. I do have a temp control switch to install but its in the box still and can be put on the list to do. It worked a treat however and after fermentation, I used it to chill down the beer in the s/s FV really easily. I also used my temp control fridge for a smaller FV using different yeast and dry hops.
I'm really pleased with the results but still need to finish off the chamber and a few other bits yet.
Full rig
Herms working
Boil and hops
preparing fermenters
Filling a fv
Spent hops
Spent grain
Packaging
Bevause the chamber isnt yet operational, I manually controlled the fermentation temp using my beer chiller randomly turning it on when the temp crept up a bit. I do have a temp control switch to install but its in the box still and can be put on the list to do. It worked a treat however and after fermentation, I used it to chill down the beer in the s/s FV really easily. I also used my temp control fridge for a smaller FV using different yeast and dry hops.
I'm really pleased with the results but still need to finish off the chamber and a few other bits yet.
Tea is for mugs...
-
Cazamodo
Re: 1BBL Brewhouse build (garage conversion)
Looks very good!
I have a 3m length of stainless to coil, and also a couple of 5m chiller lines like you use...
I may of missed it but what did you use to go through the side of youre fermenter? I'm trying to avoid having to weld them. And do they clean ok?
EDIT: Just realised that wasnt youre fermenter! But same question as I use SS kegs to ferment in.