

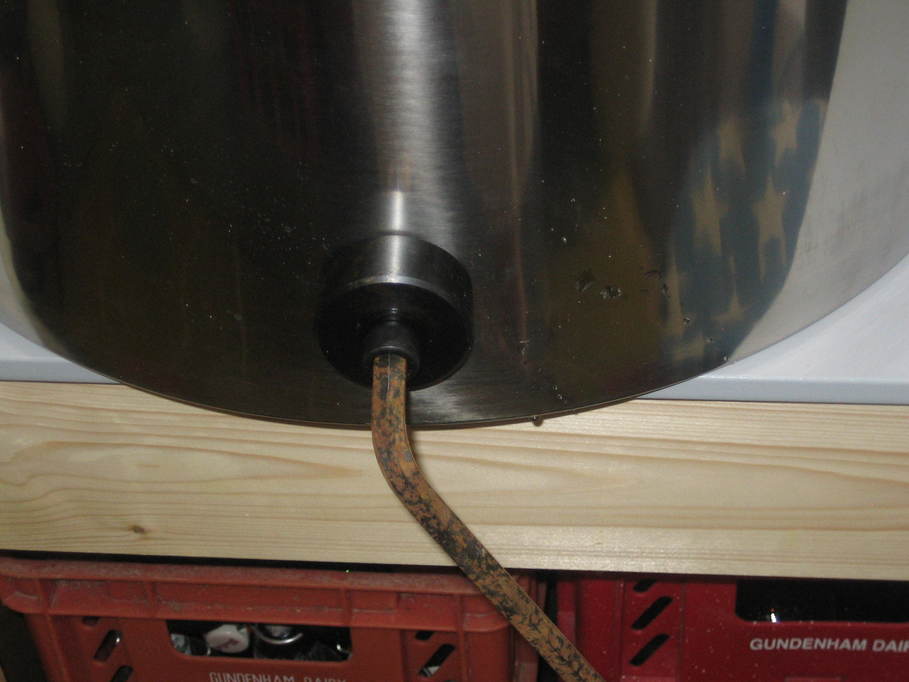
First step was to cut the hole for the heating element. I wanted mine off to one side relative to the handles because it's neater to feed the power in that way, but it also means things look neat if I add a second element later. Here it is with the masking tape in place ready to start.

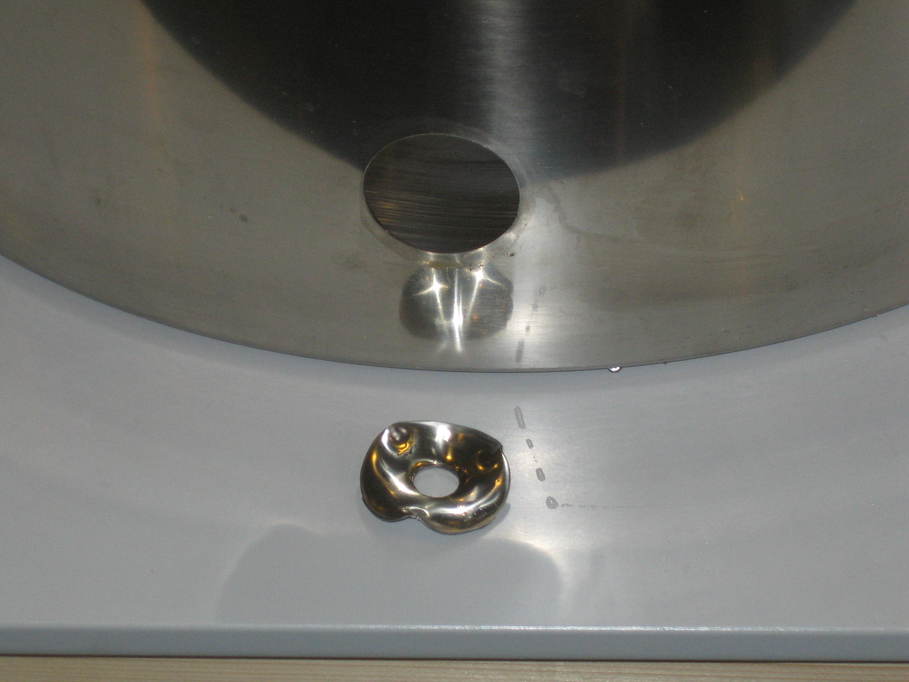
I bought a Q-Max cutter to make the hole. Not something I've used before. More of that in a moment. An Allen key is required too. I found one of a suitable size in my father-in-law's toolbox that could probably be used to fell an ox. That's a 40mm cutter in the pic.

And here it is in operation:
Finally, after very little effort really, a beautifully cut hole and the waste piece. I'm really impressed with how well this worked. Any other method I could have thought of would probably have taken far more than the couple of minutes this did, or not done as good a job. If you're doing this yourself, just buy the cutters. You won't regret it.
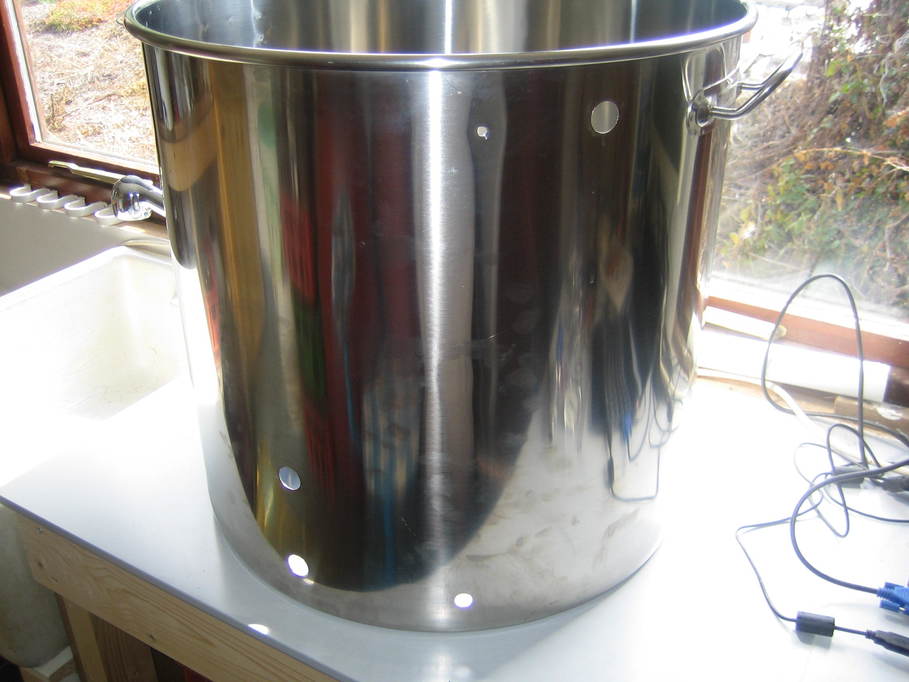
Big hole out of the way, I got the rest done really easily: hole for the inlet at the top right, outlet and thermowell on the left, sight gauge top and bottom in the middle. The sight gauge isn't perfectly vertical despite my quite careful attempts to ensure it was. It's nowhere near as squiffy as this picture makes it look though.
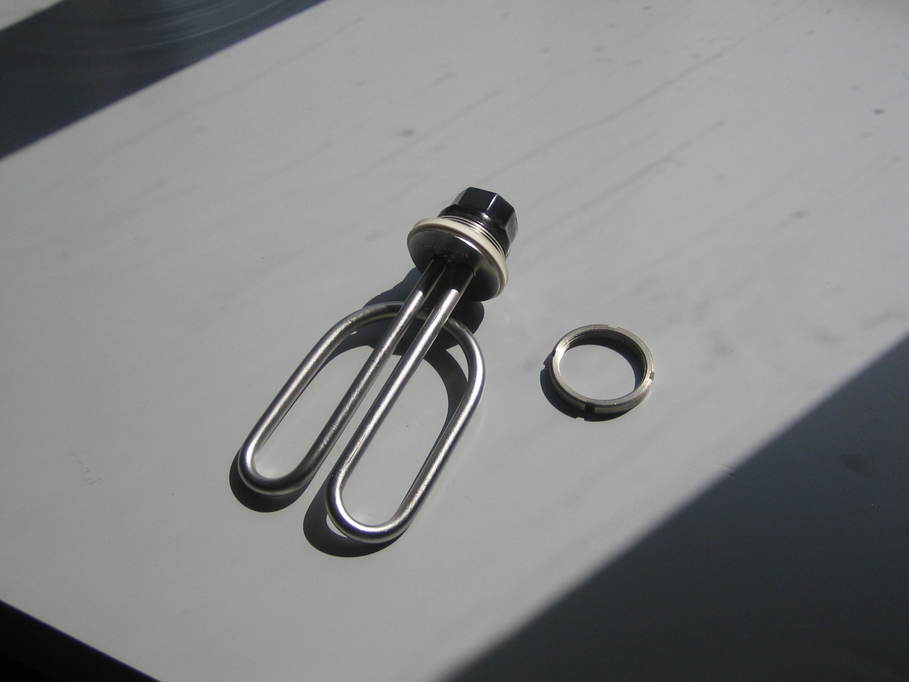
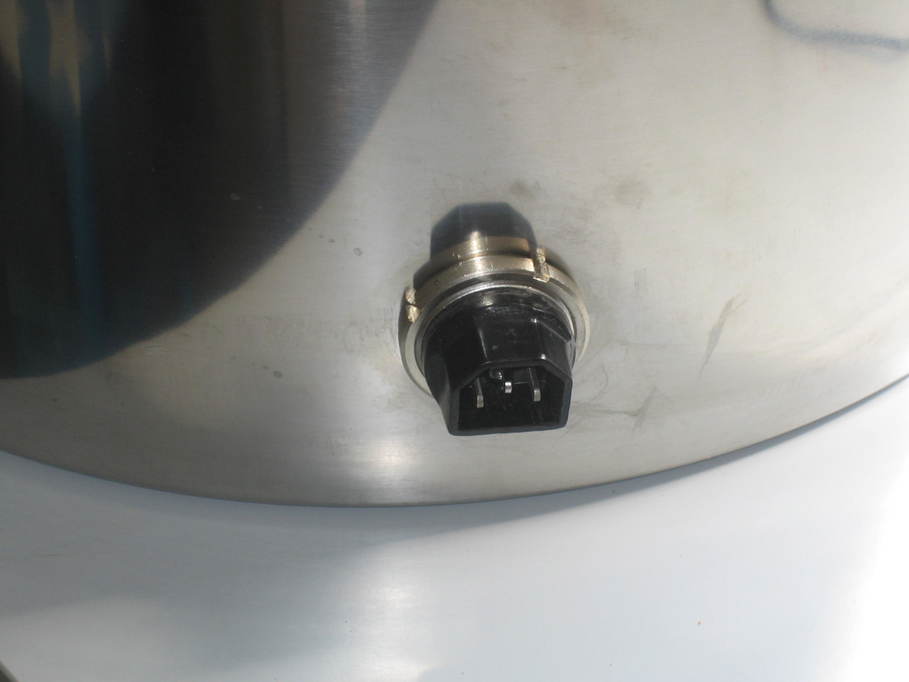
Here's the heating element, courtesy of Mr Lard.
And how it looks when fitted...

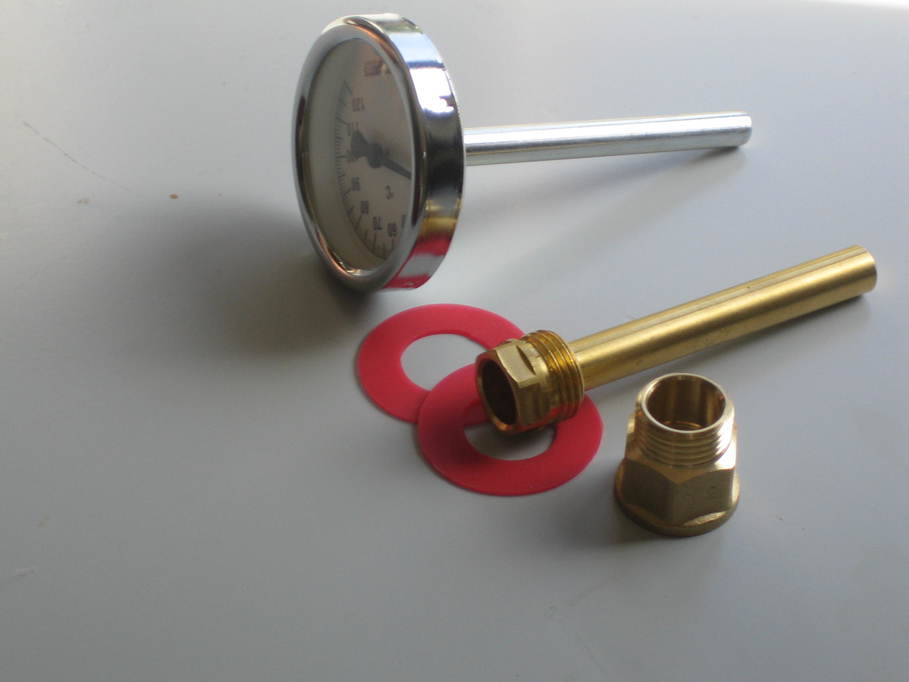
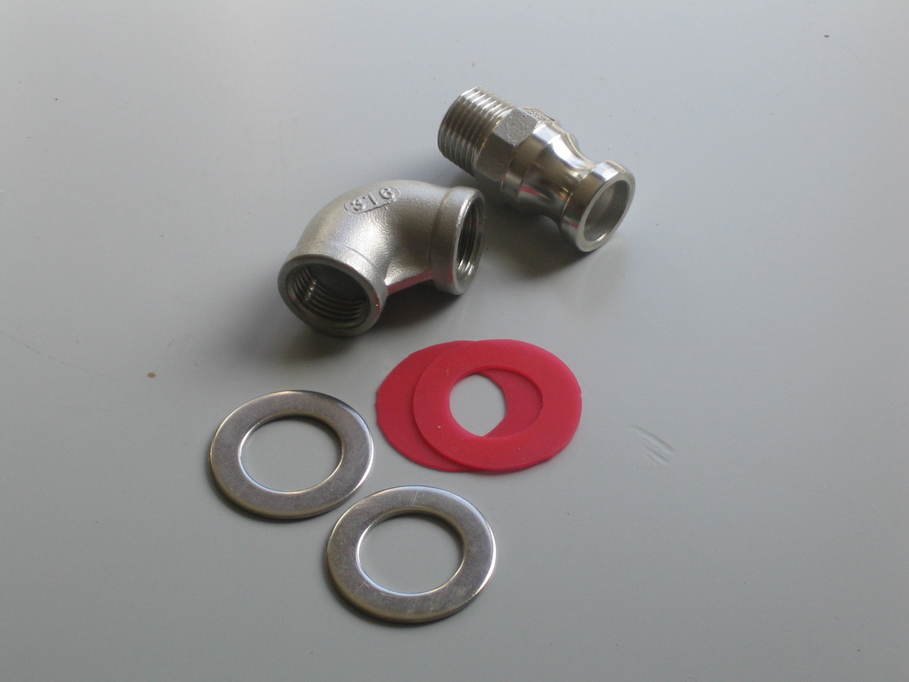
(Most of) the parts for the thermowell and thermometer. The washers are cut from a sheet of silicone pastry rolling mat. I added a stainless washer on both the inside and outside of the pot after testing for leaks because it gives a better seal. The "nut" is a 1/2" BSP tap extension that I fitted outside the pot, with a stainless nut on the inside. It makes the dial sit quite a way out from the pot wall, but as I intend to wrap a couple of layers of insulation around the pot I don't see that as a big issue.
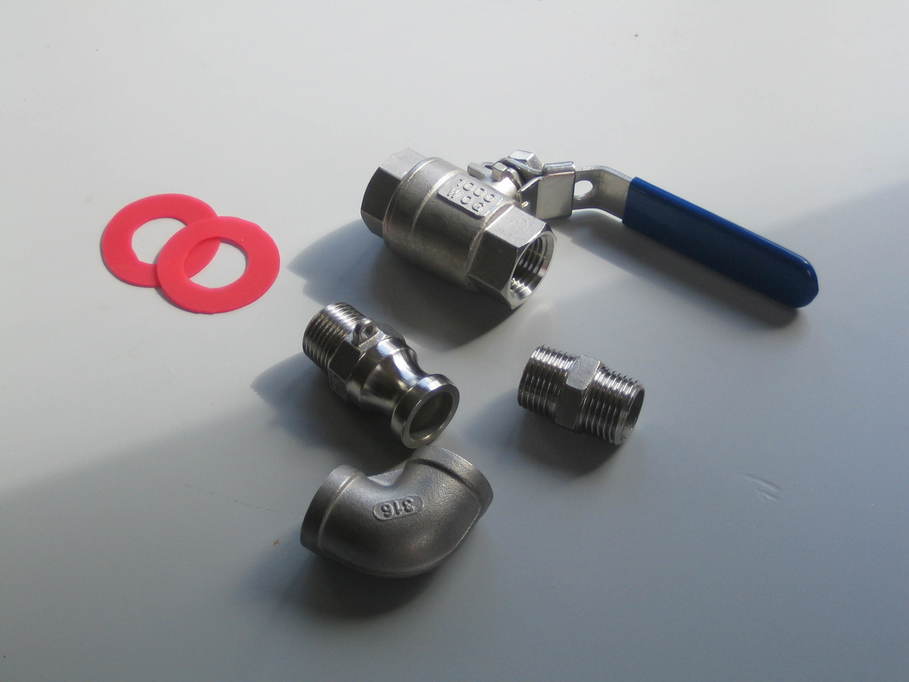
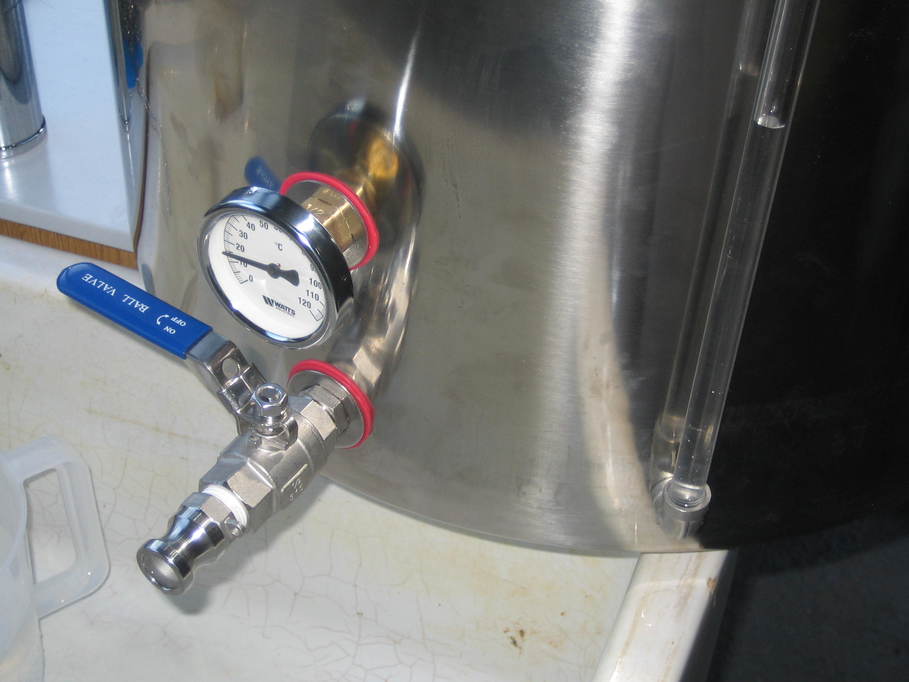
Similarly, the parts for the outlet. Again, I added some stainless washers to give a better seal.
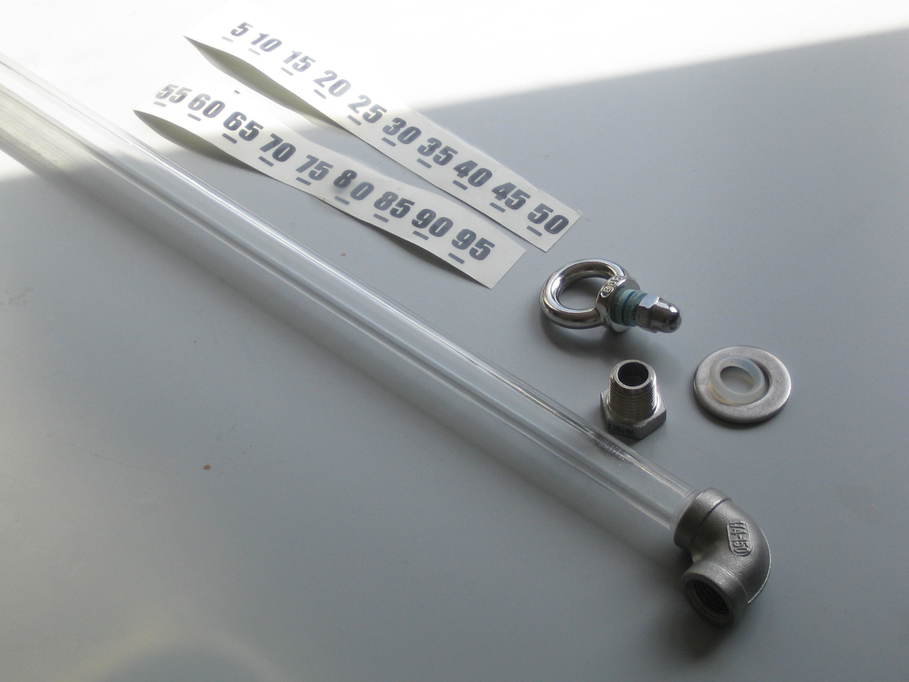
And the sight gauge fittings, again from Mr Lard though I think I added the washer:
And finally the inlet...
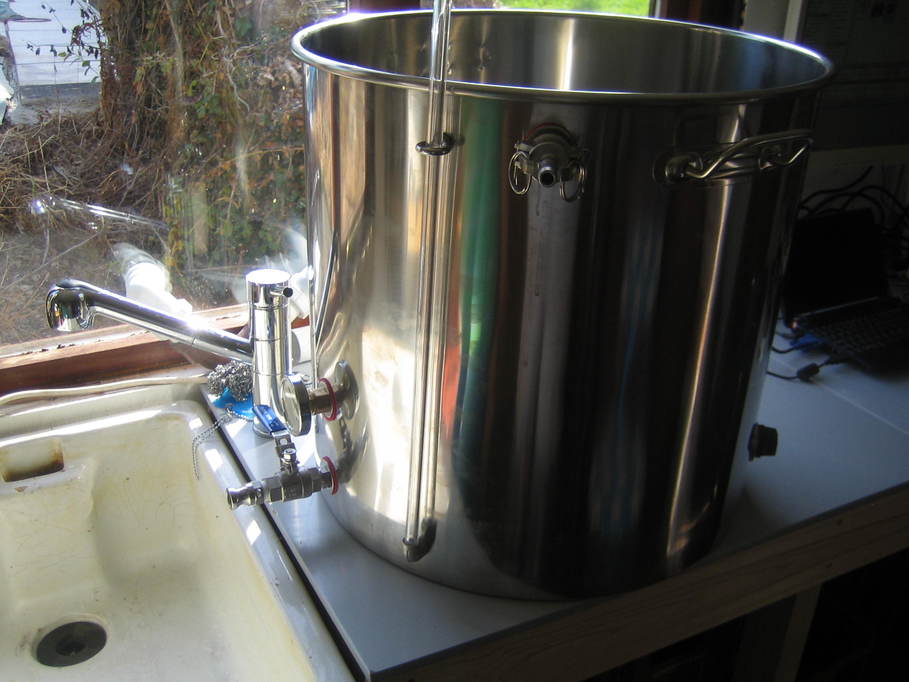
And here's the entire thing assembled ready for a first test. I should probably buy shares in whoever makes PTFE tape.
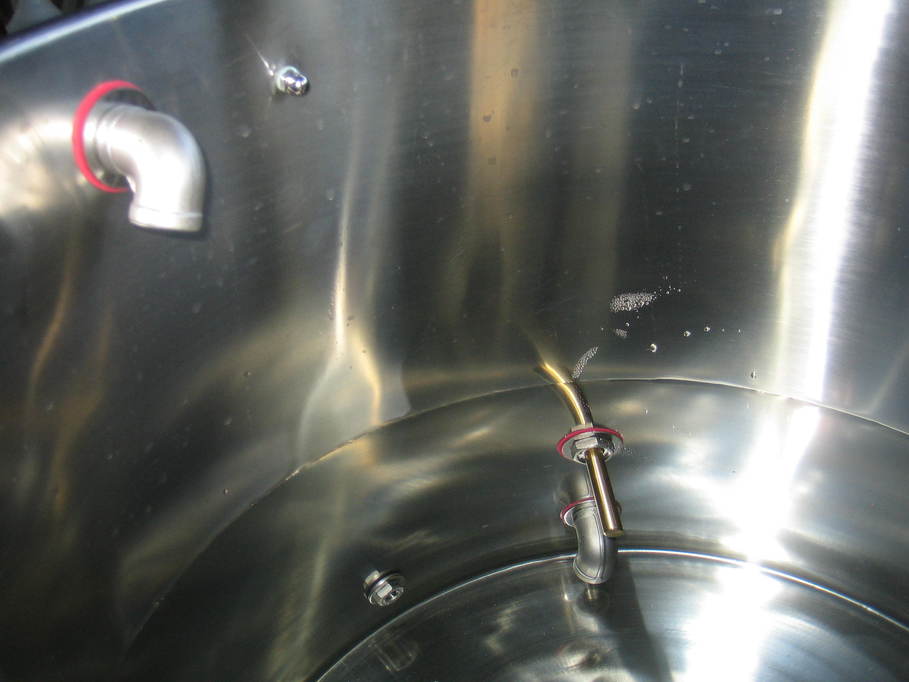
Finally, these are from my second cold water test, after I'd added the extra washers because I wasn't completely happy with the integrity of the seals without them.
James