And I outlined how to make agar slants here.
Between those two steps we need to inoculate our slants and use them to save and grow yeast.
Any yeast source can be used to inoculate the slant, a direct 'virgin' source such as a freshly opened Wyeast or Whitelabs pack is best, but the dregs of bottle conditioned beer, another (older) slant or even a glass of beer at the local if the beer has been cask conditioned can also be used.
Yeast stored on agar slants will remain viable for a few months - up to a year - after which they should be reinoculated.
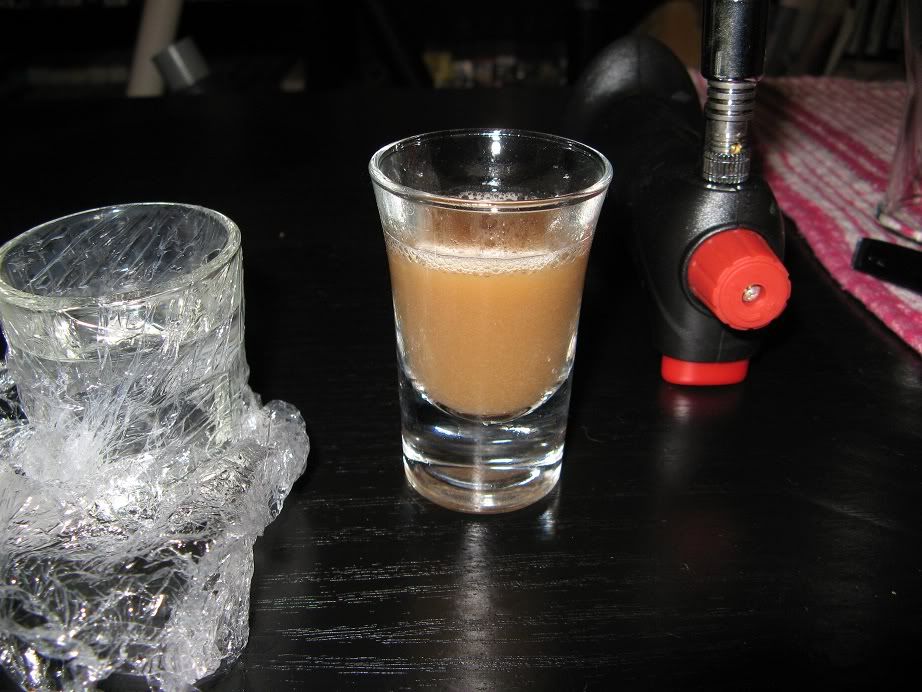
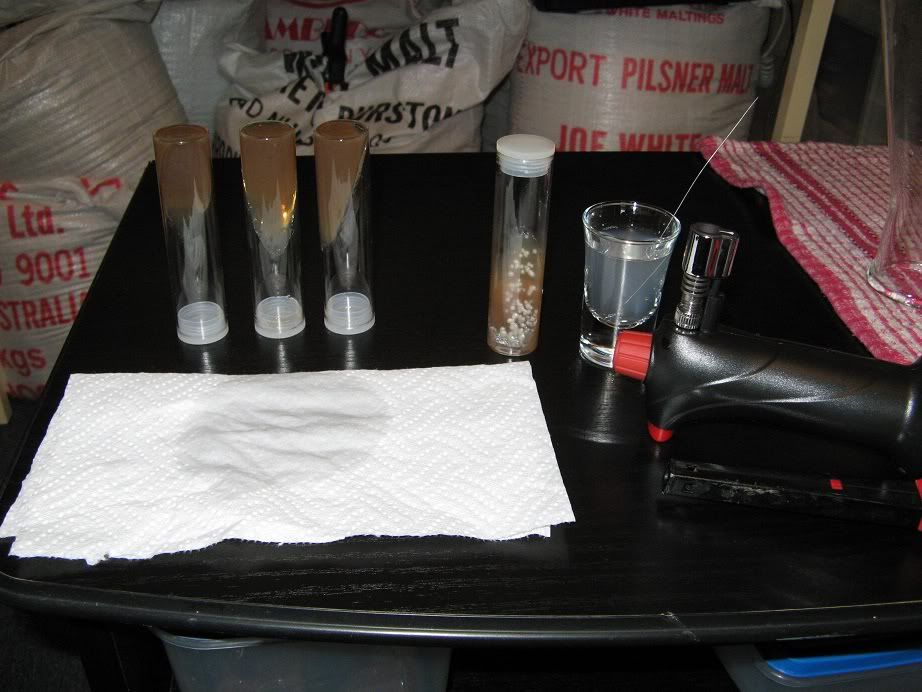
Here is the typical setup I use when working to inoculate new yeast slants.
Bench surface, vials, everything else wiped down with a bleach solution, flame source, isopropyl (rubbing) alcohol, slants, inoculation loop and other thing in order and ready to use.
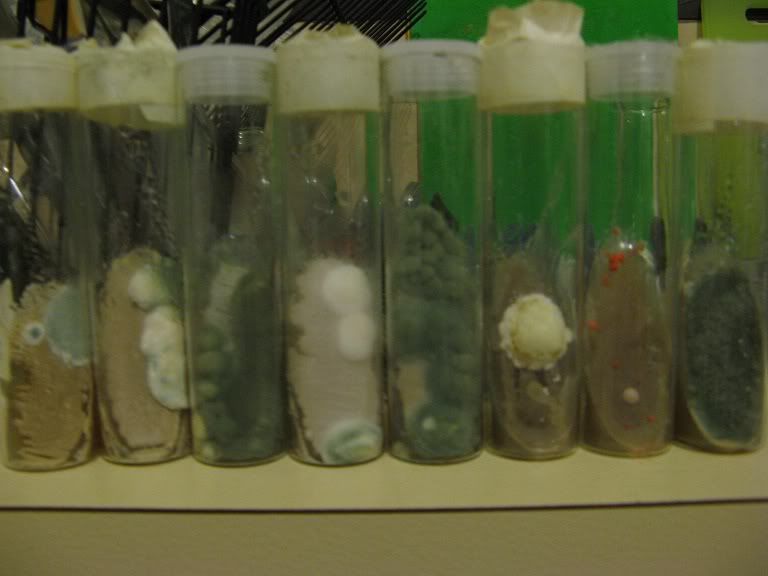
In this case I'm inoculating the new slants from one I used to isolate individual colonies of yeast (see below).
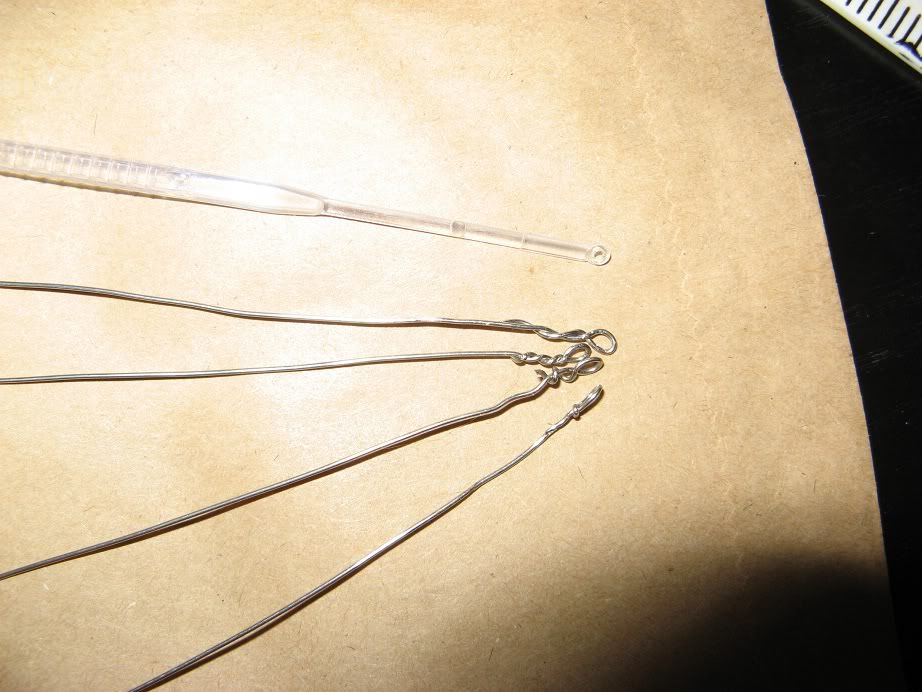
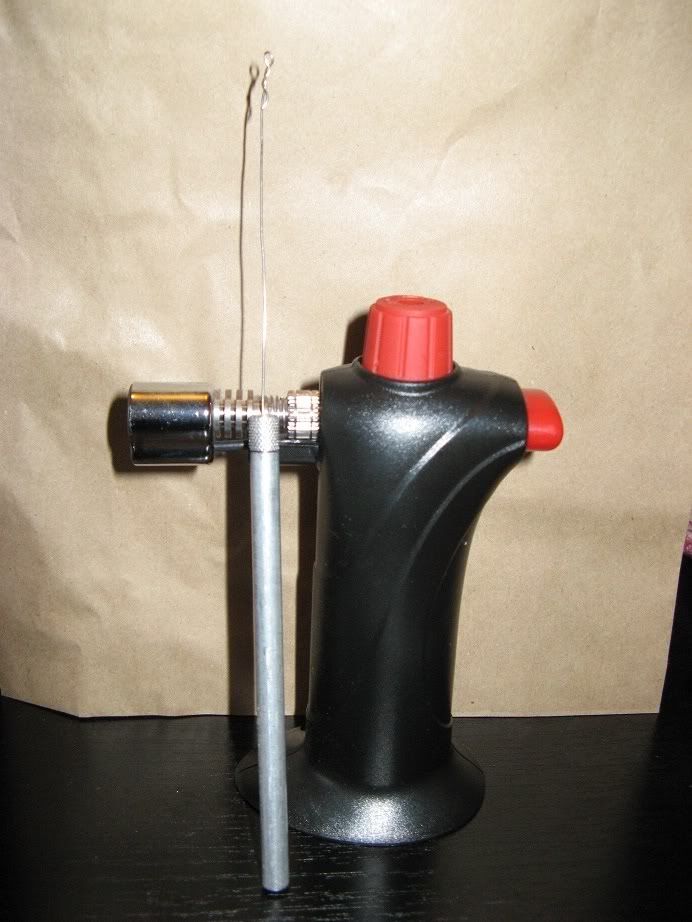
Sterilise the inoculation loop, easily done with metal loops by heating them in a flame, plastic loops can be dipped/soaked in alcohol.
Use the loop to pickup the yeast sample, this can be done by dipping it into a Wyeast/Whitelabs pack, immersing it in yeasty-bottle-dregs or selecting a small colony of yeast from an agar slant or plate.
Gently rub the loop over the surface of the agar slope, being careful not to touch the sides of the tube.
There is not much to see when the slants have been freshly inoculated:
Store the slants at room temperature (20-30DegC is good):
I incubate my slants on the (cleaned with bleach solution) shelf above the TV, the lounge room is heated in winter and air conditioned in summer, so it's as good place as any.
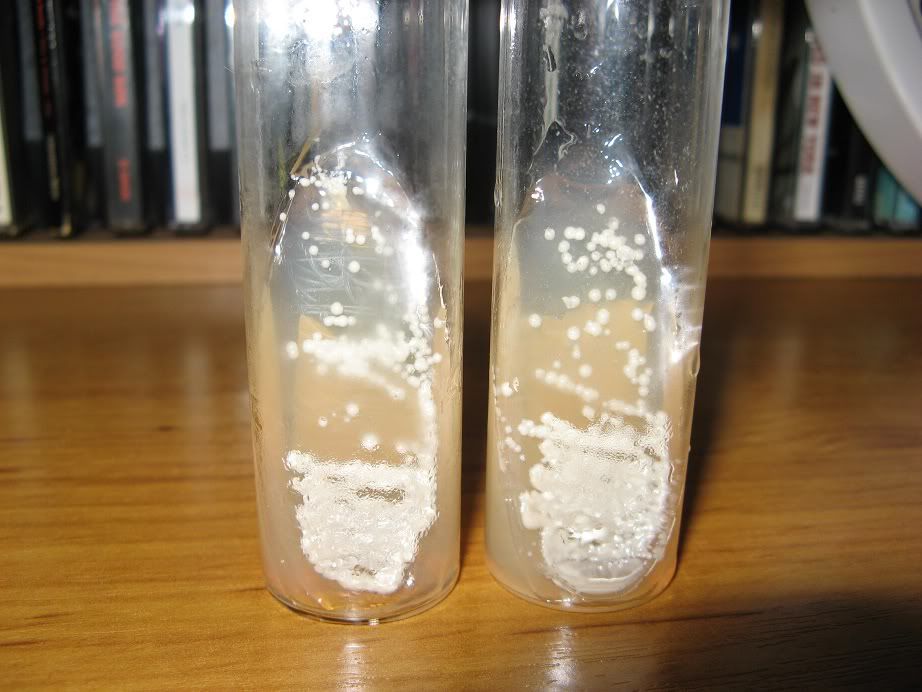
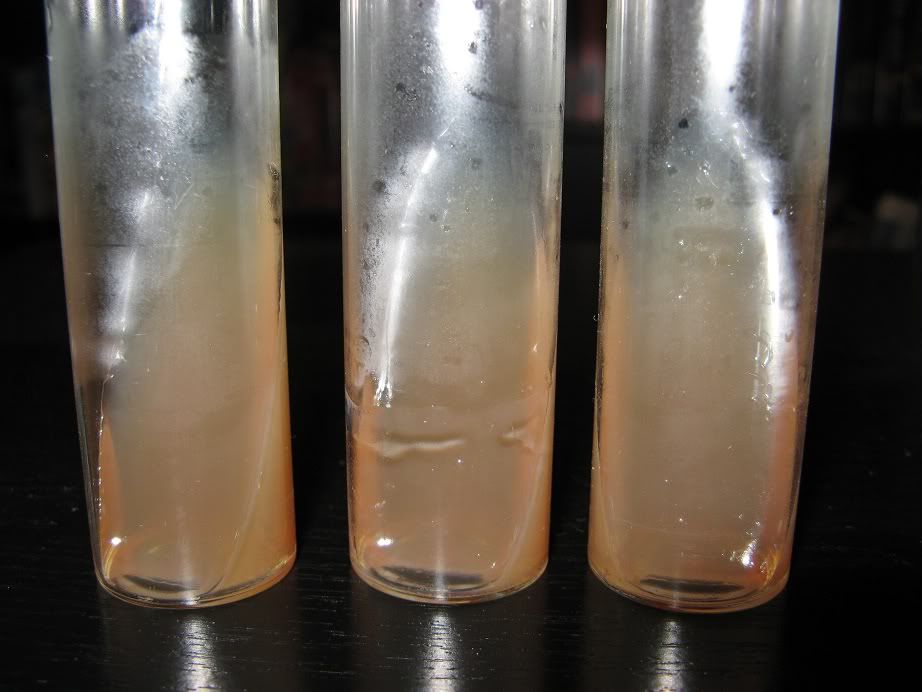
After a few days the first signs of yeast growth on the agar surface:
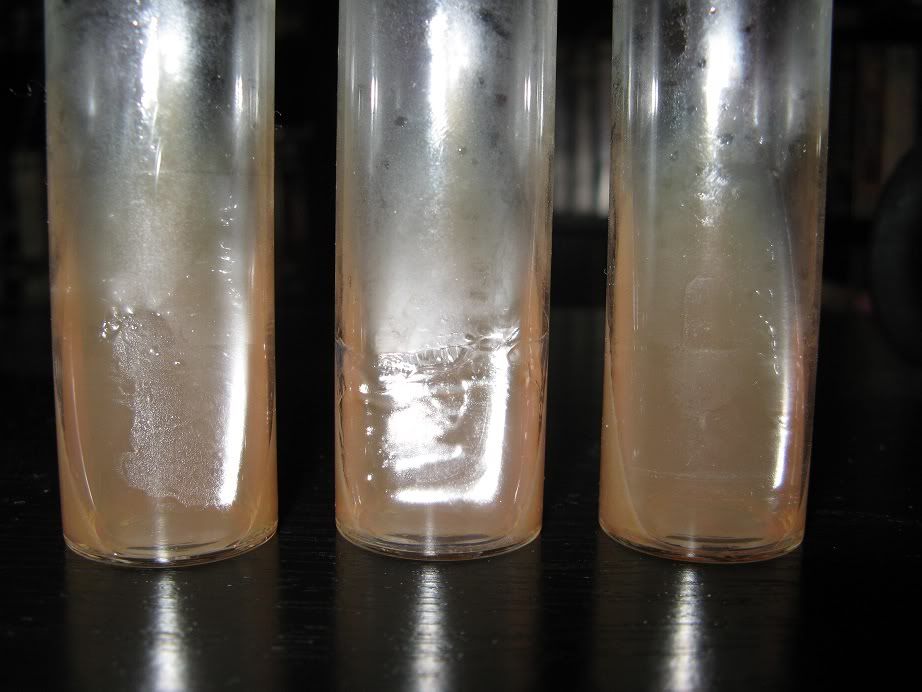
Another day or two and the yeast will be visible:
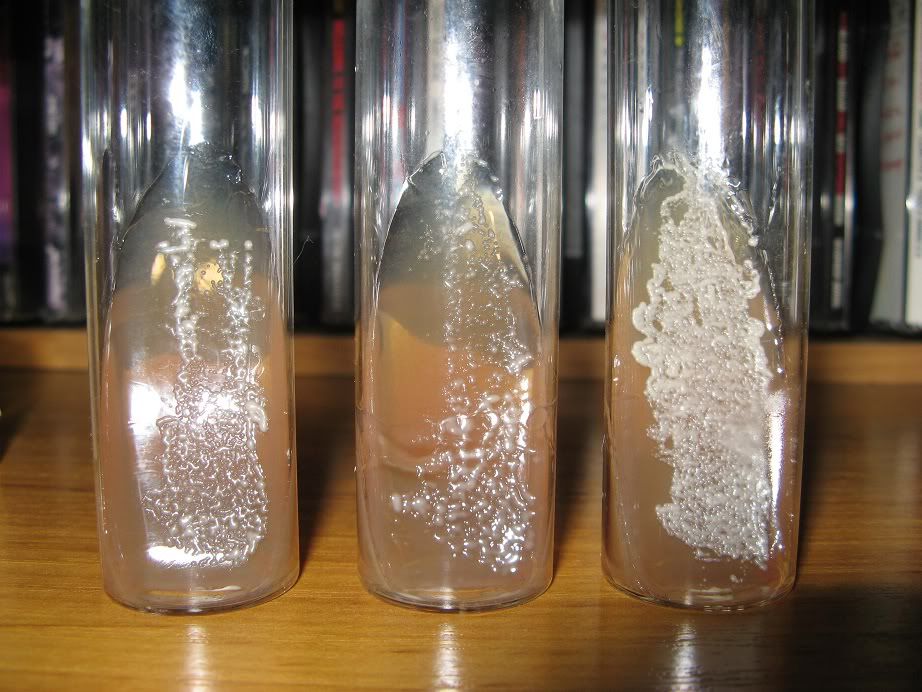
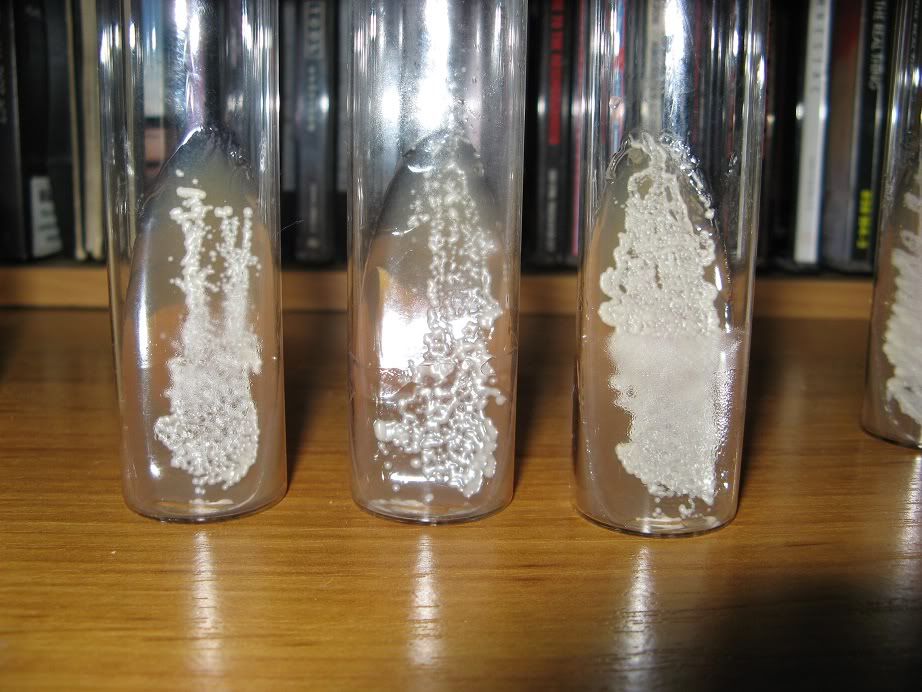
Depending on temperature and conditions after 3-6 days the yeast should have covered most of the surface:
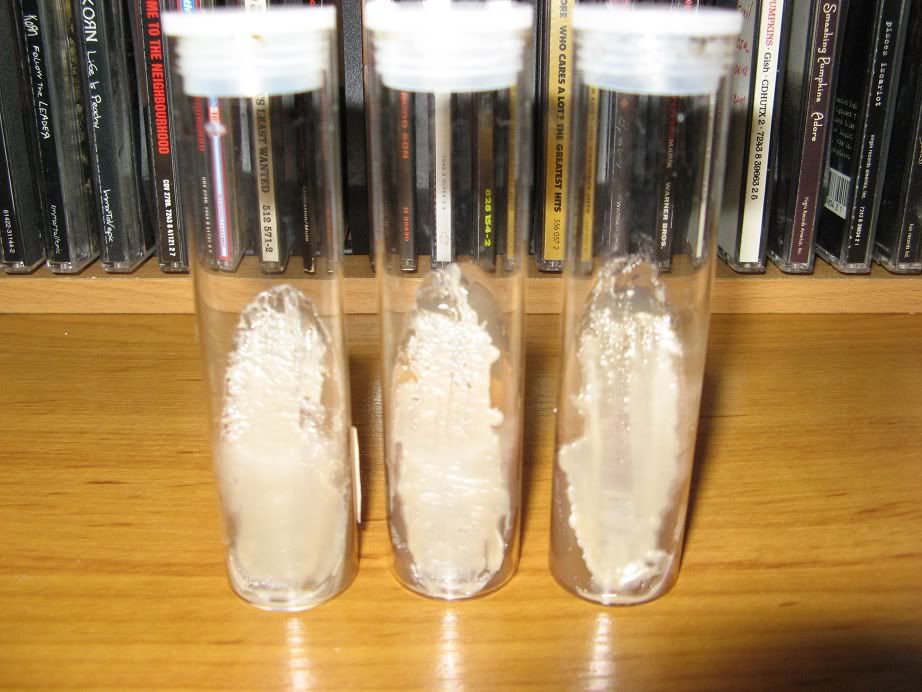
There is a large amount of freshly grown viable yeast on the agar surface, which can be used to create a starter or the slant can be stored in the fridge.
Before storing the slant in the fridge, seal it so it stays air-tight and label it well.
The slants should be sealed to prevent contamination during storage, this is best done with Parafilm (sticky tape, electrical tape, masking tape tends not to stick so well, leaves sticky residue and does not fully seal the tubes, cling wrap may work if you can't get Parafilm).
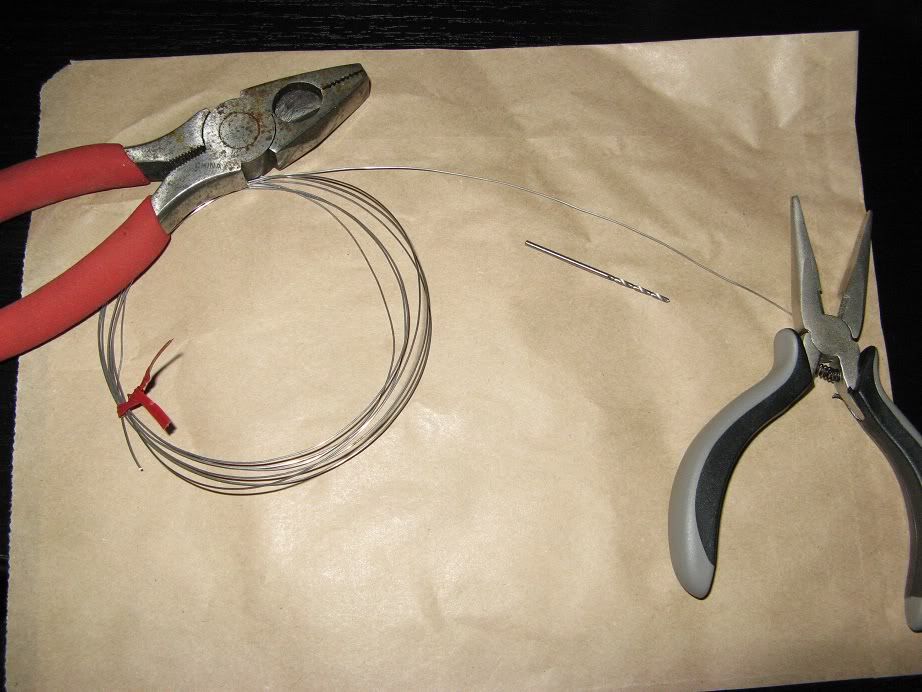
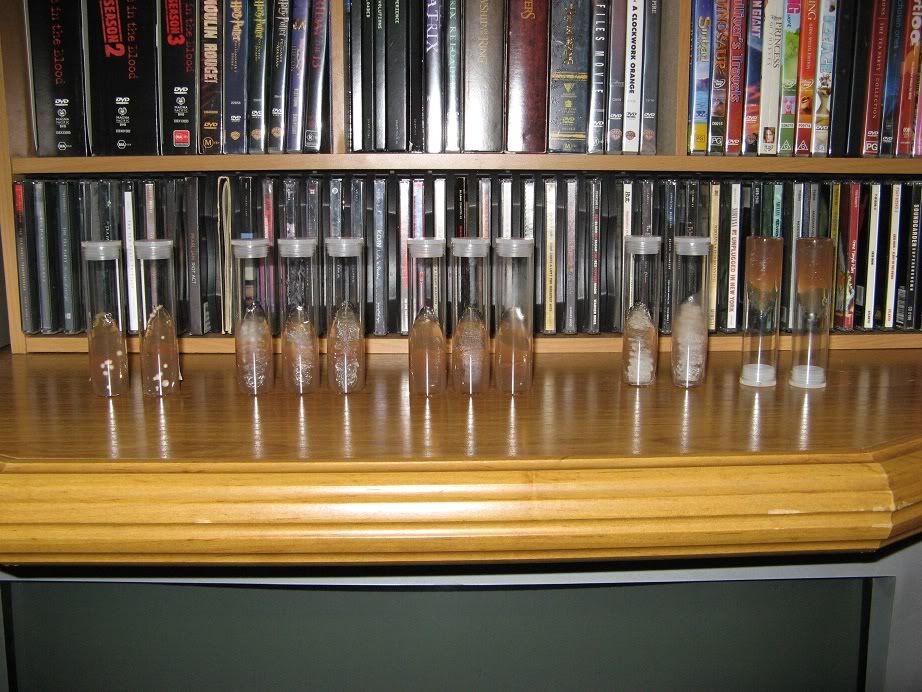
Parafilm is a stretchy elastic 'tape' that will stick to itself often used in labs, however rather than paying (~$30 a roll), florist's Parafilm (~$2 a roll) works just as well:
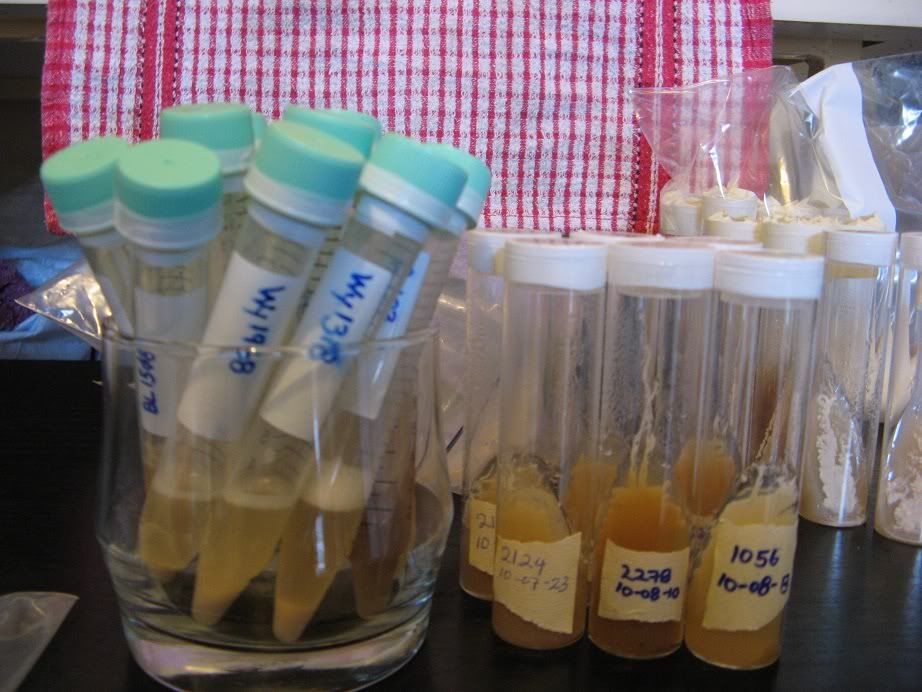
(The plastic tubes are frozen yeast samples not slants.)
To protect the slants from the various bugs and nasties in most fridges, I seal the slants in a zip-lock bag and put them into a plastic container which fits well on the bottom shelf of the refrigerator:

When making slants for long-term yeast storage, it is always a good idea to make 2 or 3 for each yeast strain, that way if one sample gets contaminated or is otherwise unusable, the others should still be viable. Try also to store each of the slants in different zip-lock backs or even a different fridge if possible, to further reduce the risk of losing an entire strain.
Slants stored in the fridge should remain healthy and viable for a few months, after about 6 months there will be noticeable autolysis, but I usually re-slant my yeast samples after 1 year. It is a good idea to visually check stored slants every month or so, that way if there are any contamination or other problems they can be fixed in a timely manner.